
毛笔字体制作方法有很多,一般都是滤镜来制作,这里介绍一种非常不错的方法纯手工制作。大致过程:先打好所需的文字,边缘部分用橡皮擦出纹理,再用画笔及涂抹工具增强细节即可。
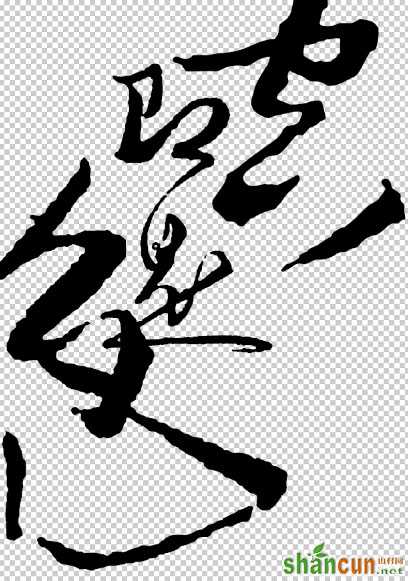
教程最终效果

<点小图查看大图>
1、新建一个A4文档,打开需要处理的文字图片。
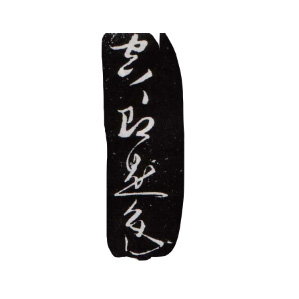
2、等比拉大到合适大小,并抠出文字部分(用钢笔工具或者魔棒均可),四个字:空即是色。
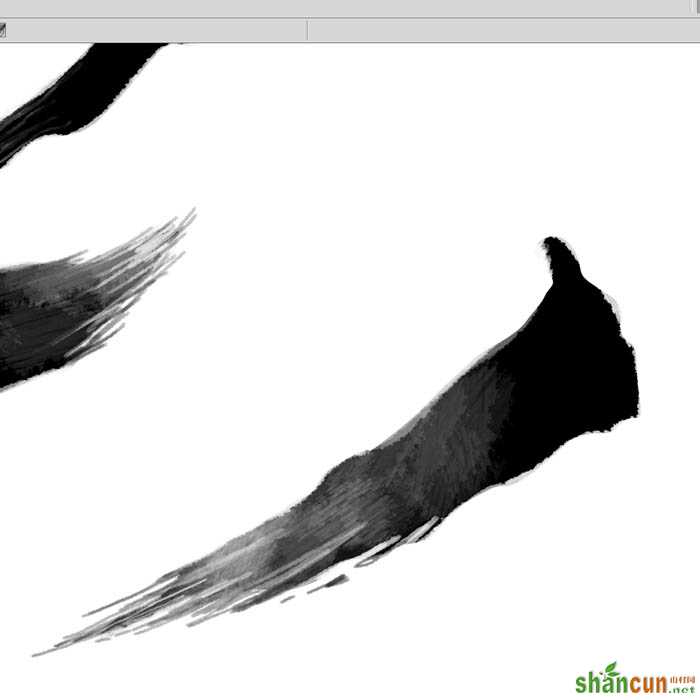
3、选择橡皮擦工具,鼠标右键选择100号笔刷(ps自带的笔刷),不透明度40%-50%之间均可,用橡皮擦擦除字的边。

4、擦除完字的边缘,开始擦除字的局部,把笔尖大小调细一点,这一步的目的是做出毛笔挥洒的大致效果。

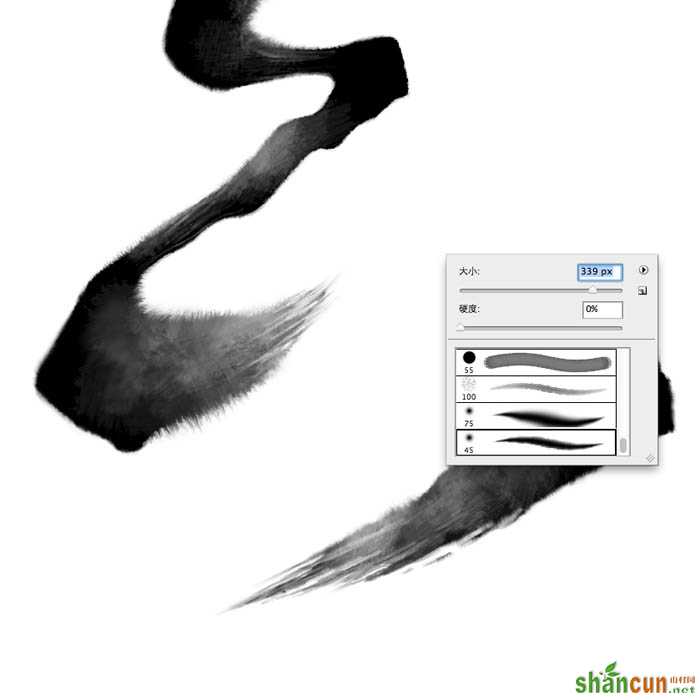
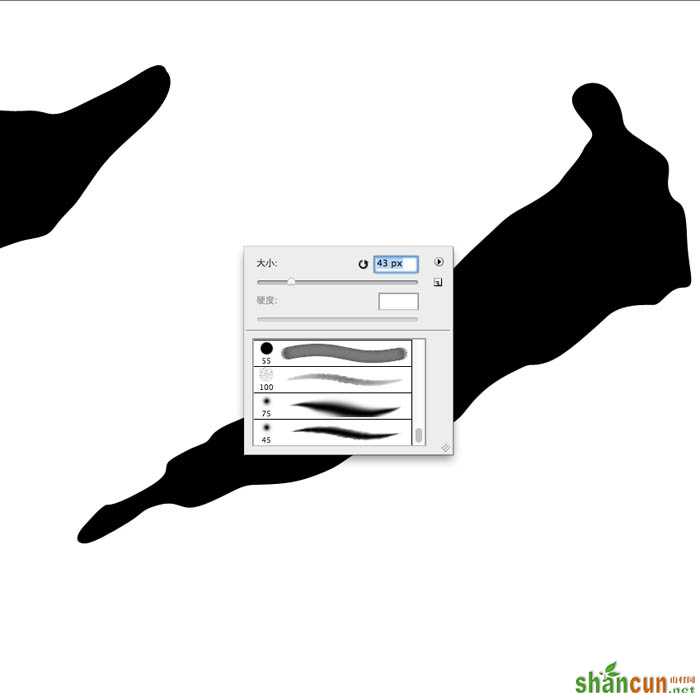
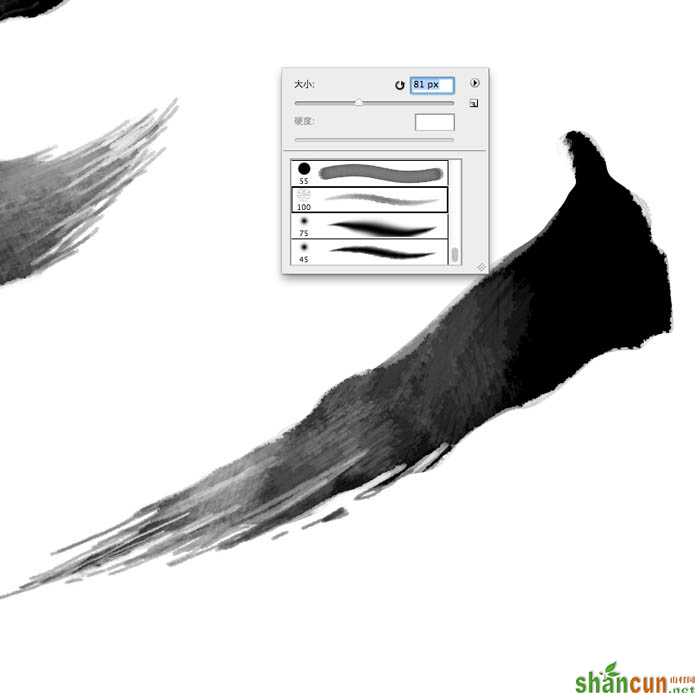
5、选择画笔工具,继续用100号笔刷,把笔尖调小,透明度70%左右,绘制毛笔挥洒的细节。
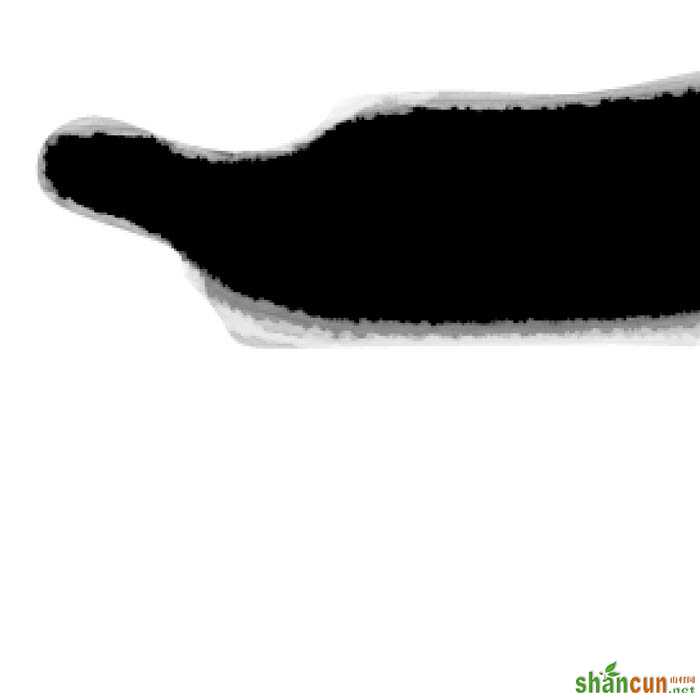
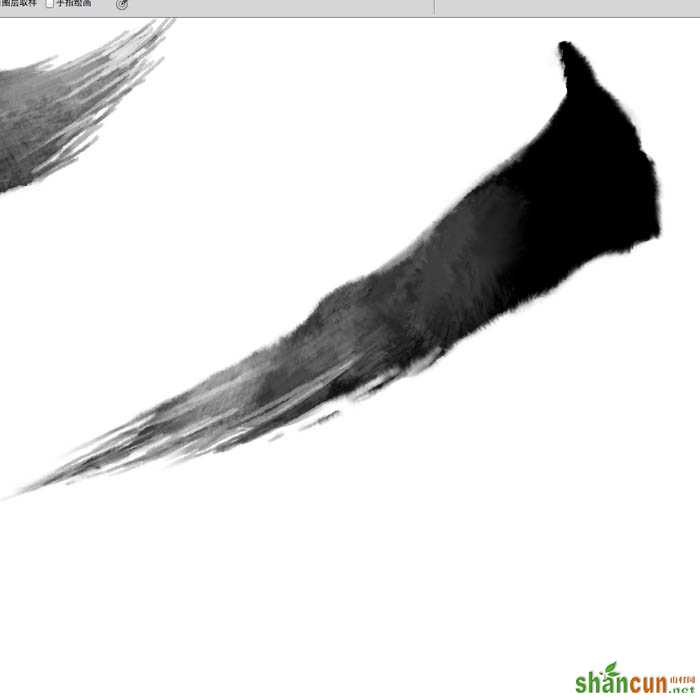
6、选择橡皮擦工具,右键选择100号笔刷,透明度调到10%-20%之间,笔尖大小调到300以上,反复擦除字的尾段。
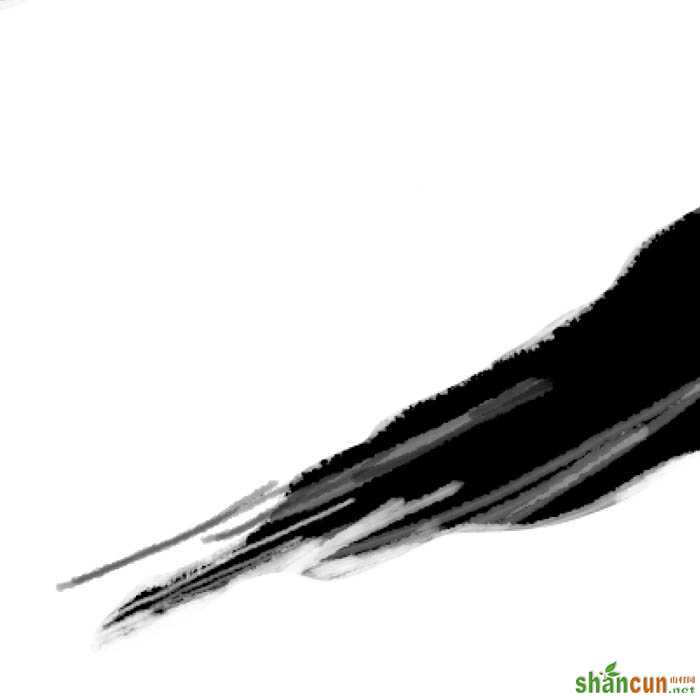
7、选择涂抹工具,右键选择100号笔刷,强度100%,笔尖大小80左右,涂抹字的边缘和细节,这一步的目的是做出笔。
8、继续强化细节,扩大毛边效果,把笔墨的韵味更加强化。{小技巧:涂抹的时候一定要拖出直线。如果觉得效果生。
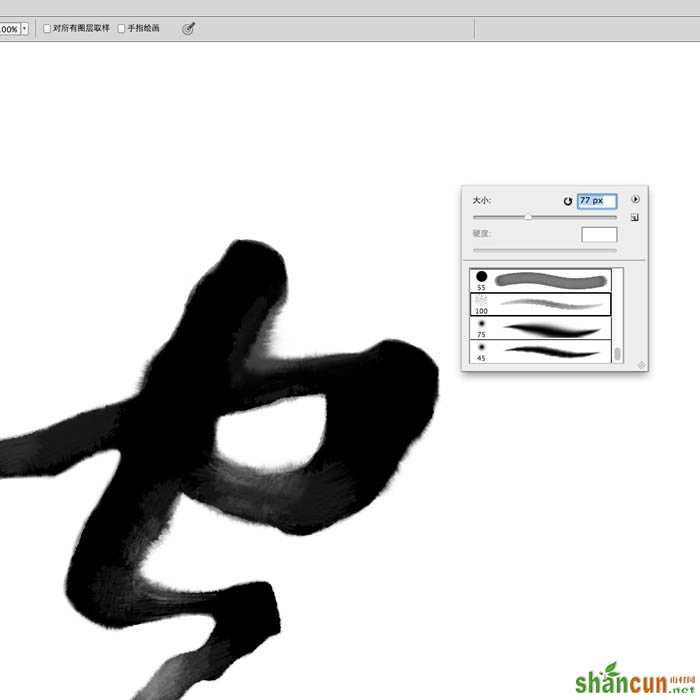
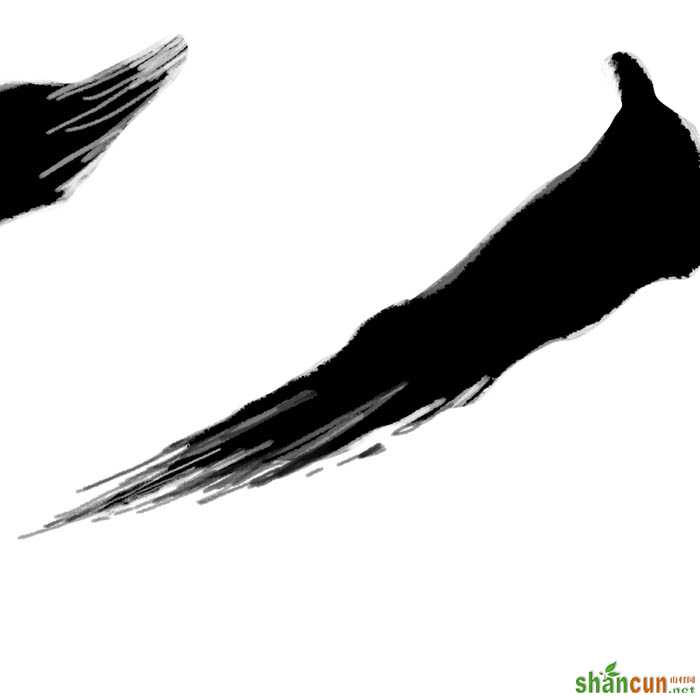
9、选择橡皮擦工具,右键45号笔刷,不透明度10%左右,笔尖大小调大到400左右,点擦字的尾段局部,这一步的目的。
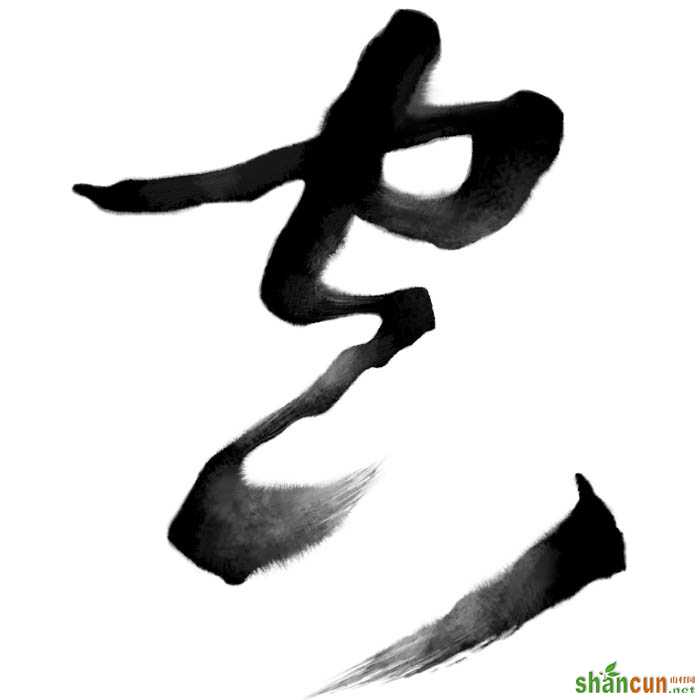
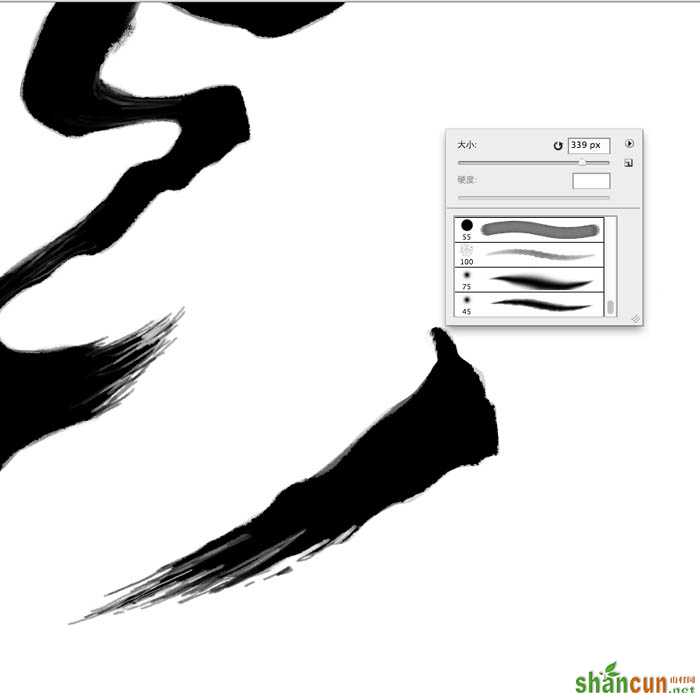
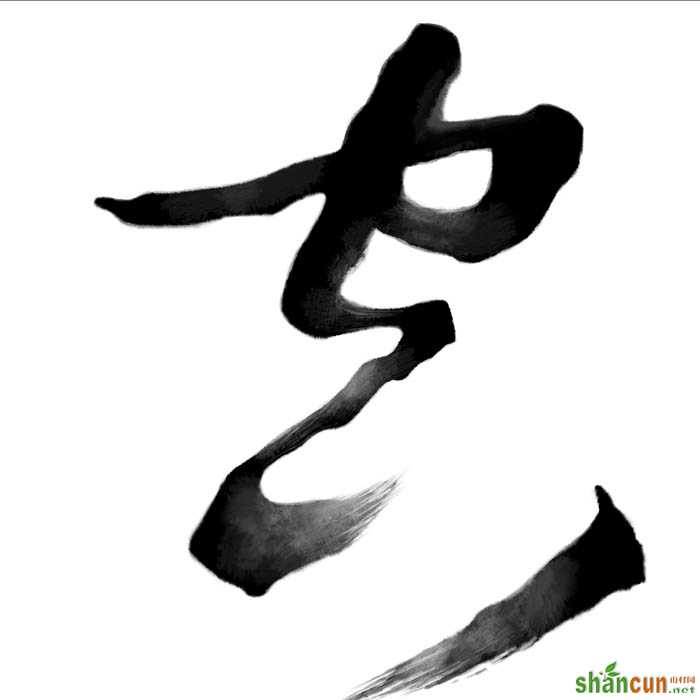
10、完成所有字的特效合成。
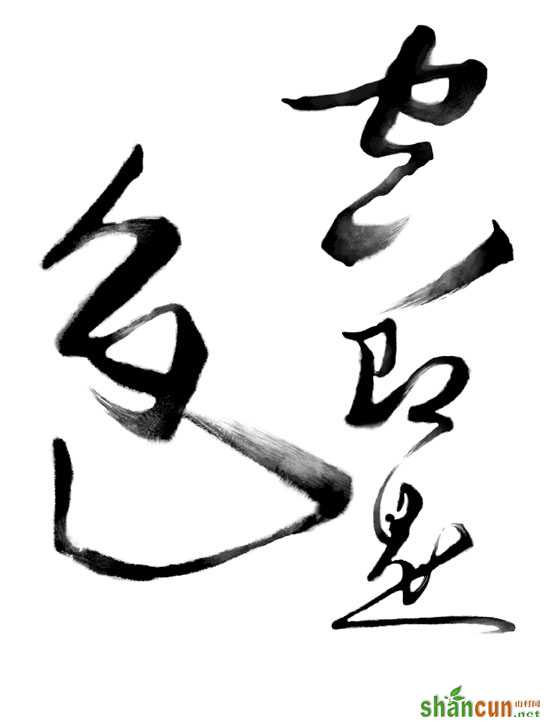
最终效果:


