
介绍:本教程将向你展示如何制作拼字版文字效果,通过这个教程 你可以制作自己喜欢的文字效果和背景,这些步骤很简单,希望你喜欢。
最终效果
1.新建一个1152*864像素。下载一个“花织物”集,挑选一个你喜欢的背景填充。
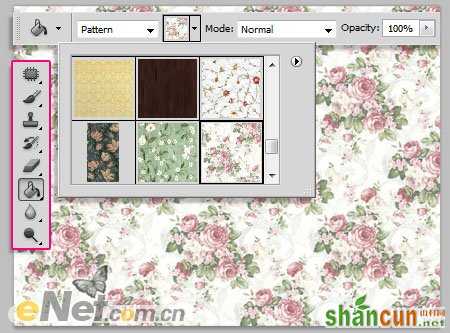
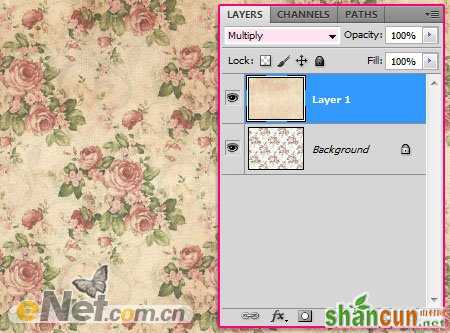
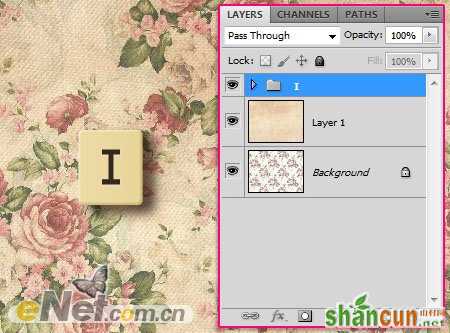
添加一个纹理图案在顶部,然后设置图层混合模式为“正片叠底”
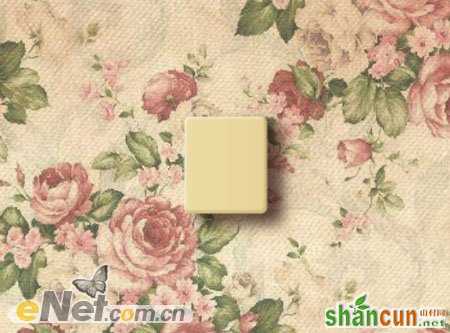
2.将前景色设置为#ead89f,选择“圆角矩形工具”设置半径为5px,绘制65*75像素大小的矩形。
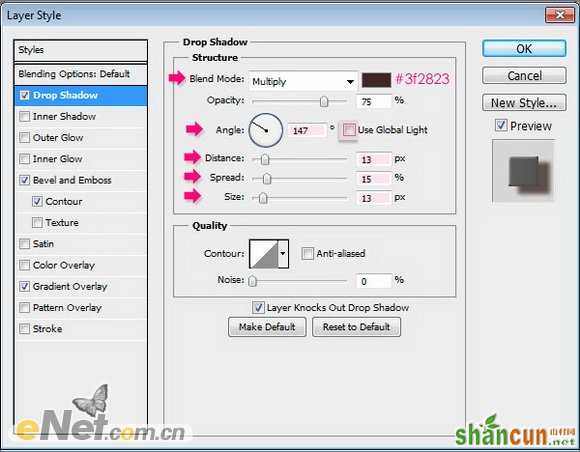
双击形状层,调出“图层样式”,设置以下式样
阴影
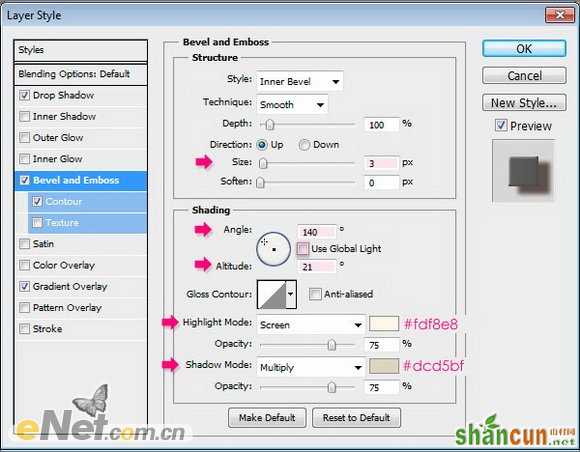
斜面与浮雕
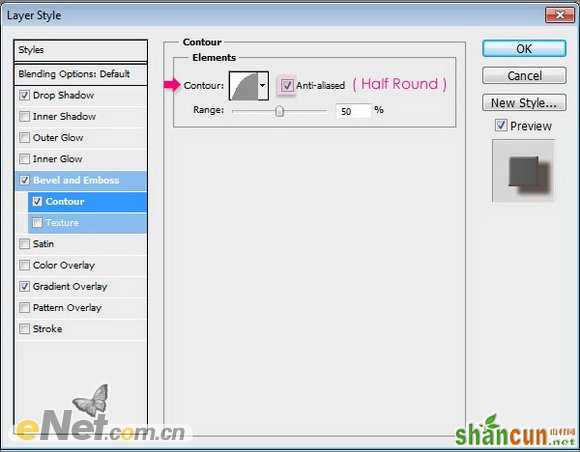
等高线
渐变叠加
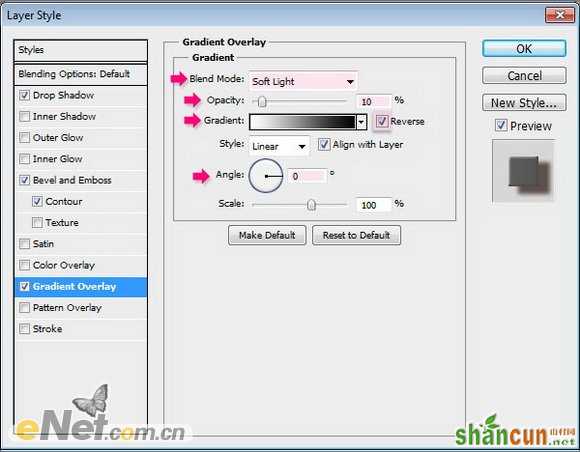
通过这些设置你应该能得到下面的效果
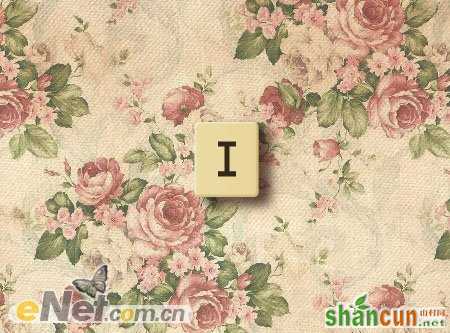
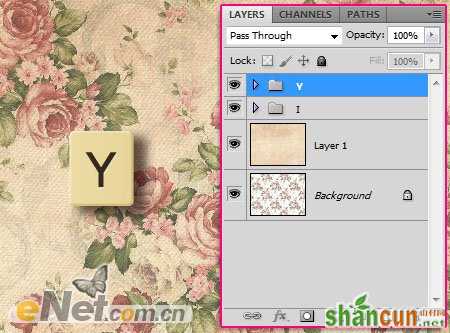
3.现在使用你喜欢的文字,在方块上输入文字,如下图所示
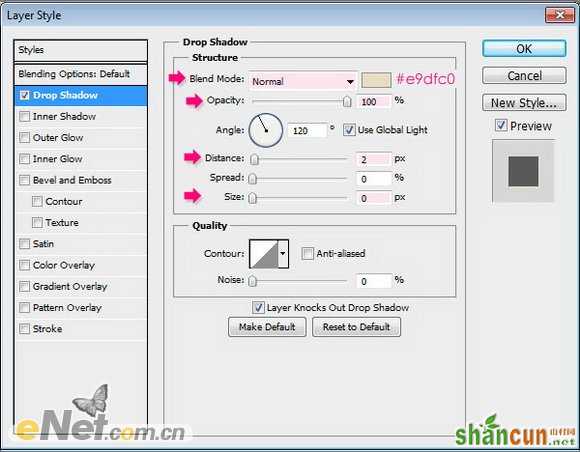
双击文字图层调出“图层样式”,并设置如下样式
投影
通过设置可以看出文字如刻入在方块里
使用同样的方法制作更多方块,并输入不同文字,如下图所示
继续输入并设置更多的字块

4.复制一个方块,并将文字删除,填充颜色为# d5593d。
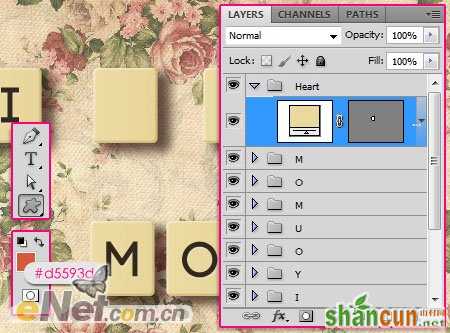
选择钢笔工具,使用“形状图层”,点击“自定形状工具”,并选择“心形”,在方块上绘制心形

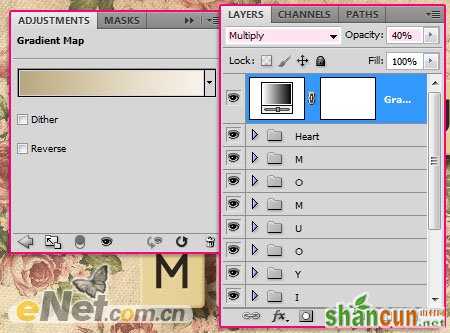
5.点击“图层面板”下方的“创建新的填充或调整图层”,在弹出的菜单中选择“渐变映射”
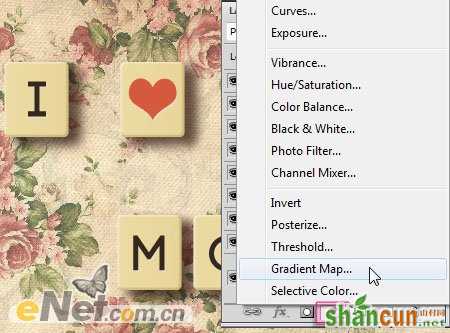
改变图层混合模式为“正片叠底”并设置不透明度40%,点击图层进行编辑
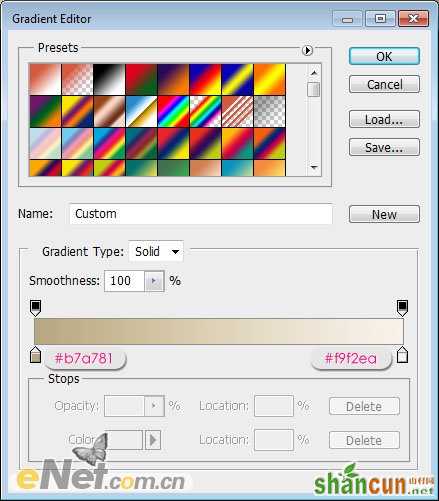
设置渐变颜色# b7a781和# f9f2ea。
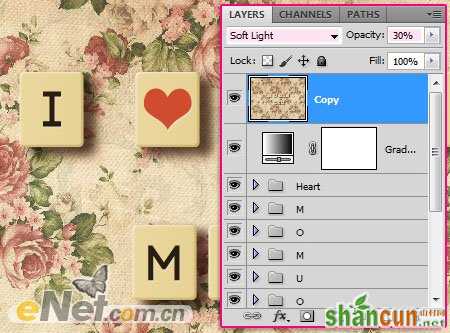
复制合并所有层包括背景,改变混合模式为“柔光”,设置不透明度30%
点击“滤镜>模糊>高斯模糊”,并如下设置
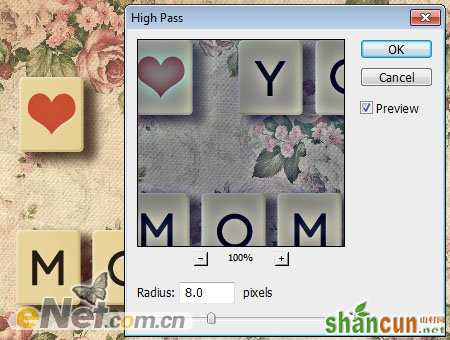
得到最终效果


