
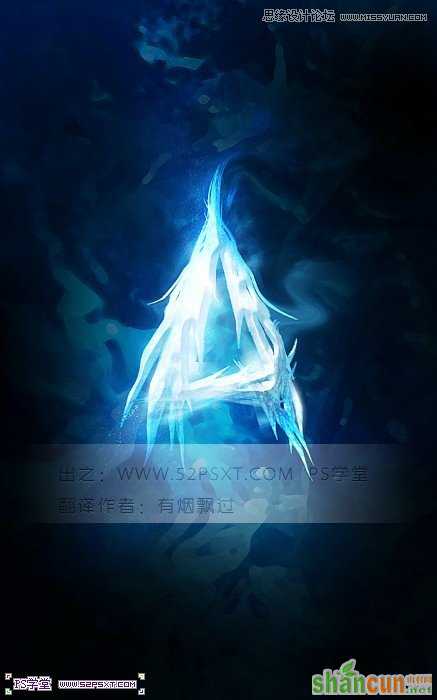
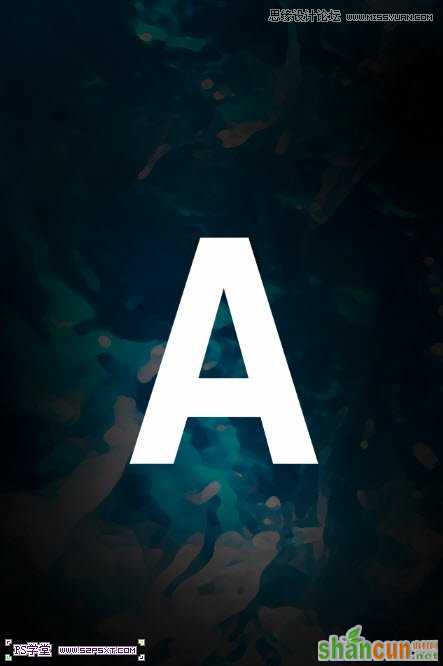
效果图:
PS教程:
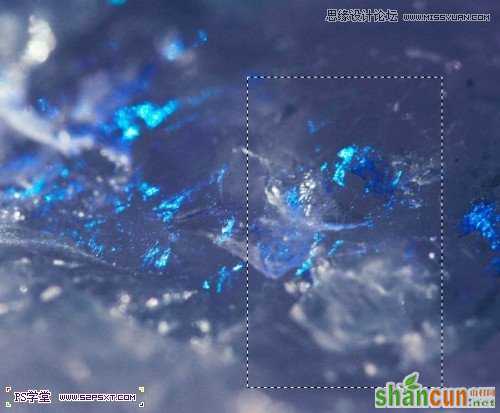
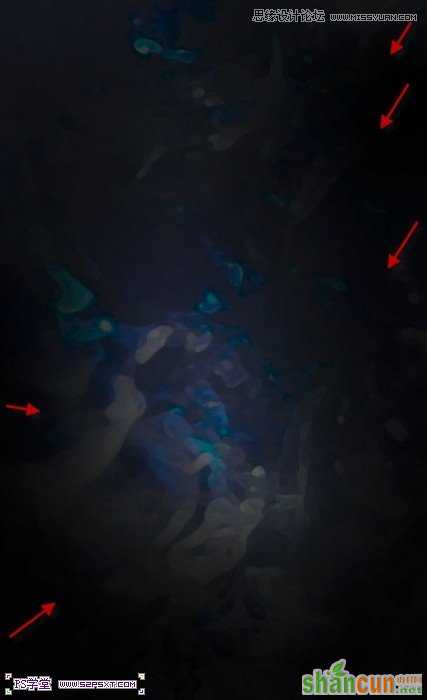
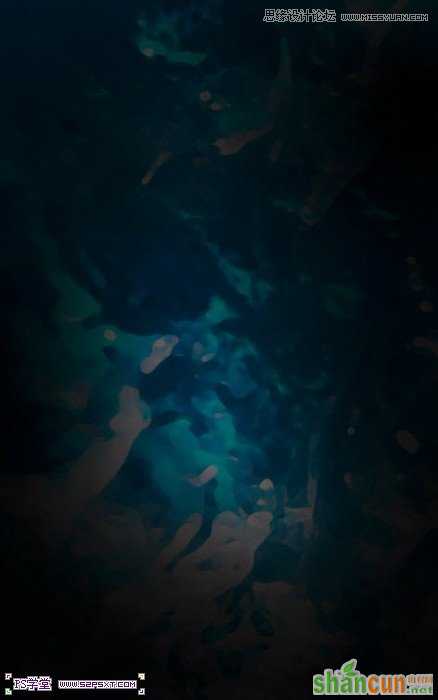
1.新建700*1120px大小的文档,编辑填充黑色。我们打开素材图,用矩形选框工具选区一部分,粘贴到我们的文档中
执行滤镜--艺术效果--干画笔,设置如下:
效果如下(如果你没有得到下面相似的效果,可以重复滤镜几次)
2.添加图层蒙版工具,用黑色柔软画笔适当降低不透明度,擦拭出如下效果
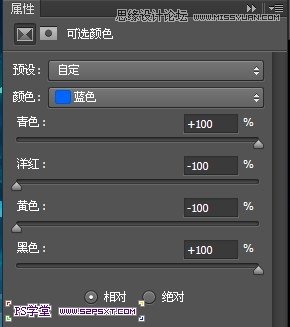
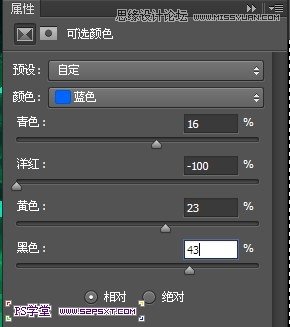
3.新增以下调整图层,
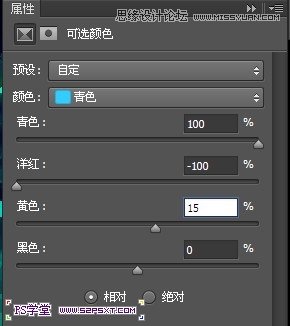
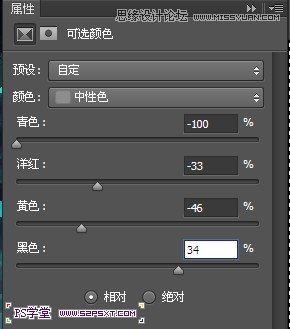
调整图层--可选颜色:
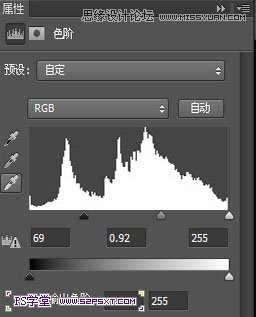
调整图层--色阶
调整图层--曲线
你会得到类似效果如下(如果感觉你的效果不对,可以适当的改变系数。同时修改一下第二步的蒙版效果)
4.打上白色字体A,字体自己把握,比较简单的字体即可。
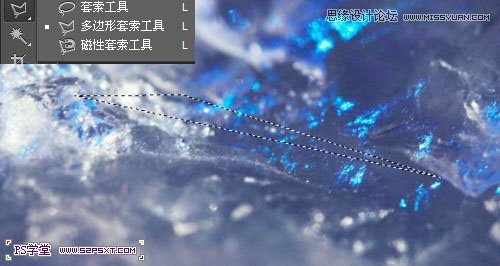
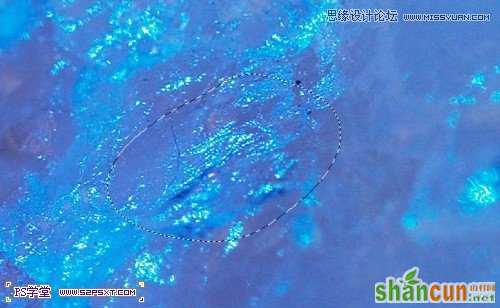
我们用多边形套索工具,在我们的素材图上截取如下的形状
5.复制到文档中,命名为“冰块”图层。ctrl+T摆放好位置
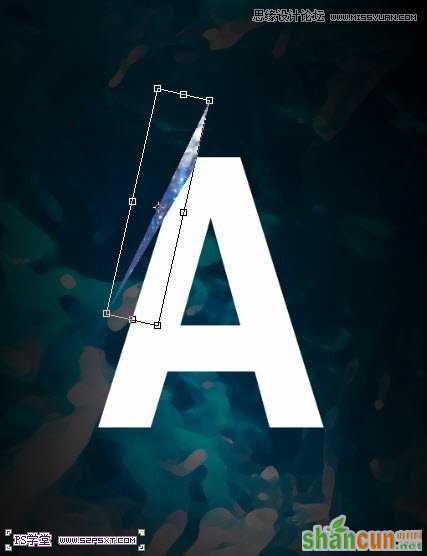
6.复制几层冰块形状,摆放好位置,多尝试几遍一直到满意位置
7.同样的办法处理右边和下边(可以新建组,将冰块图层都放在组内,这样就不会搞混)
8.来到字体A图层。我们右击栅格式化文字,用橡皮擦工具(适当降低不透明度)擦拭字体边缘部分,使字体和冰块相融合,软化边缘部分
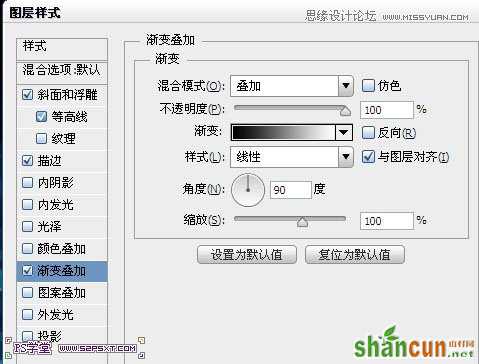
9.我们将所有的冰块图层合并,得到一个新的图层。设置图层样式如下:
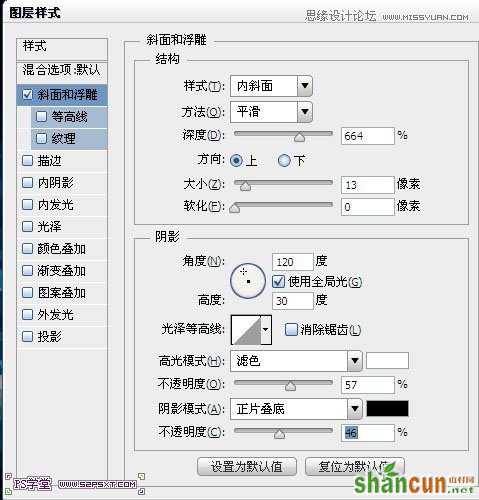
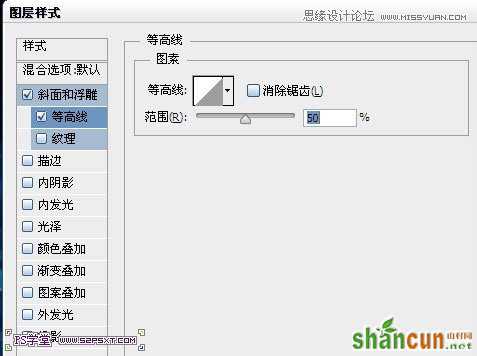
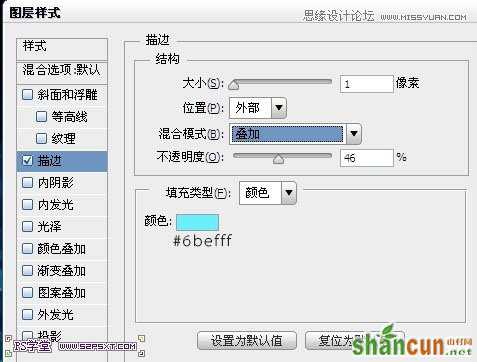
大致效果如下:(根据你字体的效果适当的调整图层样式中的斜面和浮雕)
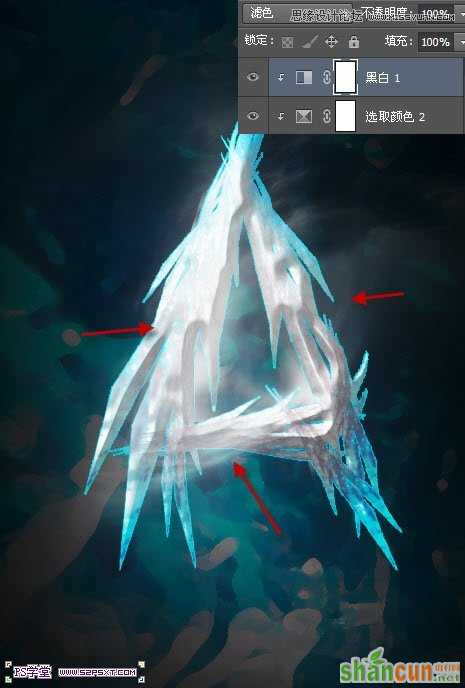
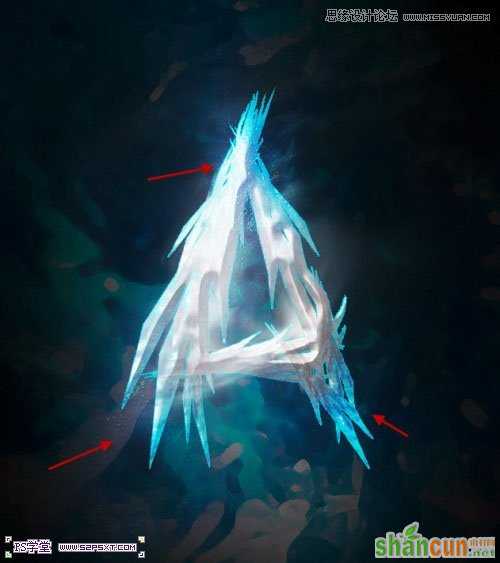
10.新添调整图层--可选颜色
调整图层--黑白,将图层模式改为滤色
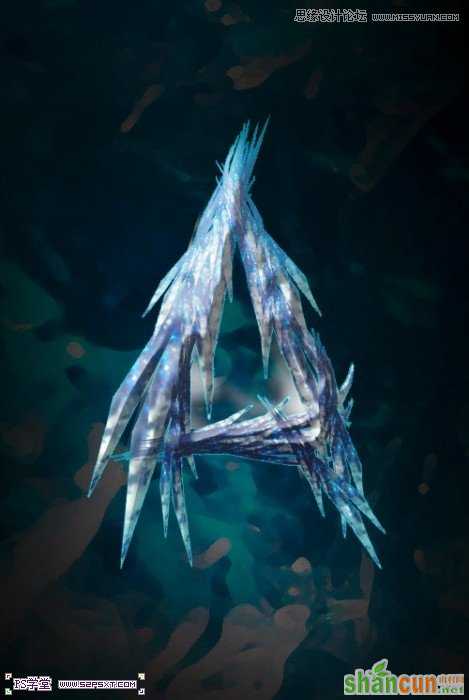
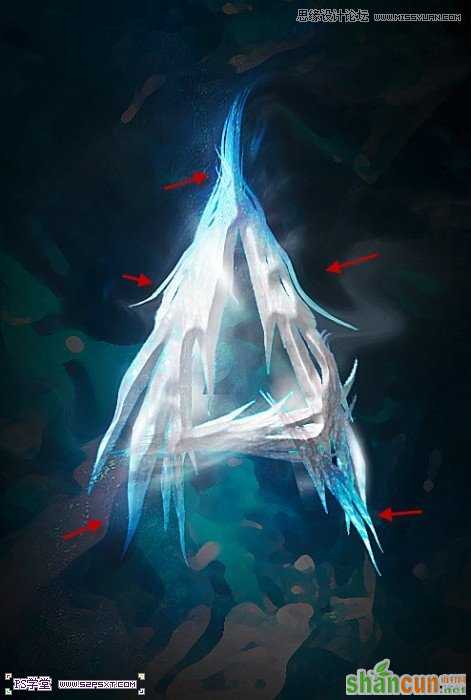
得到效果大致如下:
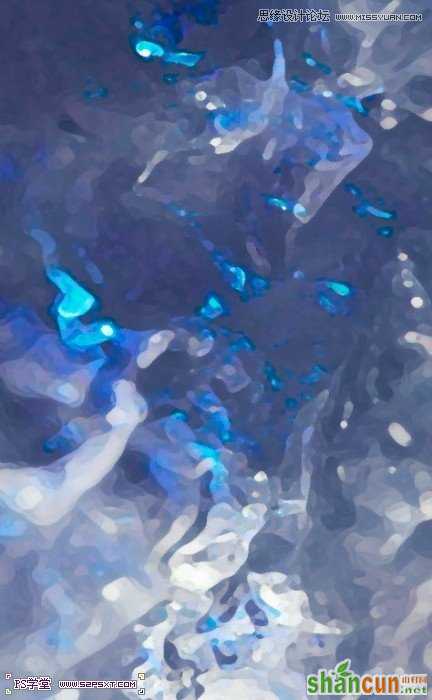
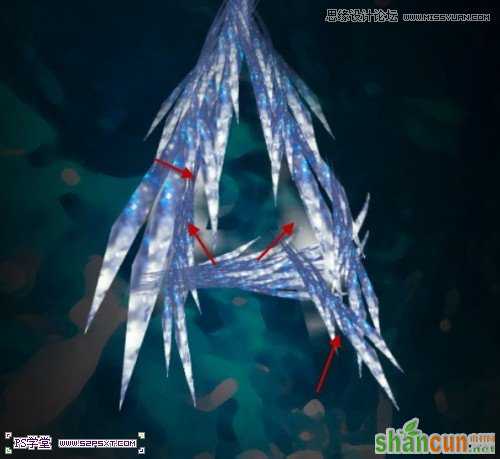
本帖隐藏的内容11.我们给字体增加颗粒效果。打开素材2,同样用套索工具选区一部分
12.复制粘贴到文档中,我们将其放在冰块图层上方,将图层模式改为叠加。复制该图层将其分别摆放到不通的位置
13.到这我们基本上大部分已经完成了。我们ctrl+shift+alt+E盖印图层,复制一层盖印图层。在复制图层上我们用滤镜--液化给图层添加一些效果(如果你不会用液化工具,我们也可以用涂抹工具来做)
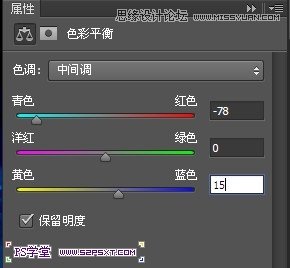
14.最后我们在所有图层上增加调整图层--色彩平衡
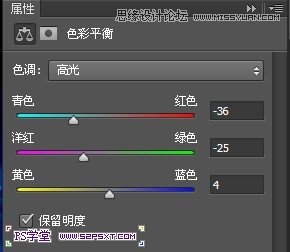
新添调整图层--曲线
最后完成效果图。


