
本教程主要使用Photoshop设计星空炫彩背景的字体教程,很酷炫的一款字体教程,教程中的效果都是用PS一样一样做出来的,教程非常详细,感谢作者为我们带来这么炫的字体教程。喜欢的朋友让我们一起来学习吧。
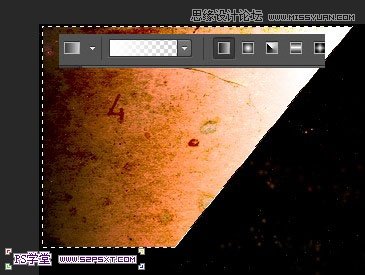
教程素材:废旧羊皮纸图片素材
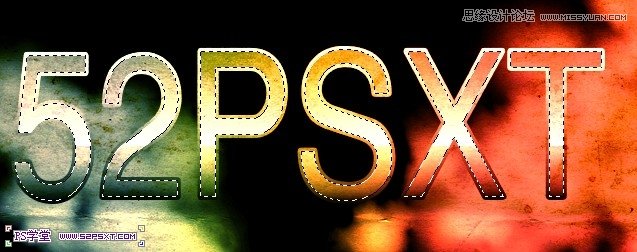
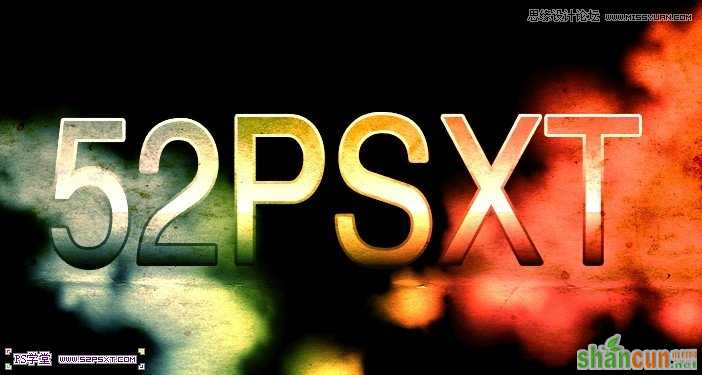
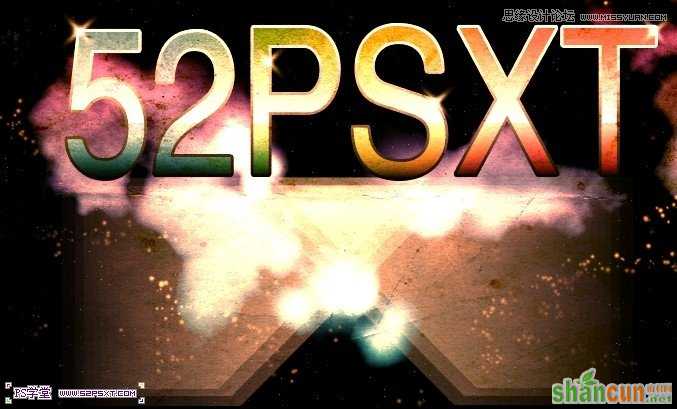
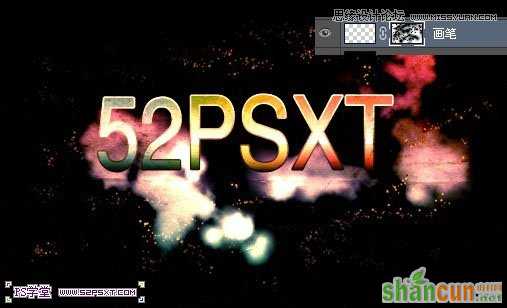
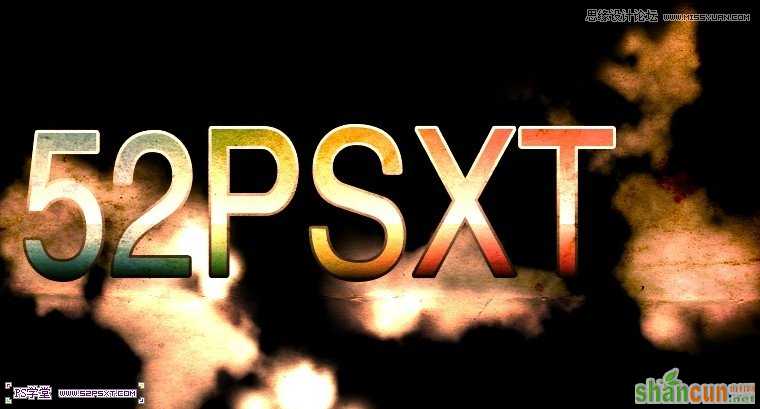
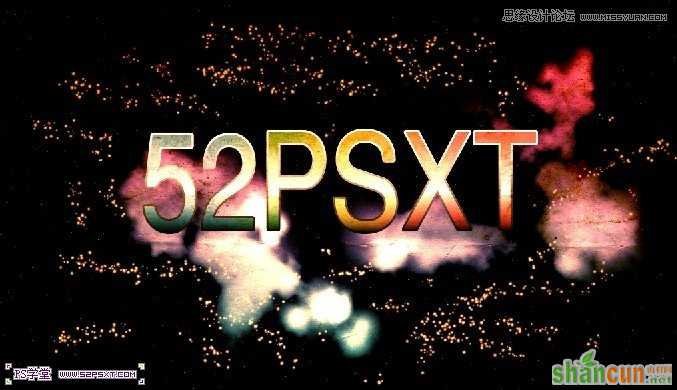
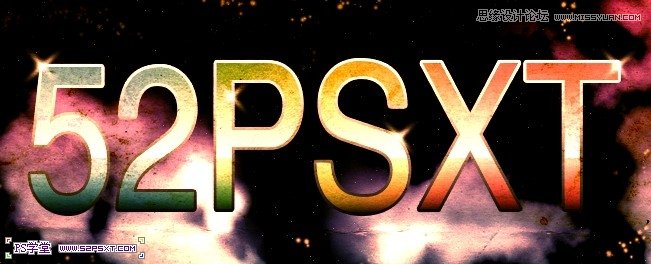
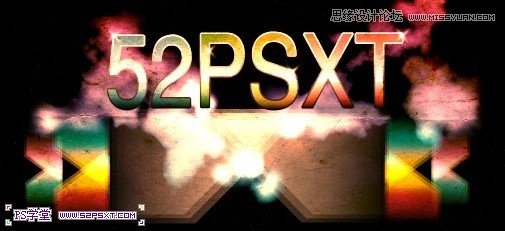
效果图:

教程 :
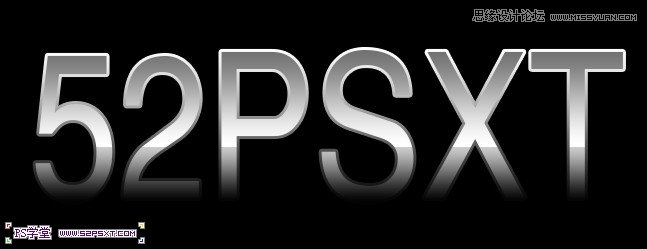
1.新建1200*750px大小的文档,编辑填充黑色,打上白色字体“52psxt”,字体这里就不提供了。比较简单的字体即可。

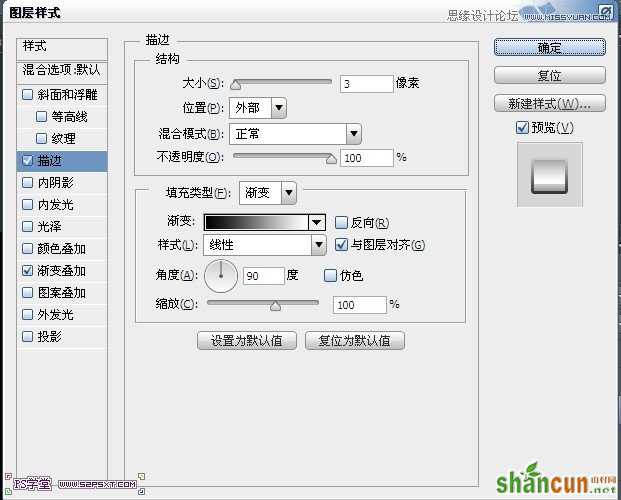
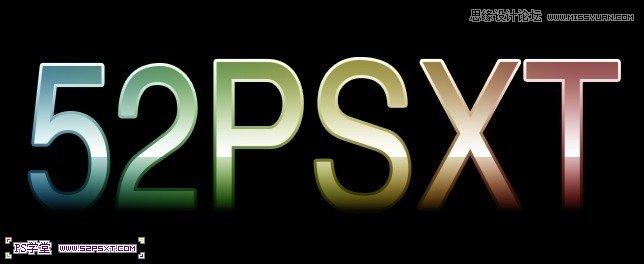
2.给字体设置图层样式如下:
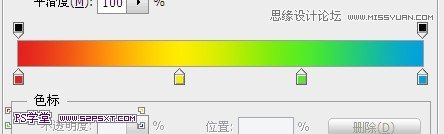
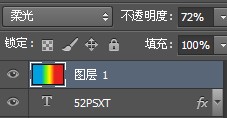
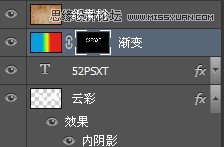
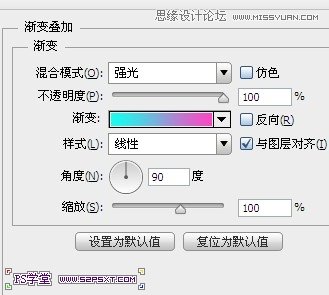
3.新建图层“渐变”,放在字体上方,拉一个渐变,将图层模式改为柔光,不透明度72%,如下:
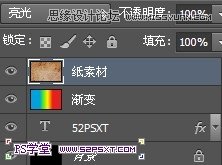
4.拉入纸素材,ctrl+T改变大小,摆放好位置,模式改为亮光
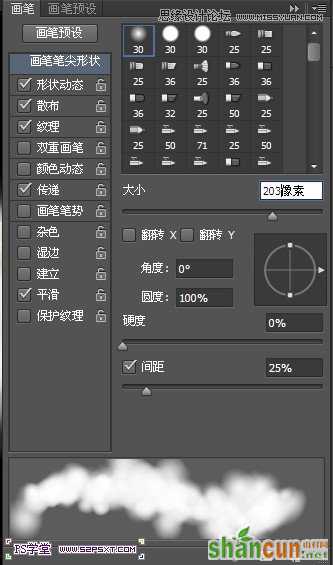
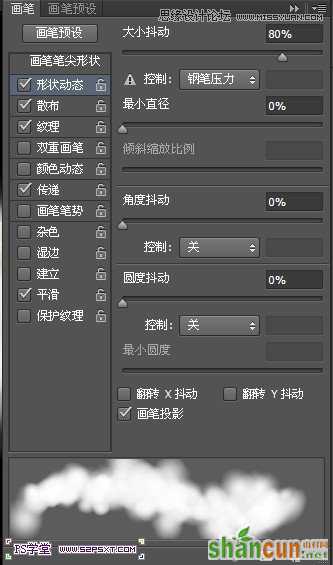
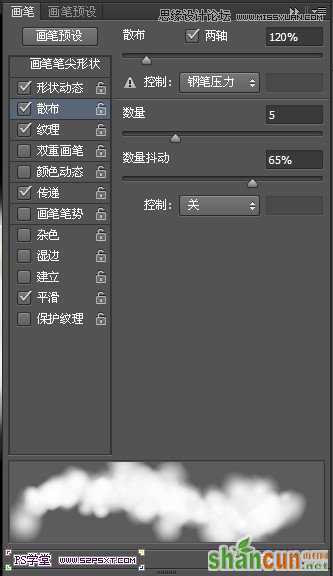
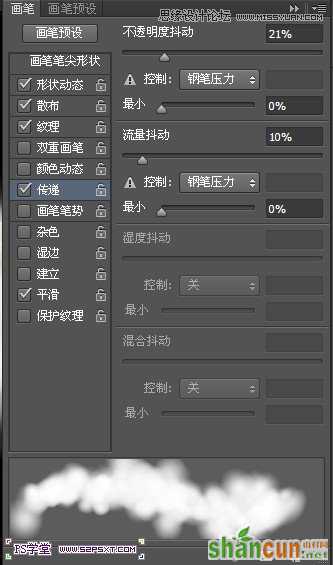
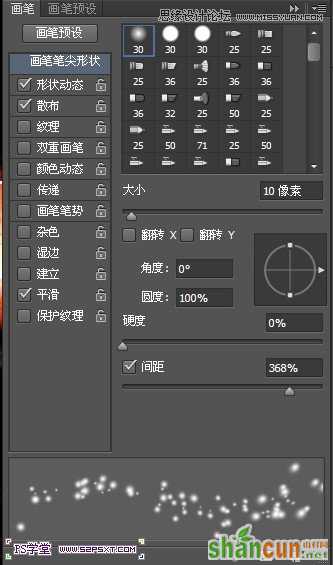
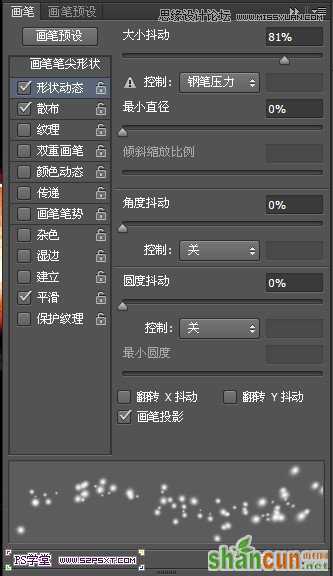
5.选择画笔工具,进行设置如下:
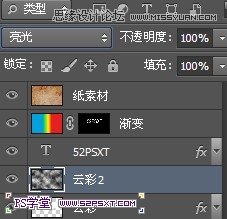
6.新建图层“云彩”,给图层设置图层样式内阴影,其他默认。用白色画笔在字两边画出云彩的效果
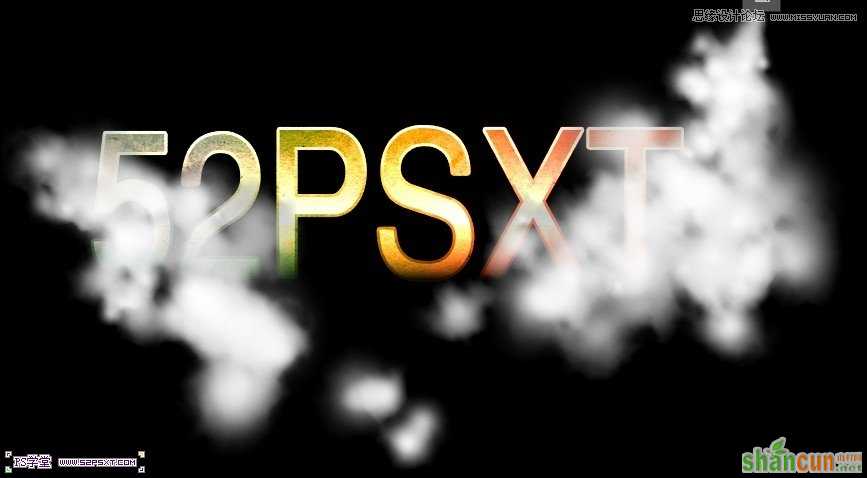
7.将云彩图层拉到字体图层下方,改不透明度56%
8.按住ctrl键点击字体图层,得到字体选区,我们来到渐变图层,点击添加图层蒙版。这样我们就将渐变效果仅仅作用于字体部分。

9.在“云彩”图层上新建图层“云彩2”。确保前景色和背景色为黑色和白色,执行滤镜--渲染--云彩,图层模式亮光
10.给云彩图层添加图层样式--渐变叠加,颜色从#00fff0到#e303bb.

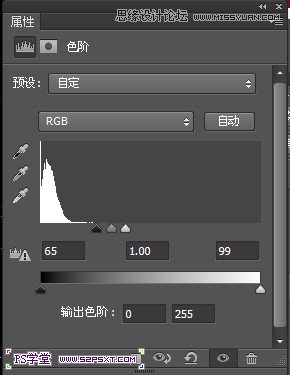
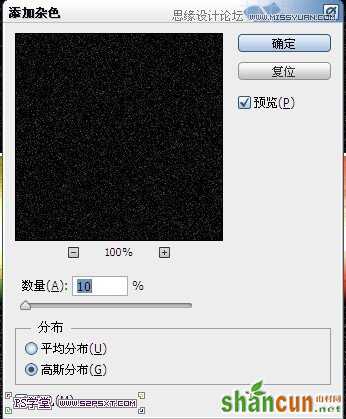
11.我们在“云彩2”图层上新建图层“杂色”,编辑填充黑色。继续执行滤镜--杂色--添加杂色,10%左右。
对该图层进行调整--色阶,将图层模式改为滤色,不透明度50%
12.选择画笔工具,将画笔工具设置如下:
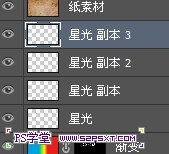
13.新建图层,用颜色#fbd485,在画布上刷出星光,随意点,后面还要用图层蒙版来进行修饰
给图层添加图层蒙版,用黑色画笔,300px大小左右进行随意的涂抹,做出星光若隐若现的感觉。
14.我们给字体添加点星光效果。这个做法很简单很常用。
。新建图层,用10px大小的白色柔软画笔点一下,ctrl+T变换,往两边拉长,enter键确定,复制图层,编辑--变换--旋转90度,最后合并两个图层即可。
做好之后,我们将图层放在渐变图层上方,多复制几层摆放好位置
15.用套索工具画出如下形状,拉白色到透明的渐变
将图层拉到字体图层下方,改不透明度为30%,(建议将新建组,将形状图层都放入组内。)摆放好位置如下:
16.同样的方法做出两边的效果,最后修饰一下
17.我们给两边的形状图层添加图层样式如下,颜色自己喜欢就好
18.最后在所有图层上面新添调整图层色相/饱和度即可
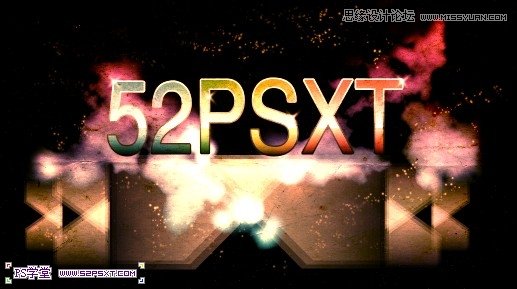
OK完成最终效果图:


