
最终效果

1.创建一个黑色背景的文档,从网上寻找一个如下样子的字体,在画布上输入文字
复制这个层,并填充不同的颜色,稍微向右移动

在复制第二个层,填充如下颜色,稍微向右移动
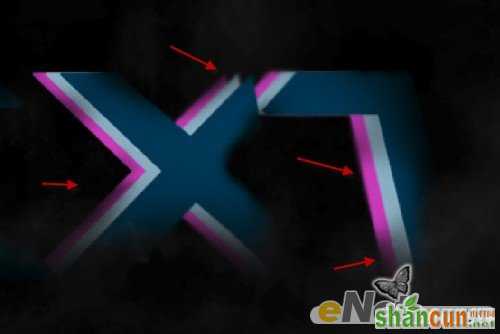
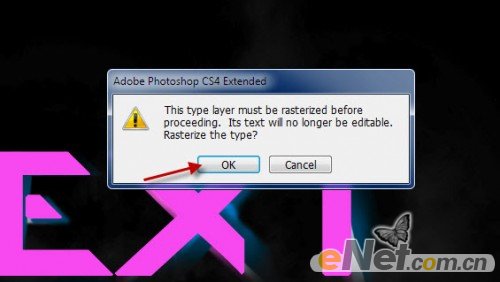
2.栅格化这些文字,并将这些文字合并在一起,用一个“橡皮擦”工具擦去这些文字的边缘,如下图所示
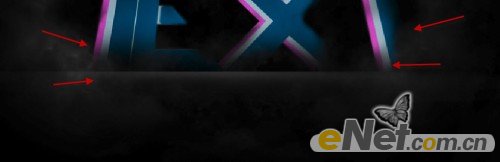
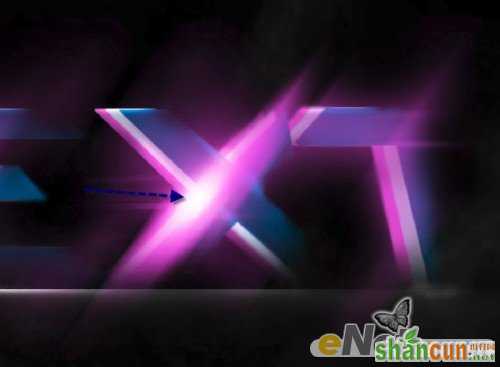
使用“模糊”工具,在下图所示的位置做一些模糊
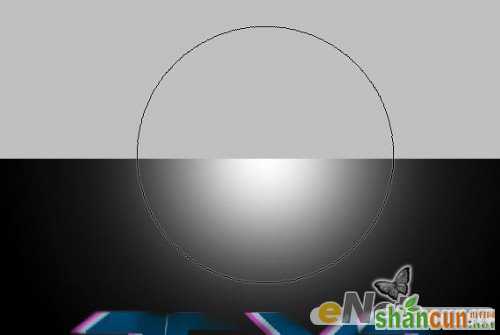
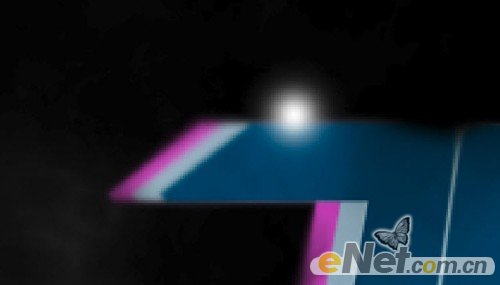
新建一个层,绘制一个白色圆点
使用“自由变换”工具,压缩这个圆

将不透明度设置为50%
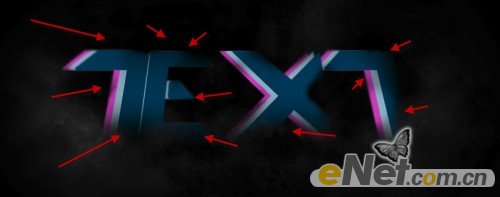
3.新建一个层,使用柔角白色笔刷,在下图显示的位置绘制白色圆点
使用“自由变换”工具压缩并如下图放置
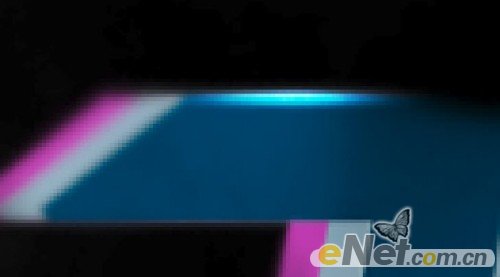
改变图层混合模式为“叠加”
复制这个层两次,边缘看上去更亮
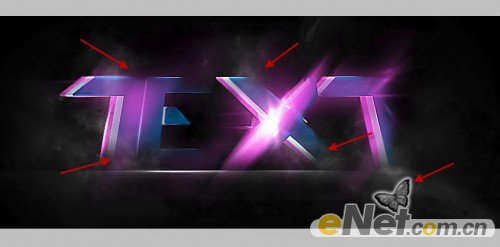
重复这个步骤,在下图所示的地方制作同样的效果

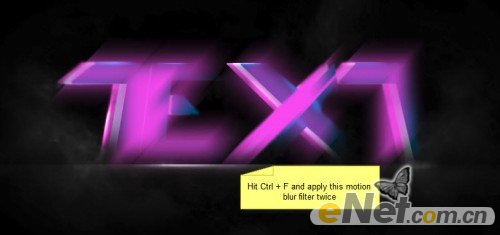
4.复制原始文字图层,将他放置在图层的最上面,点击“滤镜>模糊>运动模糊”点击确定。
如下图设置运动模糊

按Ctrl+F重复应用模糊两次
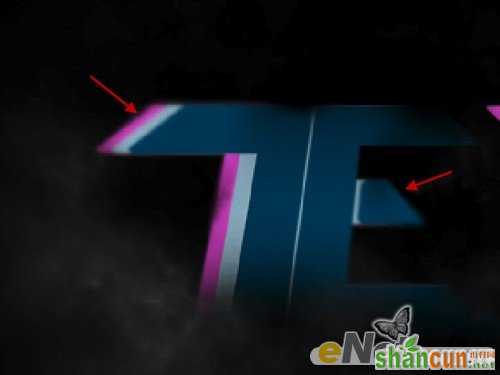
使用柔角“橡皮擦”擦去一些厚重的部分,让光线更有层次
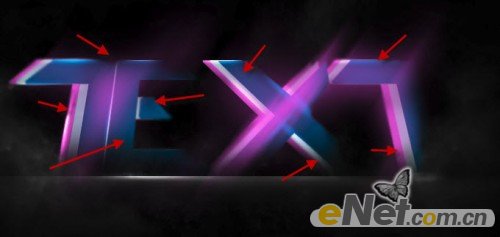
重复这个运动模糊三次,你可以得到如下效果

5.最后添加了更多的照片效果,使用柔角笔刷,如下图所示
使用“USM锐化”并如下设置

使用“云”笔刷,你可以添加一些云雾效果
这样我们得到了最终效果


