
这是一个Photoshop CS6教程中,将会向大家展示用Photoshop CS6打造趣多多饼干文字特效的详细步骤,我们会对一些基本的PS技能进行练习,如快速选择工具,图层蒙版,图层混合选项之类的。
本Photoshop CS6教程属于PS入门级的教程,步骤都很简单,来吧。
photoshop教程最终效果图
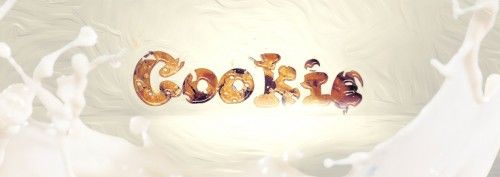
图00
教程中会用到下面的素材:
饼干、牛奶
第一步
新建一个1100 * 440 px的文档, 白色背景,选择渐变填充工具,设置为“径向渐变”,颜色配置如下:
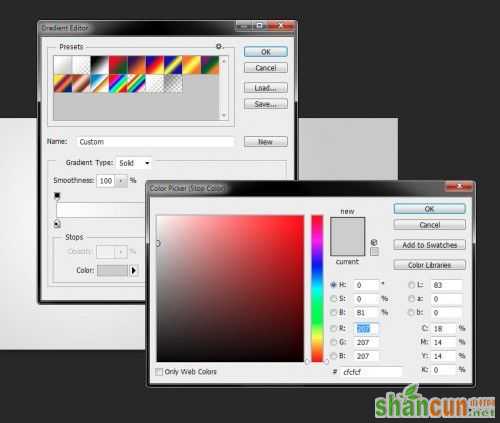
图01
用该渐变如下所示地填充背景图层:
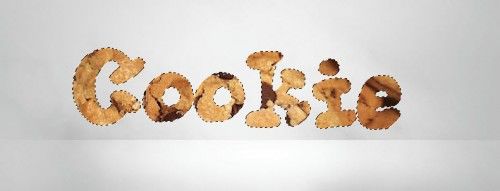
图02
然后在顶部新建一个图层,使用一个白色的软笔刷,在画布的顶部边缘上画上一个圆点。
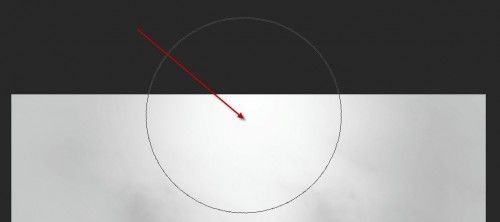
图03
使用自由变换工具向下压缩:
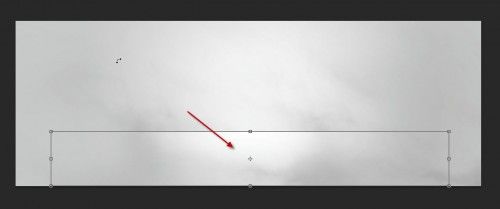
图04
目前,你看到的效果是这样的:
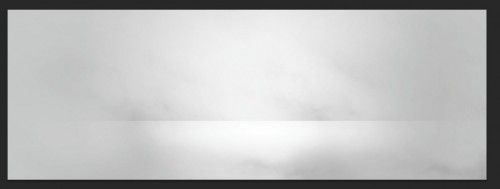
图05
第二步
现在,我们需要在画布上打几个字,我这里使用的是Photoshop自带的“Thick Chocolate”款字体
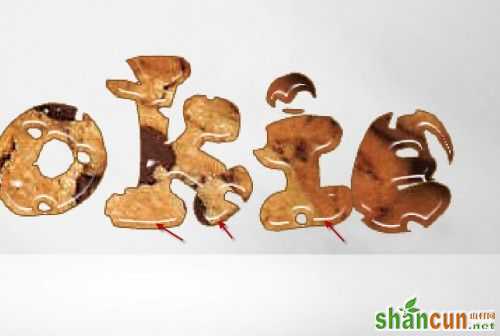
图06
使用选择工具将文字图层选中:
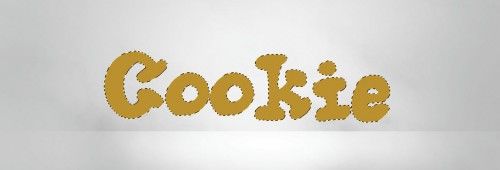
图07
然后将选区移动到饼干素材上面
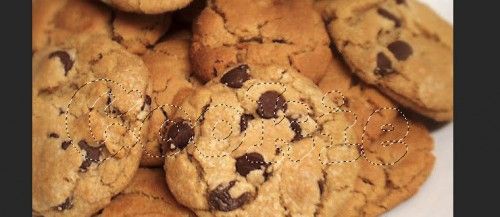
图08
复制,将选区粘贴到我们的文档中,隐藏原先的文字图层:
图09
我们现在回到饼干图片,然后使用快速选择工具,将笔尖大小设置为6px
如下图所示,作几个小的选区:
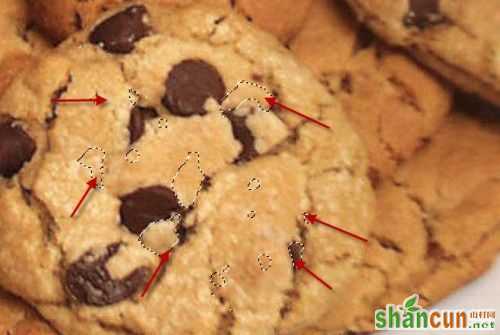
图10
在饼干纹理图层上添加一个图层蒙版,然后将这些选区移动到饼干纹理的图层上面来
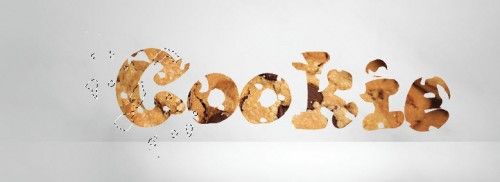
图11
单击图层蒙版缩略图,然后编辑>清除
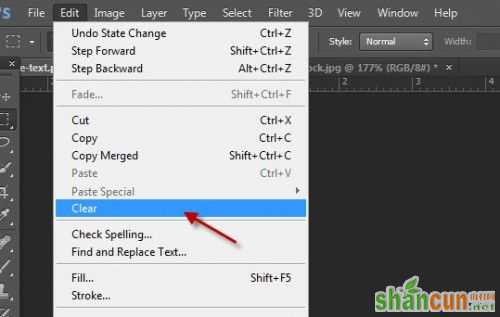
图12
多重复该步骤几次,然后就能看到饼干被咬掉的效果了:
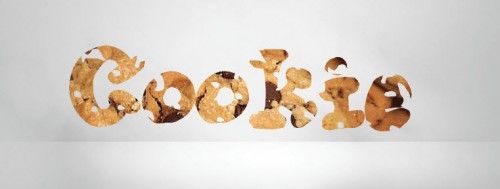
图13
第三步
现在,我们要使用图层的混合模式来给文字图层添加一点深度
斜面和浮雕
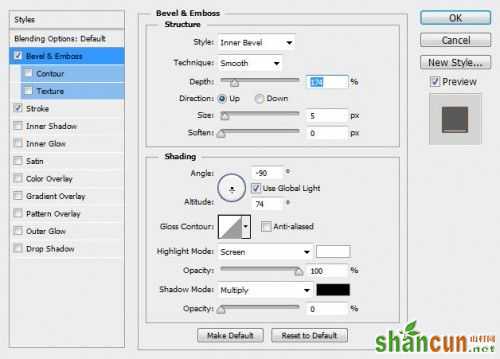
图14
描边
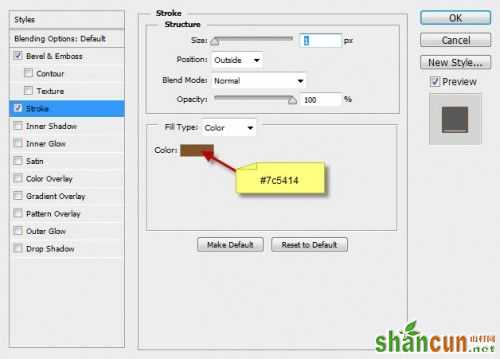
图15
然后你会得到如下的效果
图16
我们也可以使用前面在饼干素材上的制作的选区来添加一些小的饼干碎屑
当复制粘贴的时候你会发现,会有一些多余的线,看吧:
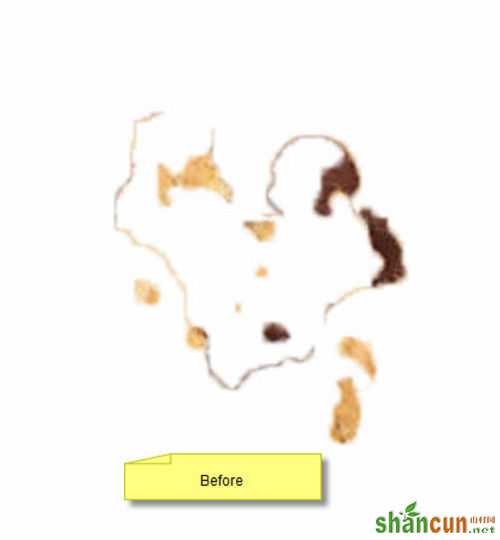
图17
可以使用调整边缘工具来解决,进行如下调整:
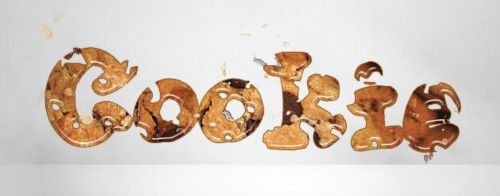
图18
然后你就能得到这样的效果了。
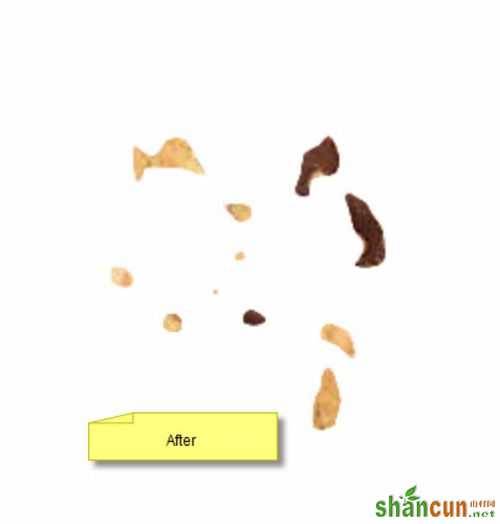
图19
把这些碎屑添加到文字的周围
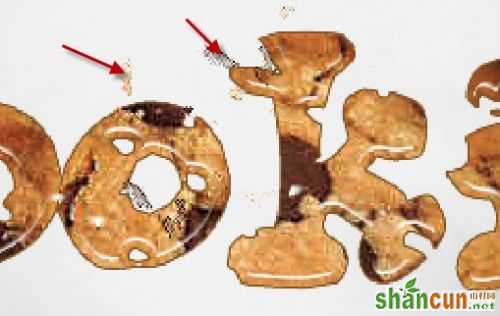
图20
目前为止,总的效果是这样的:
图21
第四步
就快要完成了,现在来做一些最后的修整,盖印图层(CTRL + Shift + Alt +E),然后对拷贝的图层使用油画滤镜,混合模式为柔光
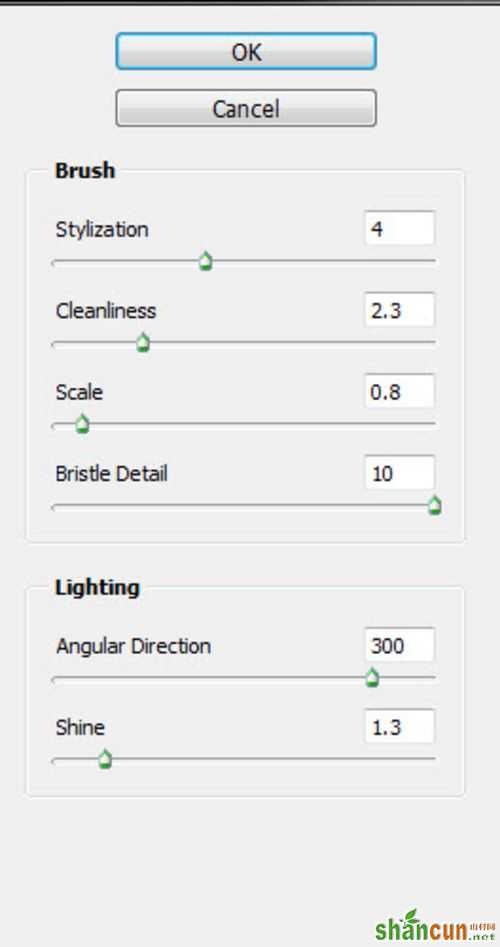
图22
在牛奶中选中牛奶的纹理部分,给文字添加牛奶的喷溅效果
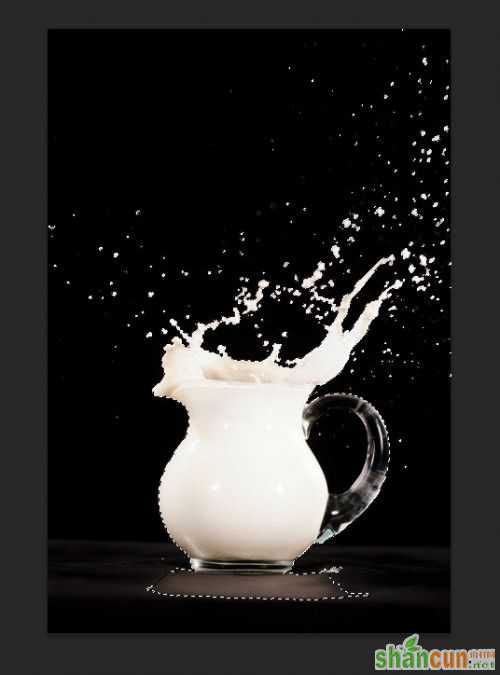
图23
复制,粘贴该选区文档中,混合模式改为变亮
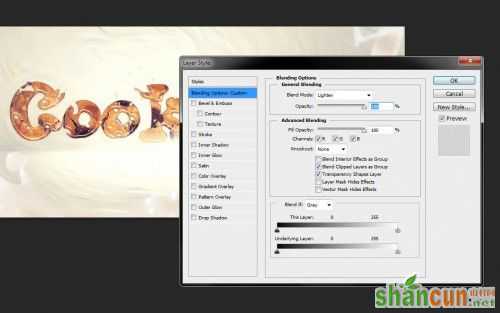
图24
然后就得到最终效果了。

图25


