
图层样式制作出透明水晶艺术字效果

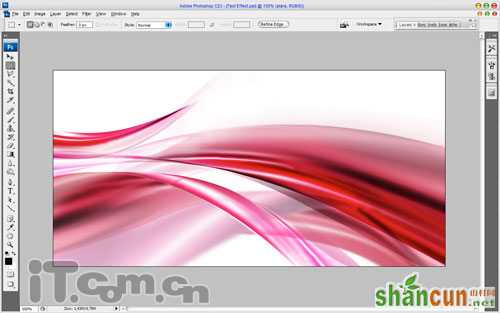
1、首先我们在photoshop中创建一个新文档,尺寸:1000*5000px。然后我们打准备好的背景素材图片复制到文档中。一个好素材是一个好PS作品的起点,所以素材选择是很重要的。
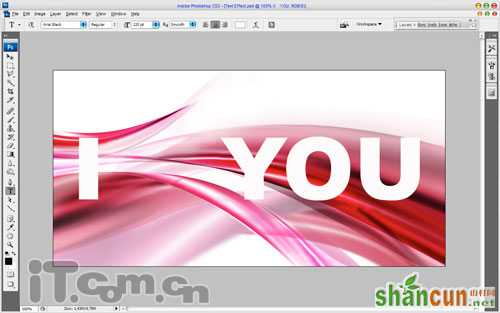
2、使用“横排文字工具”在图片中输入文字,在这个ps教程中我选用了“I love you”,“love”我准备用一个心形代替,所以中间部分先留空位置,如图所示。
3、接下来,我们打开第2个心形的素材图片,然后执行“编辑—定义图案”命令,打素材自定义为图案。返回文字图片,为文字图层添加以下图层样式效果,如图所示。<、p>
投影(混合模式:正片叠底、不透明度:88%、距离:15、扩展:21、大小16)
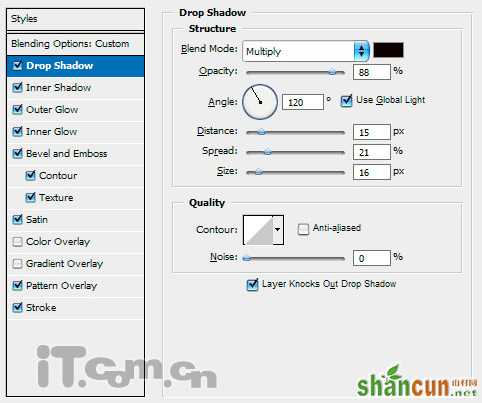
内阴影(混合模式:正片叠底、不透明度:45%、角度:108、距离:7、大小:7)

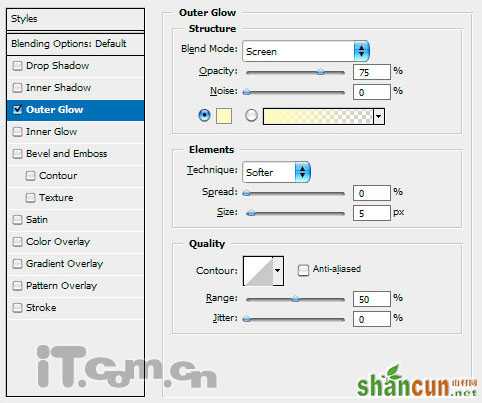
外发光(混合模式:滤色、不透明度:75%、方法:柔和、大小:21)
内发光(混合模式:线性减淡(添加)、不透明度:16%、方法:精确、阻塞:10、大小:10、等高线:锥形、范围:56%)
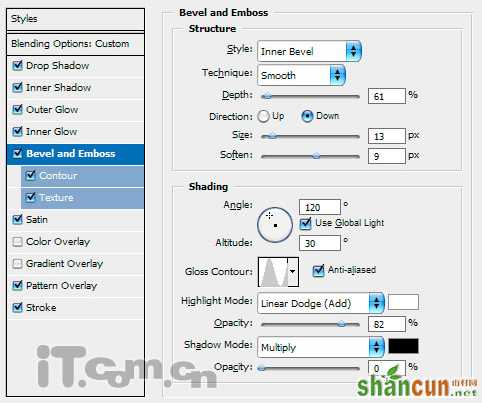
斜面浮雕(样式:内斜面、方法:平滑、深度:61、大小13、软化:9、角度:120、高度30、光泽等高线:环形、消除锯齿、高光模式:线性减淡(添加)、高光不透明度:82%、阴影不透明度:0%)
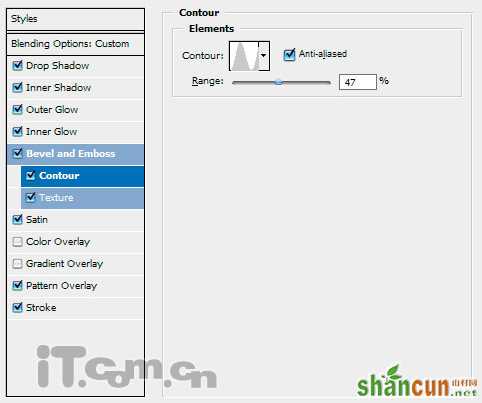
等高线(等高线:环形、消除锯齿、范围:47%)
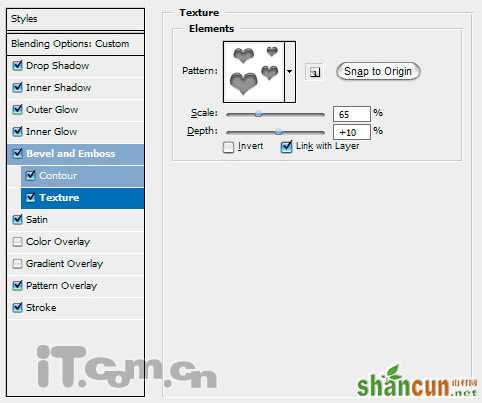
纹理(图案:使用前面定义的素材、缩放、65%、深度:+10%)
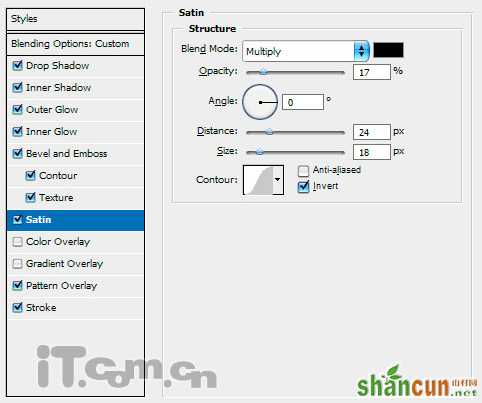
光泽(混合模式:正片叠底、不透明度:17%、角度:0%,距离:24、大小:18)
图案叠加(图案:使用前面定义的素材、混合模式:正常、缩放:按实际调整)
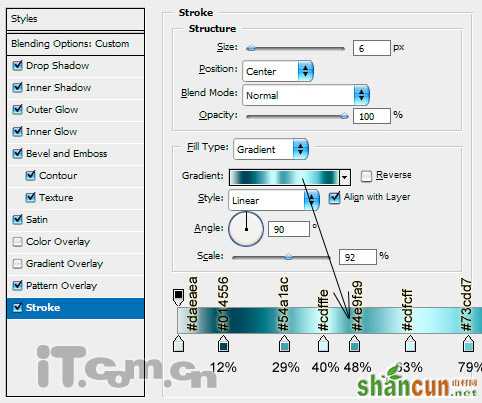
描边(大小:6、位置:居中、混合模式:正常、填充类型:渐变、样式:线性、角度:90)并设置渐变颜色,如图所示。
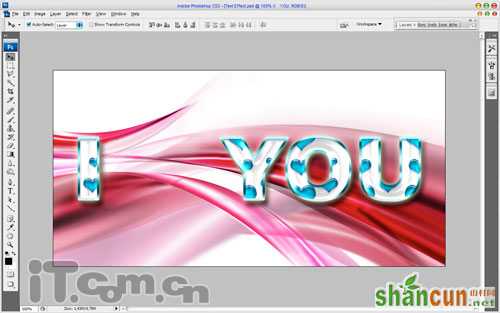
效果图:
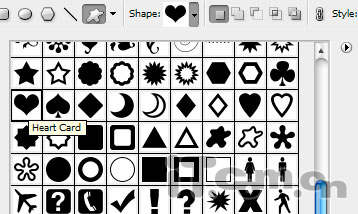
4、创建一个新图层,选择“自定形状工具”在属性栏中选择“红桃”图案,然后制作出一个心形,如图所示。
心形的颜色可随意定,如图所示。

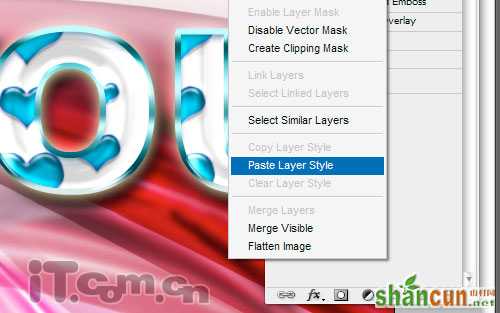
5、选择文字图层,然后右键单击文字图层,在弹中的菜单中选择“拷贝图层样式”命令,如图所示。

6、选择心形图层,右键单击心形图层,在弹中的菜单中选择“粘贴图层样式”命令,把文字图层的图层样式复制到心形图层中,如图所示。
效果如图所示。

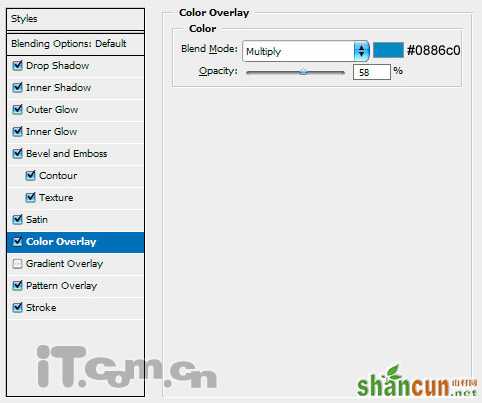
7、效果这差不多了,我们再为心形图层添加一个“颜色叠加”图层样式,混合模式:正片叠底、不透明度:58%、颜色:#0886c0。如图所示。
效果如图所示。

8、下面我们为心形添加一个闪光效果。新建一个图层,使用“矩形选框工具”创建一个细长的选区并填充白色,如图所示。

9、Ctrl+D取消选择,然后打开“滤镜—模糊—运动模糊”滤镜,设置参考下图。
效果如图所示。

10、按下Ctrl+J复制一图层,并旋转90度,如图所示。

11、新建图层,使用“椭圆选框工具”创建一个圆形选区填充白色,如图所示。

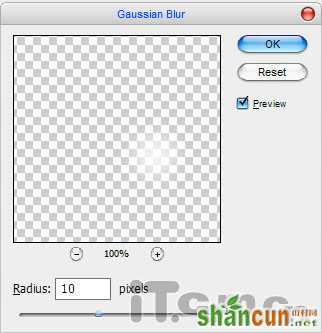
12、按下Ctrl+D取消选择,然后打开“滤镜—模糊—高斯模糊”滤镜,设置参考下图。
效果如图所示。

13、最后合并这3个图层,然后添加外发光图层样式,如图所示。
效果如图所示。

14、按下Ctrl+T进行自由变换,闪光的旋转角度,如图所示。

到这里,photoshop教程就完毕了,最终效果如图所示。
注:更多请关注photoshop教程 栏目,山村PS教程群:181754111欢迎你的加入


