
制作思路:先用Photoshop中的钢笔工具勾划出流畅的曲线,其形态依据所要表现的文字勾勒。然后描边路径,再用Photoshop画笔根据路径装饰一下Photoshop中高光背景,最后在Photoshop中把曲线复制并模糊变形即可。
下面是Photoshop中制作的过程:
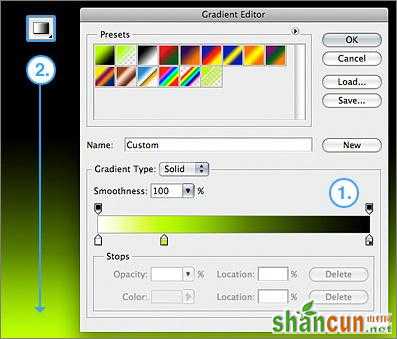
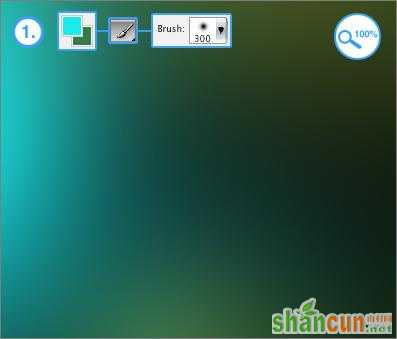
1、创建一个新Photoshop文档,大小为1920 x 1200,之后在Photoshop中设置渐变色:
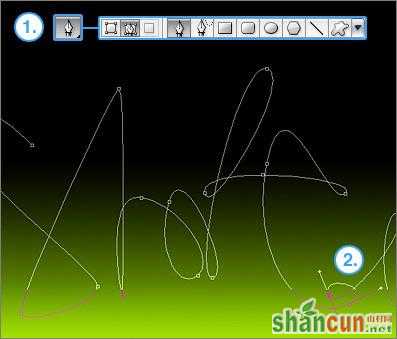
2、在Photoshop中使用Photoshop钢笔工具绘制如下图形:
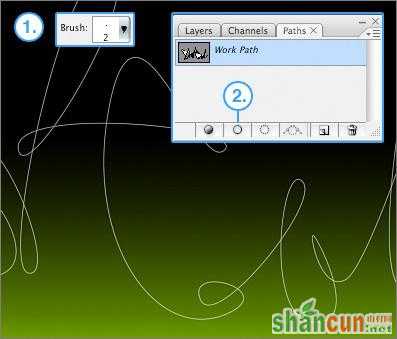
3、创建Photoshop新图层,打开Photoshop路径面板,在Photoshop中描绘出文字的大体情况,然后设置画笔大小为2像素,再选择描边路径:
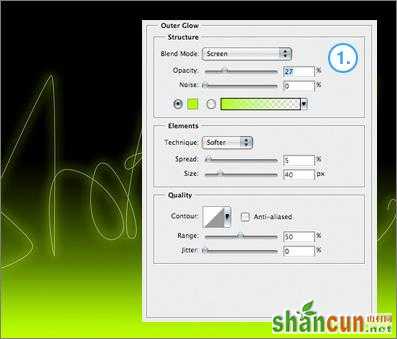
4、之后设置Photoshop图层样式,在Photoshop中选择外发光,Photoshop参数设置如下图,确定后把Photoshop图层混合模式改为“叠加”:
5、在Photoshop背景图层上面新建一个图层,把Photoshop的前景颜色设置为稍亮的色调,再在Photoshop中用画笔在文字有交点部位点上高光:
6、把Photoshop线条图层复制一层,按Ctrl + T适当改变下Photoshop中的角度,然后再执行:Photoshop>滤镜>模糊>高斯模糊,数值为3,确定后把 Photoshop图层混合模式改为“叠加”,完成在Photoshop中的制作完毕后的效果图如下:

注:更多请关注photoshop教程栏目,山村PS教程群:181754111欢迎你的加入


