
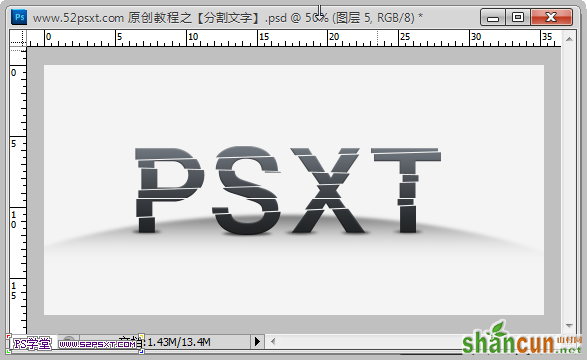
效果图:

教程开始:
1、开始创建一个新的文件大小为1000×500像素,并填充颜色#f4f4f4。
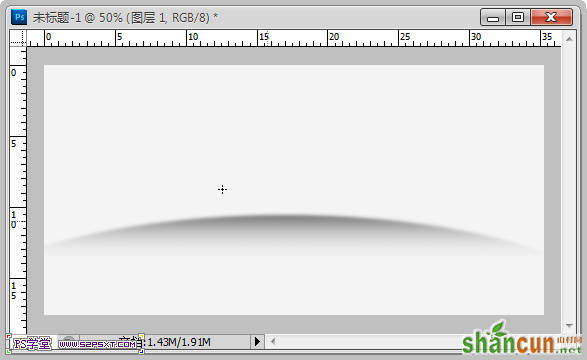
2、新建图层,用椭圆选框工具,拉出如下图形的选区,并填写由黑色到透明的渐变。
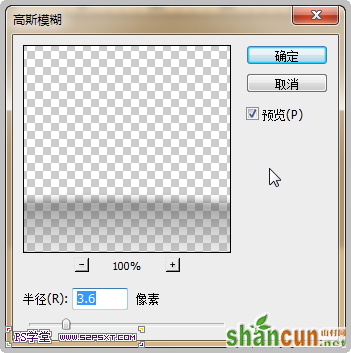
按Ctrl+D删除选区,执行‘滤镜>模糊>高斯模糊’数值如下。
3、新建图层,用较粗的英文字体在画布中输入文字‘PSXT’,颜色为:#262223
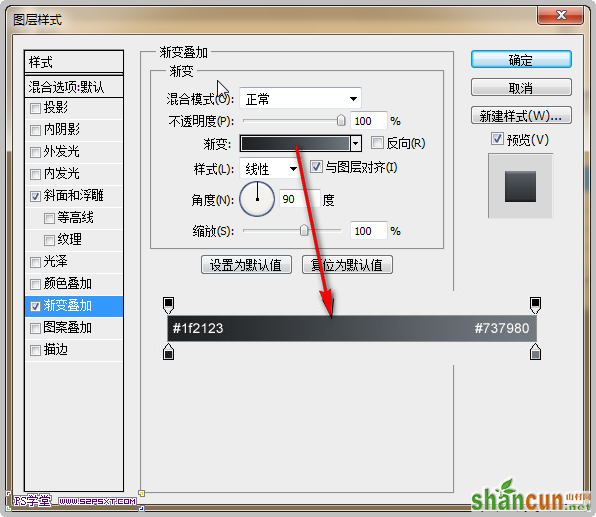
4、为文字添加图层样式:斜面和浮雕,渐变叠加,数值如下。
如下。
5、新建图层,将此图层移到文字图层的下面,要为文字添加一些阴影。
使用椭圆选框,在文字下拉出小小的椭圆形选区,填充黑色。
同样为其它字体添加阴影,像S的底部宽一些,阴影也要宽一些。
6、新建图层,将此图层移到文字图层的上面,将此图层和文字图层选住,按Ctrl+e合并,这样做是让矢量的文字图层变成普通文字图层,同时合并掉了图层样式,方便下面的操作。

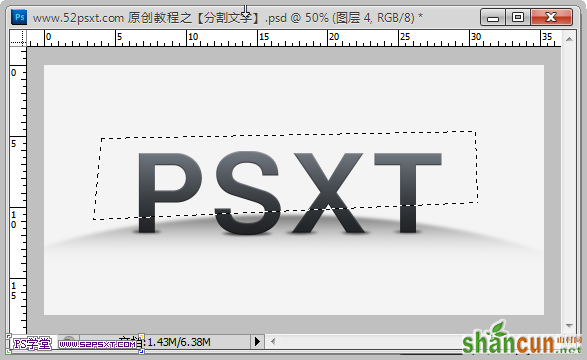
7、使用‘多边形套索工具’拉出如下选区。
按Ctrl+Shift+J将选区新建到图层上,使用移工具往左上移动一点点。
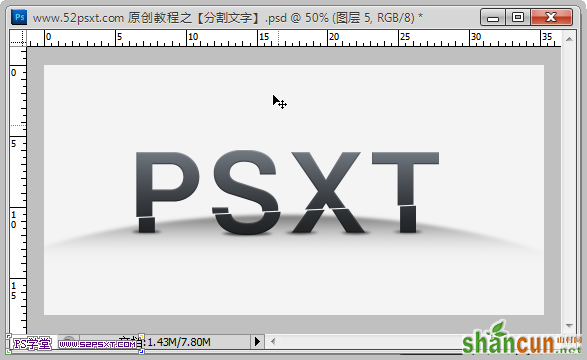
重复上一步作法,效果如下。
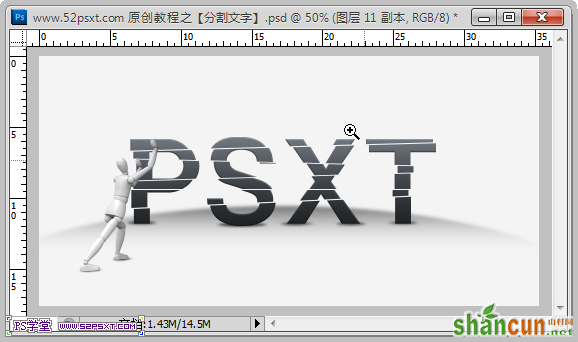
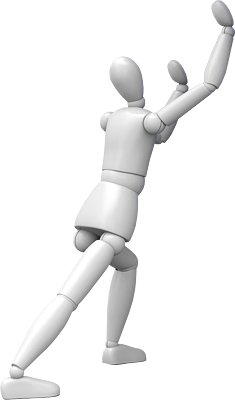
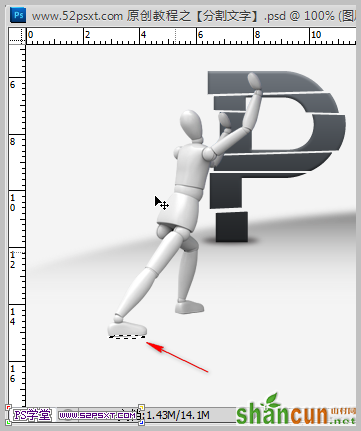
8、打开3D机器人素材,将素材拖入,缩小并摆放好位置如下。

9、为机器人的两只脚添加阴影,可以用柔角橡皮擦,不透明度度调低一些来适当的擦除阴影,使阴影更自然。
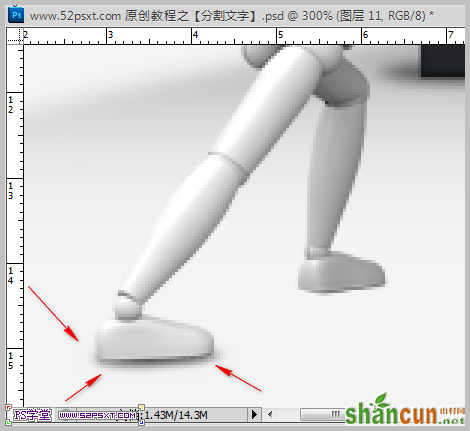
同样为另一只脚也添加上阴影效果。
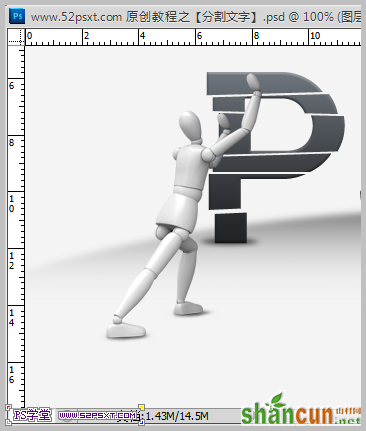
10、最后完成了效果,是不是很简单呢!
注:更多请关注photoshop教程栏目,山村PS教程群:181754111欢迎你的加入


