
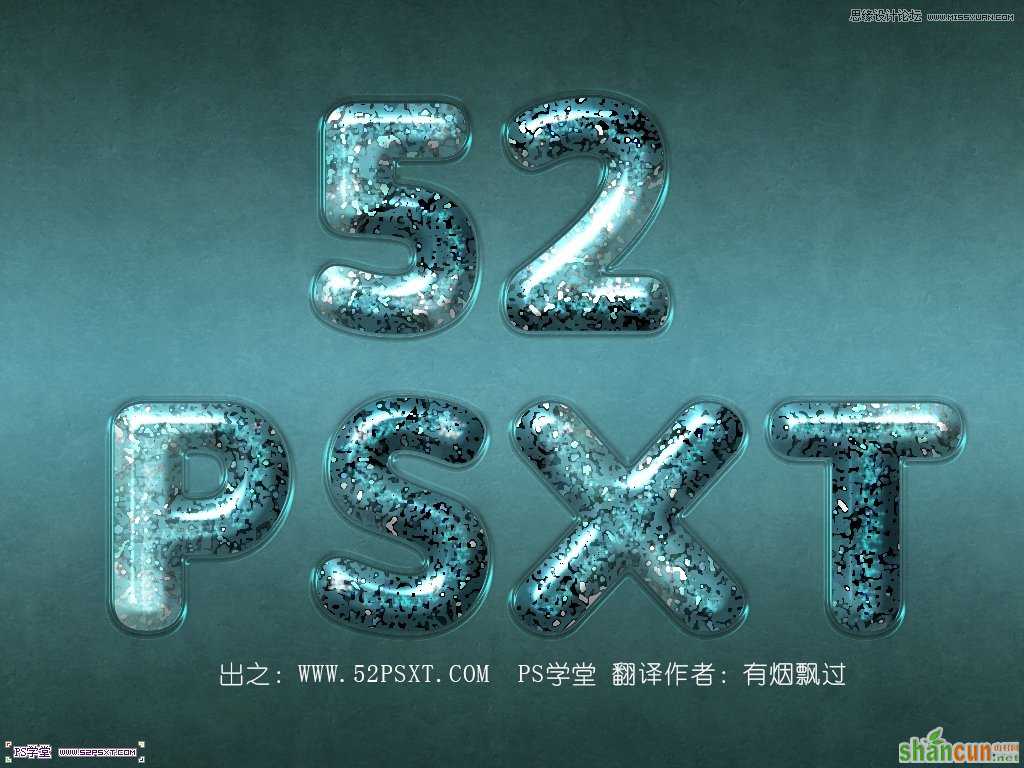
先看看效果:
具体教程:
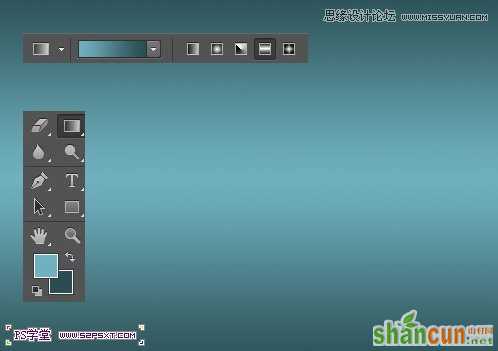
1.新建1024*768px大小的文档,设置前景色为#6fb1bf, 背景色为#2a4d53,然后我们从画布中间向下拉对称渐变
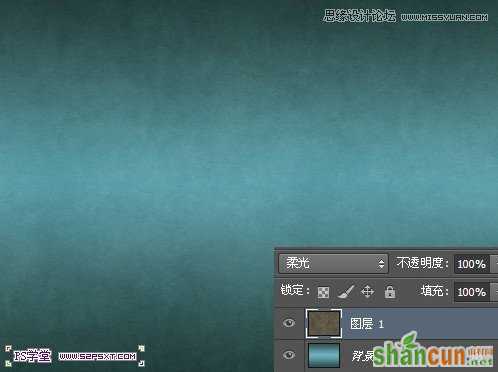
2.拉入背景素材,我们调整好大小摆放好位置,改模式为柔光
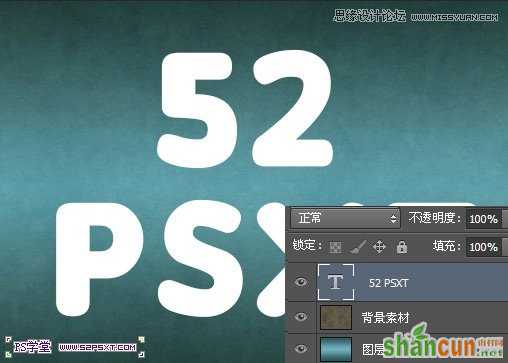
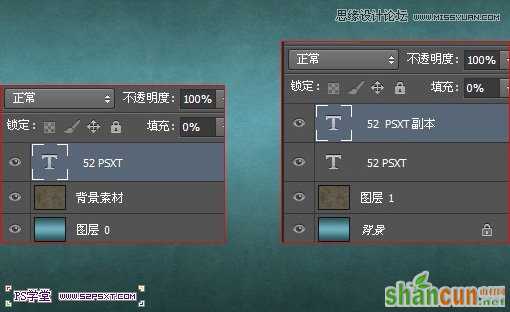
3.打上字体“52PSXT”,颜色白色,大小345px左右。
5.将字体图层填充改为0%,复制一次字体图层
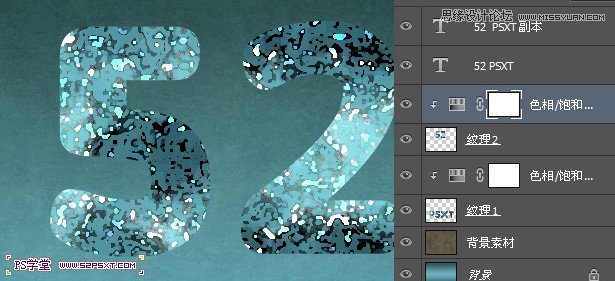
6.按住ctrl键点击字体图层,得到字体选区。我们在原始字体图层下新建图层“纹理”
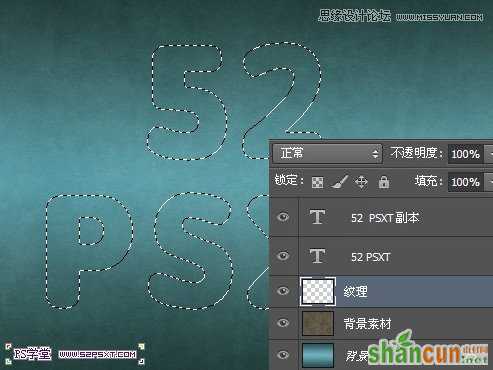
7.设置前景色为#164b7c,背景色为#b2ebfc,我们在“纹理”图层执行滤镜--渲染--云彩,ctrl+D取消选区。(这里值得注意的是,我将字体上面一行做为一个图层,下面一行做为一个图层。因为在实际操作中,如果两行在一个图层会对效果有点影响。如果你本身就是一行字体,就不需注意这个)
本帖隐藏的内容8.对图层执行以下的滤镜
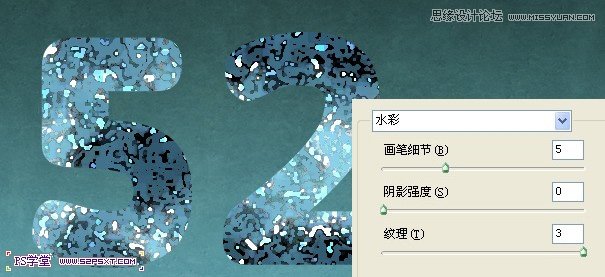
滤镜--艺术效果--水彩
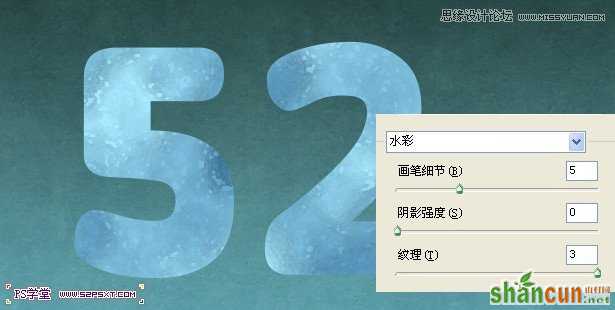
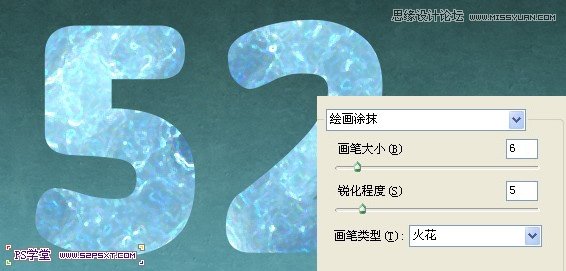
滤镜--艺术效果--绘画涂抹
滤镜--艺术效果--水彩
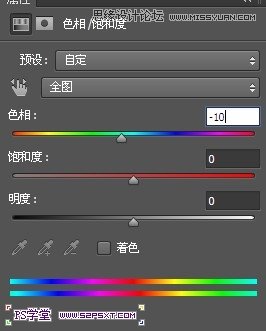
9.我们将纹理图层进行色彩的调整,添加调整图层--色相/饱和度,设置如下,右击创建剪贴蒙版
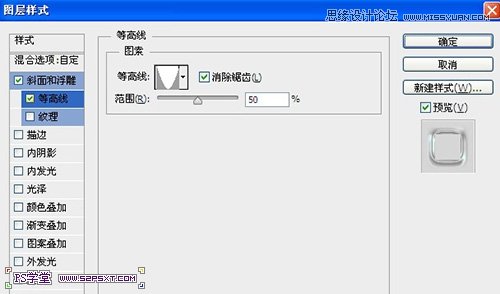
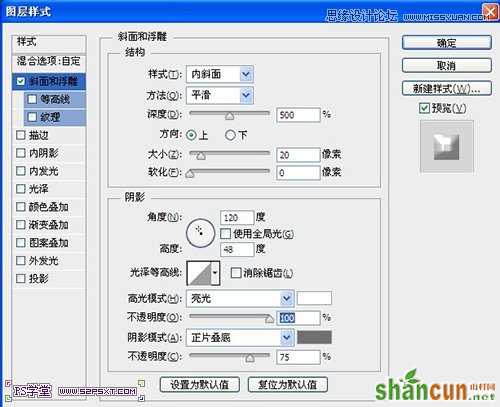
10.给原始字体图层添加图层样式,设置如下:

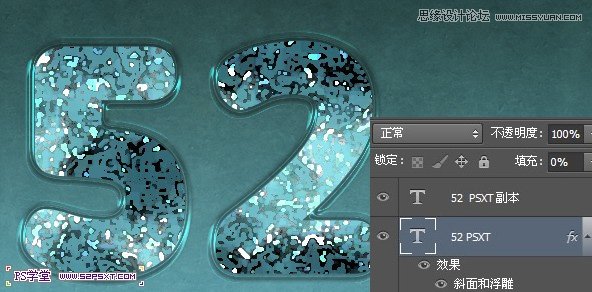
11.给字体副本图层添加图层样式,设置如下:
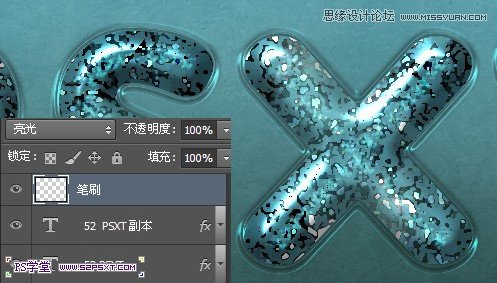
12.最后在最上面新建图层“笔刷”,设置前景色为白色,背景色为#b2ebfc,图层模式为亮光,用素材提供的笔刷,沿着字体中间描一下字体,虽然效果不明显,但却很好看。
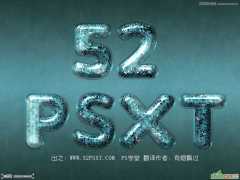
最终效果图
注:更多请关注photoshop教程栏目,山村PS教程群:181754111欢迎你的加入


