

第1步:
photoshop教程新建一个PSD文档,尺寸大小可根据自己的习惯设置,使用下载的字体,输入文字,字体颜色为#f849f0。

将这一文本层复制一层,将字体设置为一种较亮的蓝色#b5e4fe。向右移动一小段距离。

再复制一层文字,将颜色设置为#004b6b。继续向右移动一段距离。

第2步:
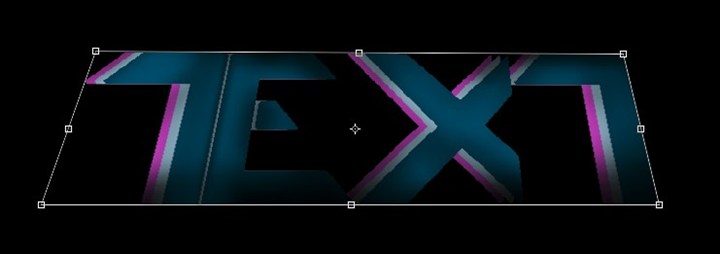
将三层文字合并后栅格化,为其添加一个图层蒙版,利用柔软的黑色画笔在蒙版上绘制,隐藏掉不需要显示的部分。结果如下图所示。
使用自由变换工具调整一下文字的透视角度。
使用模糊工具将一些边缘模糊化。
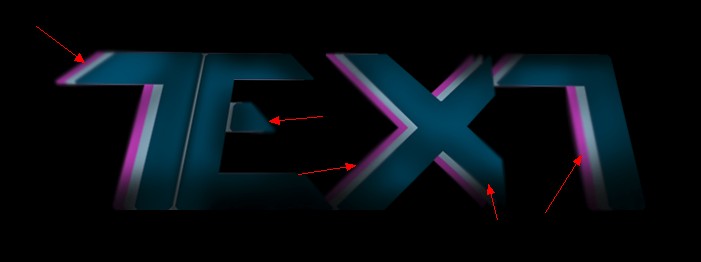
新建一层,在画布上方边缘处用白色大号画笔绘制。

Ctrl+T将其压扁,放置到文字下方以形成高光区域。

将不透明度设置为30%左右。

第3步:
接下来我们绘制一些高光。新建一层,用白色柔软画笔点击以绘制一个白色光点。

Ctrl+T利用自由变换工具将其压扁调整为文字边缘的高光。
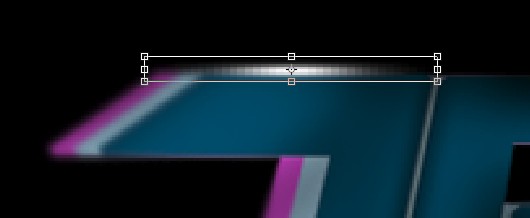
将高光图层的图层混合模式设置为“叠加”。

如果感觉亮度不够可以多复制两层高光。
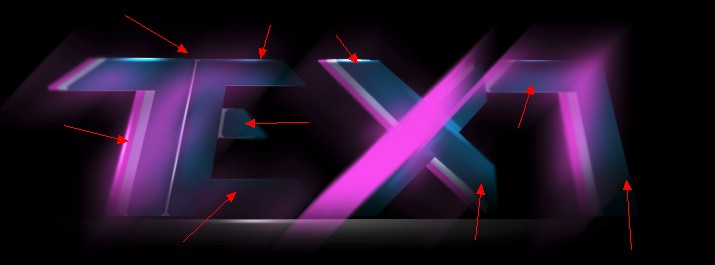
按照上面的方法,按照自己的喜好多添加几处高光。
第4步:
在图层最上方输入添加紫色文字,执行滤镜>模糊>动感模糊,点击确定。
参数设置如下:
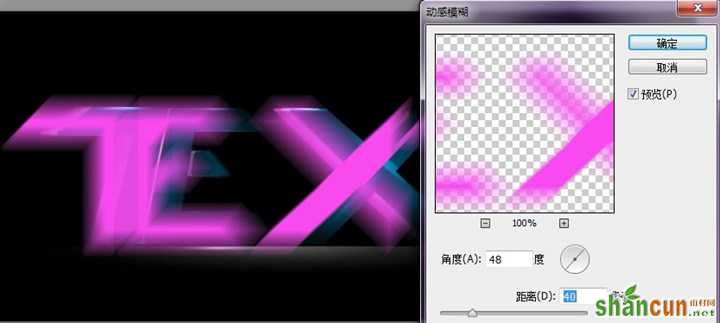
Ctrl+F可以重复执行两次滤镜效果已形成更加动感的效果。

使用橡皮擦工具将不需要的地方擦除掉。
Ctrl+J将动感模糊图层复制两层来加强效果。

第5步:
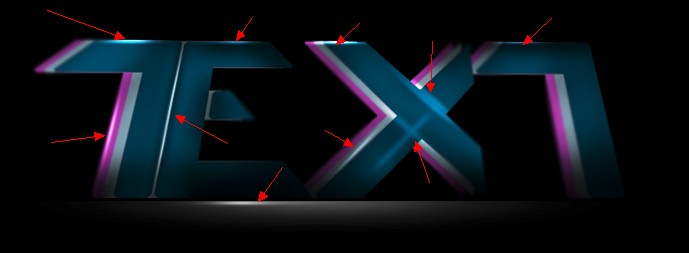
我们基本完成了一种文字效果,为了让文字看上去更加夺目,我们接下来为其添加一些更加绚丽的光线。利用刚才创建高光的方法在字母X上来创建一道非常亮的光线。使用一些光效画笔,调整大小与不透明度,再利用自由变换工具将其压缩为一道光线。

第6步:
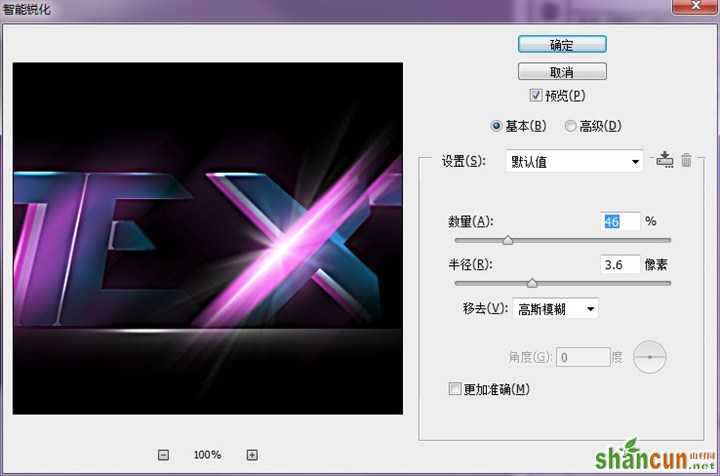
这时图像看起来有一些模糊,我们可以执行Ctrl+Shift+Alt+E盖印图层,然后对其进行锐化处理,滤镜>锐化>智能锐化,参数设置如下。
然后用雾效画笔(网上有很多,这里就不给大家推荐了)为图片添加一些雾的效果以营造一些气氛。
注:更多请关注photoshop教程栏目,山村PS教程群:181754111欢迎你的加入


