
第1步:
新建一个PSD文档,输入你想要的文字,这里我使用的是Impact字体。你可以根据自己的喜好来定义画布与字体的尺寸。将文字图层命名为纸文字1。
第2步:
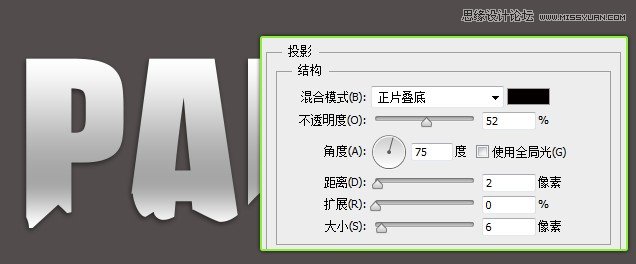
将纸文字1图层复制一层,命名为纸文字2。回到纸文字1图层,对其添加阴影,参数设置如下:
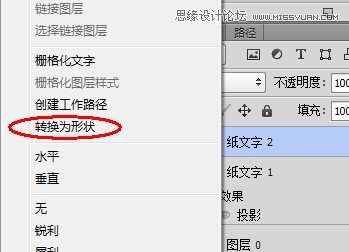
将纸文字1图层隐藏,点击纸文字2图层,右键点击,将文本转换为形状。
第3步:
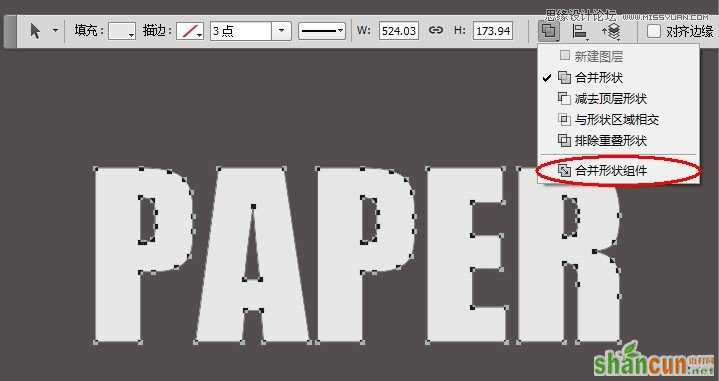
使用路径选择工具选取所有字母形状,点击合并形状组件(CS6版本,其他版本点击合并按钮),将所有形状合并。将纸文字2图层复制一层备用,命名为纸文字3。
第4步:
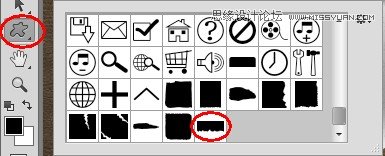
接下来我们来创建撕裂的纸张效果,你需要下载这些破损的纸张形状。安装上之后,先用路径选择工具选择文字2图层中所有文字形状,然后选择自定义形状工具,在画布上右键点击,在弹出的菜单中选择合适形状。
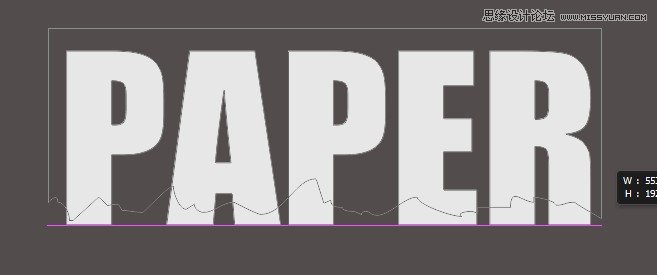
将路径操作设置为“与形状区域相交”,这样所绘制的自定义形状与文字形状相交的区域会被保留,其他区域被隐藏。

第5步:
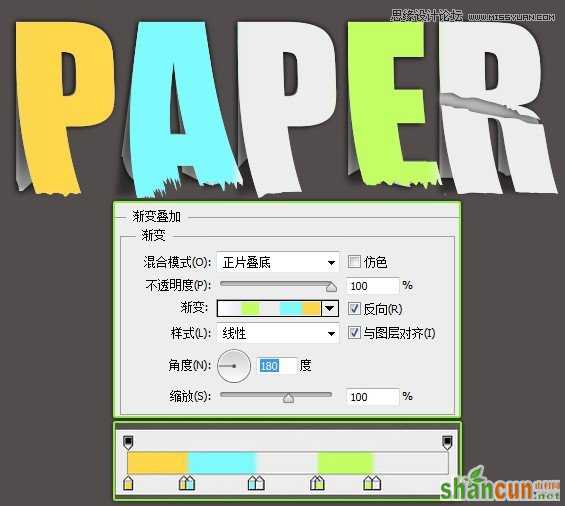
为纸文字2图层添加渐变叠加图层样式,参数设置如下图:
然后为其添加阴影。
第6步:
利用备份的纸文字3图层,利用相同的方式,为其添加撕裂的效果。
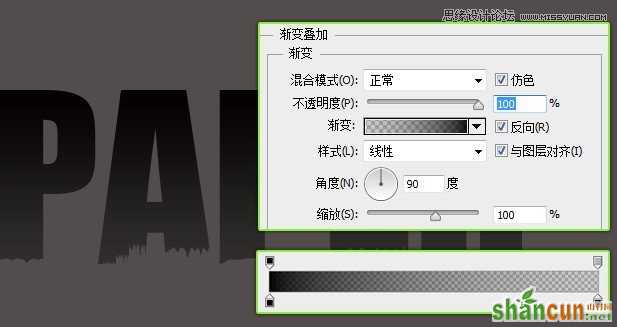
再复制一层,命名为阴影层。将阴影层放到文字3图层的下方。为阴影层添加渐变叠加。
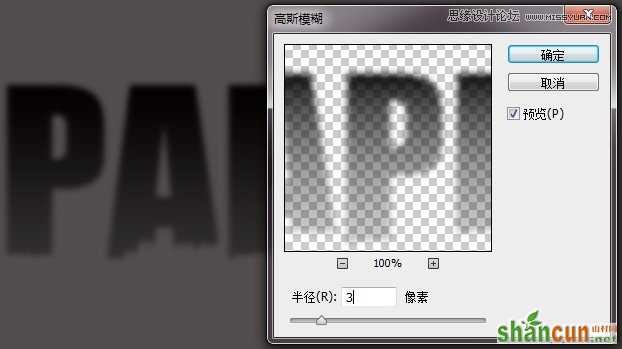
将阴影层栅格化,并执行滤镜>模糊>高斯模糊。
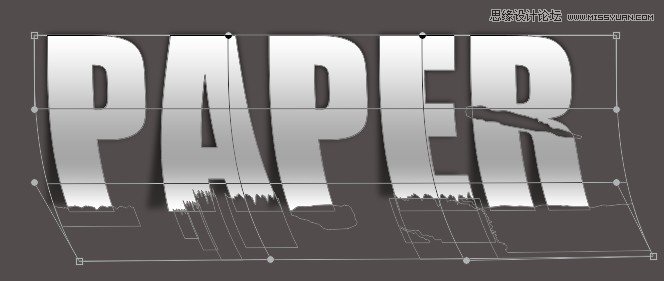
同样为纸文字3图层添加渐变叠加,按Ctrl+T,点击右键选择变形,调整好角度。
将文字3图层复制一层,命名为颜色图层,将其填充设置为0,为其添加渐变叠加图层样式。
第7步:
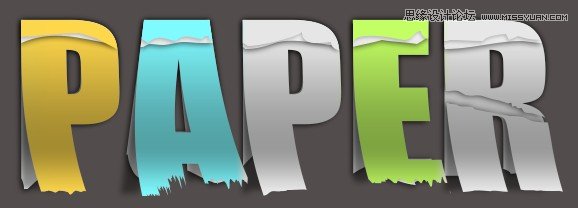
利用相同的方法在字母上部创建出撕纸的效果。
第8步:
创建笔记本皮革图层。先将文字形状图层复制一层,然后使用矩形工具将下部减去。
为其添加图层样式。
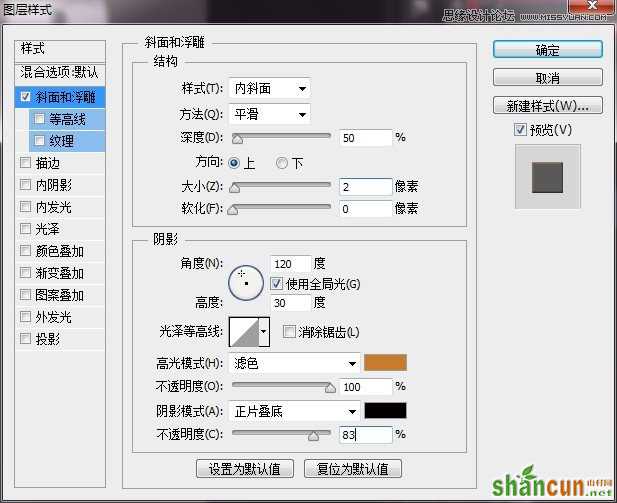
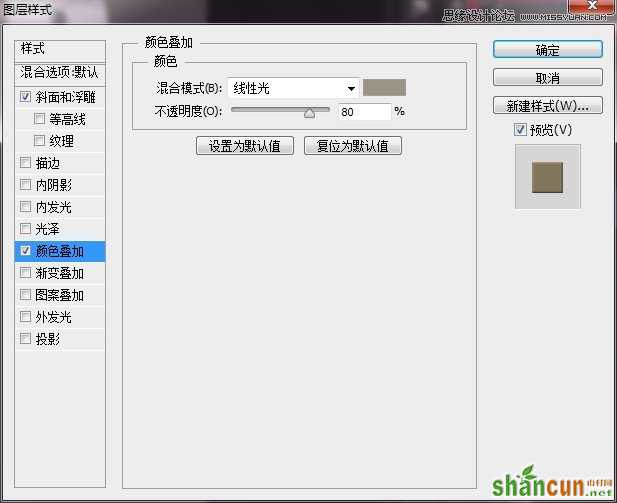
先添加斜面和浮雕样式。
添加颜色叠加:
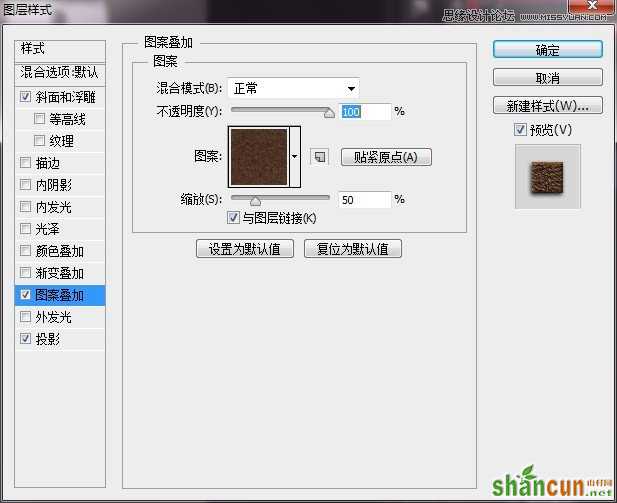
添加图案叠加,此处用到的是皮革图案:
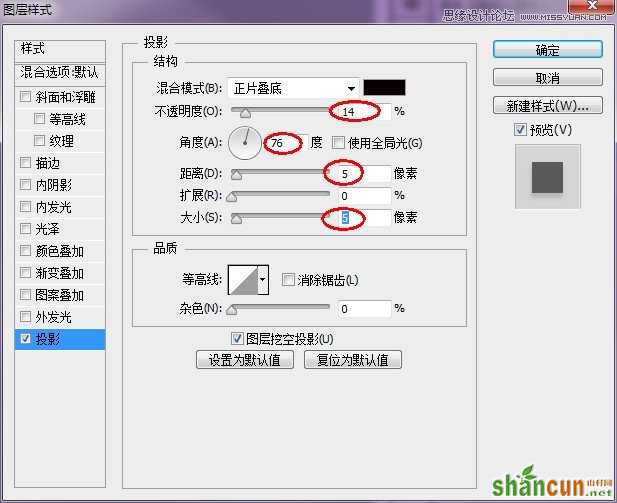
添加投影:

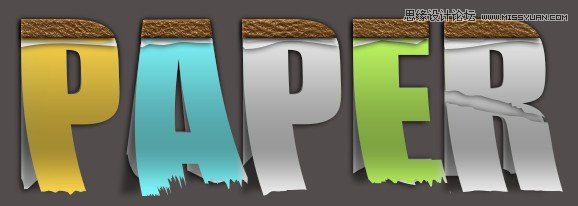
此时的结果:
第9步:
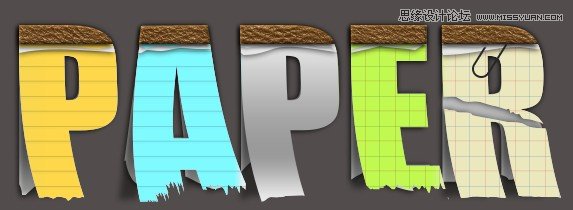
为字母添加纸张图案填充。
第10步:
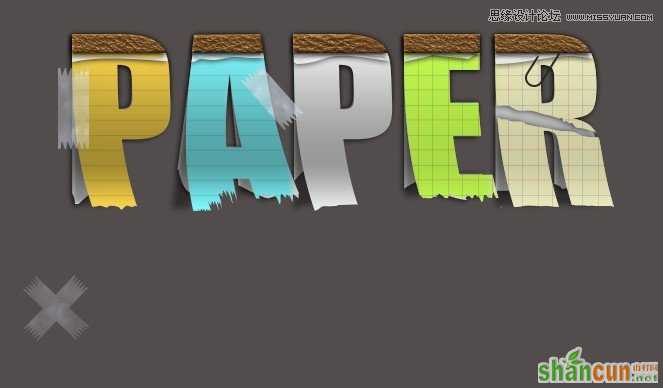
添加胶带装饰(这里用的是自定义形状)。
第11步:
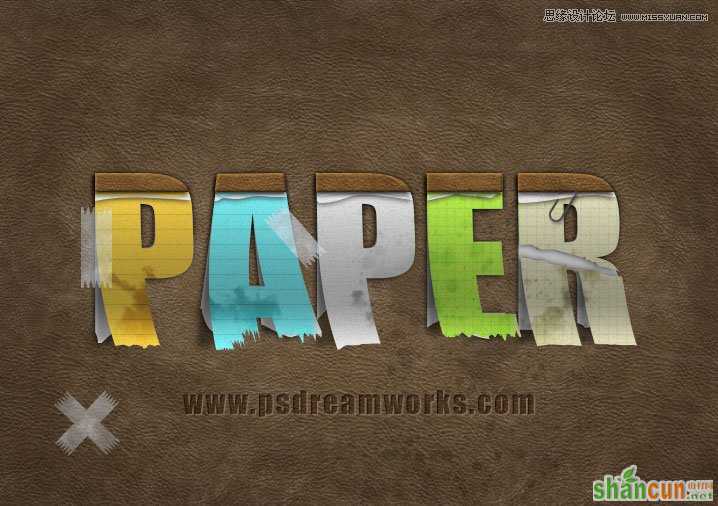
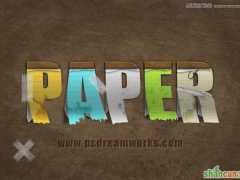
添加污渍效果及纹理背景,并调整光感。最终效果图(点击查看大图)。

注:更多请关注photoshop教程栏目,山村PS教程群:181754111欢迎你的加入


