
牵手字是通过文字笔划的变化,使一个文字的某个笔划与另一个文字的笔划之间产生有机连接,从而将每个单独的字形贯穿起来,形成字与字相连的整体组合效果。这种文字的设计可以通过笔划的变形与连接,表现出一种纤巧柔美的视觉效果,如图1-2所示。

图1-2 完成效果
技术提示
在设计前需要根据文字的笔划位置、大小、形态等来考虑哪些部位和笔划可供用于连接变形,不妨在正式设计之前先画一些草图,以预见到未来的设计效果。对于有些笔划,可根据整体设计的需要做一些夸张变形处理,以增加文字画面的情趣。从整体设计效果上来说,重新组合的文字必须做到连贯统一,均衡美观。图1-3出示了本例的制作流程图。
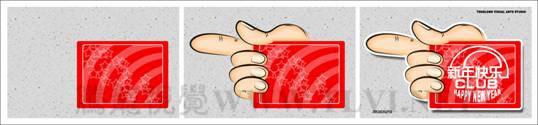
图1-3 制作概览
制作步骤
1.绘制装饰图像
(1)启动Photoshop,执行“文件”“新建”,打开“新建”对话框,参照图1-4所示设置对话框。创建一个名为“连体字”的新文档。
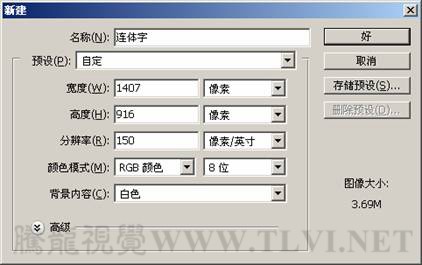
图1-4 设置“新建”对话框
(2)在“图层”调板中,新建“图层1”。使用白色将其填充。单击“图层”调板底部的“添加图层样式”按钮
,在弹出的菜单中选择“图案叠加”命令,打开“图层样式”对话框。参照图1-5所示设置对话框。制作出图像的背景图案。
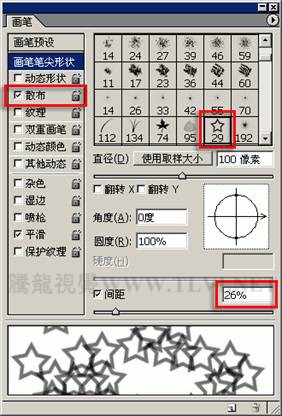
图1-5 设置图案叠加效果
(3)新建“图层2”,设置前景色为红色(R:243、G:0、B:0)。选择工具箱中的 “圆角矩形”工具
,参照图1-6所示,在视图中绘制圆角矩形图像。
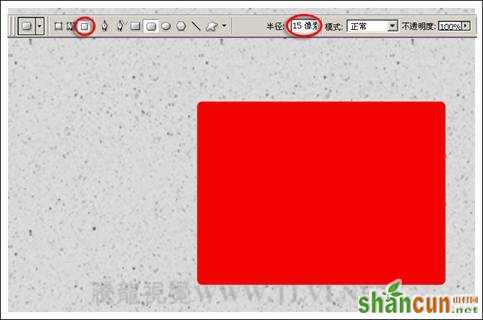
图1-6 绘制圆角矩形
(4)新建“图层3”,选择工具箱中的“椭圆选框”工具
,参照图1-7所示在视图中绘制椭圆选区。

图1-7 绘制选区
(5)按下键的同时,在选区内部减选一个较小的选区,得到如图1-8所示的环形选区。
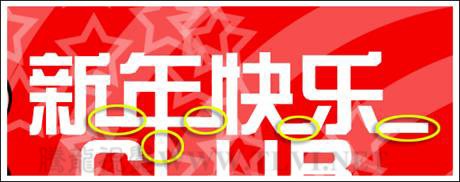
图1-8 绘制环形选区
技巧:在绘制内部的选区时,按下键的同时,可随时按下空格键对选区的位置进行移动,松开键,可继续进行绘制.
(6)将选区填充为白色,并取消选区。然后对“图层3”进行复制操作,并调整副本图像的大小、位置和角度。得到如图1-9所示的图像。最后将“图层”调板中,生成的副本图层合并到“图层3”中。
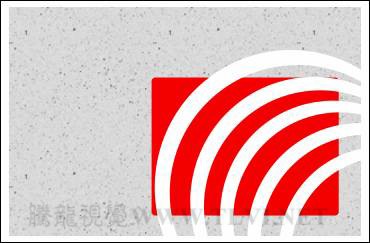
图1-9 复制并调整图像
(7)使用工具箱中的“圆角矩形”工具
,在视图中参照图1-10所示位置绘制一个圆角矩形路径。
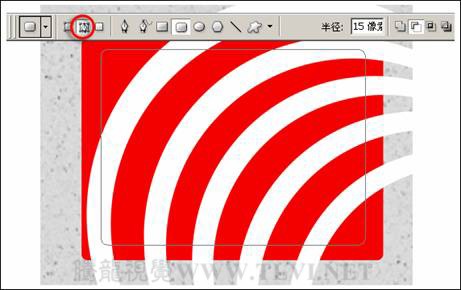
图1-10 绘制圆角矩形路径
(8)按下键,将路径转换为选区。接着单击“通道”调板底部的“将选区存储为通道”按钮
,生成“Alpha1”通道。按下键,将选区反转。如图1-11所示。
图1-11 反转选区
(9)确定“图层3”为可编辑状态下,按下键,将选区内的图像删除。并取消选区。如图1-12所示。在“图层”调板中,将“图层3”的不透明度设置为30%。
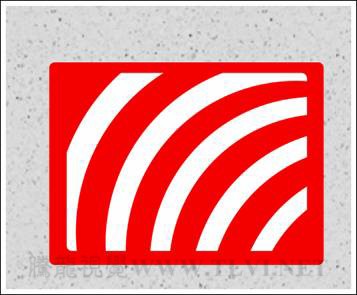
图1-12 删除选区内的图像
(10)在“通道”调板中,将“Alpha1”通道的选区载入。新建“图层4”。执行“编辑”“描边”命令,打开“描边”对话框。参照图1-13所示设置对话框。为选区添加描边效果。
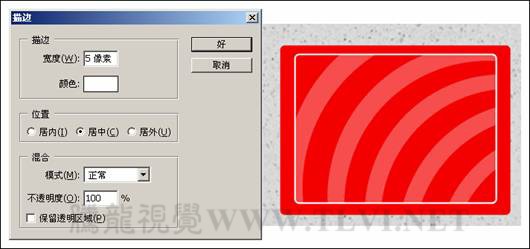
图1-13 设置“描边”对话框
(11)保持选区为浮动状态下,选择工具箱中的“画笔”工具
,参照图1-14所示,对“画笔”调板进行设置。
图1-14 设置“画笔”调板
(12)新建“图层5”。设置前景色为白色。在选区内由左上角至右下角拖动鼠标,绘制图像,然后取消选区,如图1-15所示。
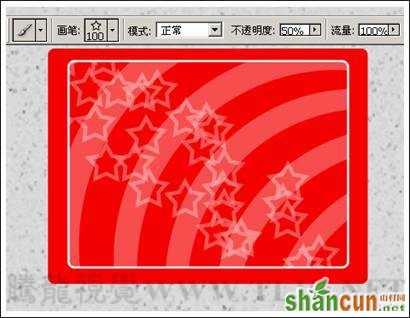
图1-15 绘制图像
(13)使用工具箱中的“钢笔”工具
绘制路径,配合使用“直接选择”工具
和“转换点”工具
对路径进行调整,如图1-16所示。
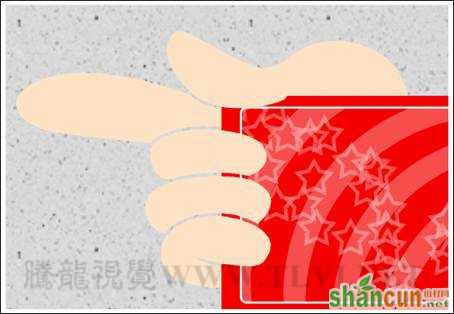
图1-16 绘制手形路径
(14)新建一个图层,将路径转换为选区后,使用淡黄色(R:255、G:225、B:196)填充选区。然后取消选区。如图1-17所示。
图1-17 填充颜色
(15)在“图层”调板中,新建一个图层。使用相同操作方法,在手形图像的边缘绘制出如图1-18所示的黑色图像。
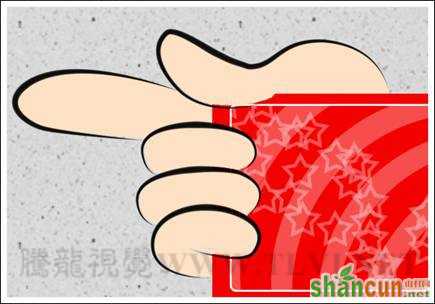
图1-18 绘制黑色图像
(16)新建一个图层,选择工具箱中的“画笔”工具
,设置前景色为一种接近皮肤颜色的黄色(R:255、G:197、B:140),使用不同大小的笔刷,并调整画笔的不透明度,在视图中绘制手形图像的暗调部分,如图1-19所示。
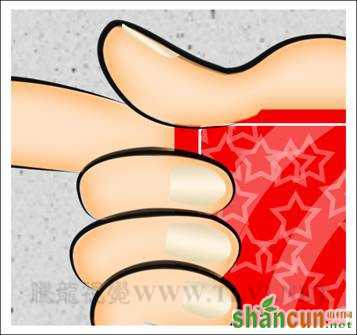
图1-19 绘制图像的暗调部分
(17)接下来绘制手的指甲部分。使用工具箱中的“钢笔”工具
,绘制路径,并将路径转换为选区。新建一个图层,使用工具箱中的“渐变”工具
,对选区进行填充,如图1-20所示效果。
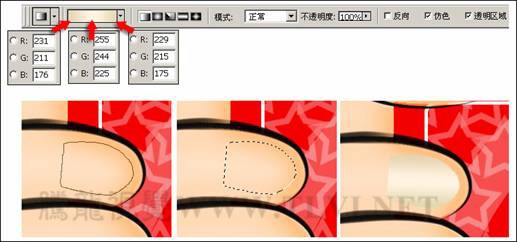
图1-20 绘制指甲图像
(18)使用相同方法,绘制其他指头上的指甲图像,如图1-21所示。
图1-21 绘制其他图像
(19)使用前面绘制图像的方法,参照图1-22所示位置,绘制出指甲图像和边缘的一些纹理。
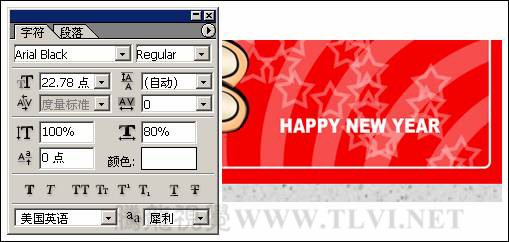
图1-22 绘制其他图像
2.制作文字效果
(1)使用工具箱中的“横排文字”工具
,在视图中创建出如图1-23所示的文本。
图1-23 创建文本
(2)单击文字选项栏中的“创建变形文本”按钮
,打开“变形文字”对话框。参照图1-24所示设置对话框,设置完毕后,关闭对话框。

图1-24 设置“变形文字”对话框
(3)再次使用“横排文字”工具
,参照图1-25所示创建文本。
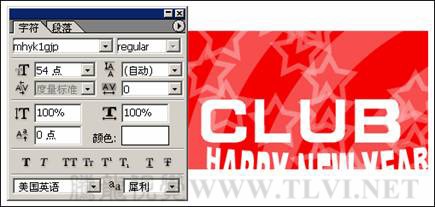
图1-25 创建文本
(4)再次创建文本,如图1-26所示。然后在“图层”调板中,在该图层的图层名称上右击鼠标,在弹出的菜单中选择“栅格化图层”命令,将该图层转换为普通图层。
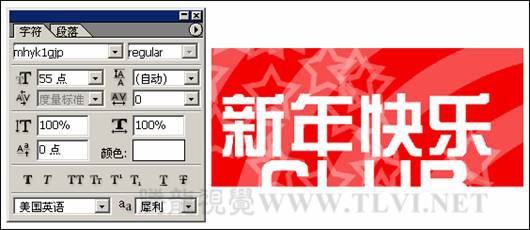
图1-26 创建文本
(5)使用工具箱中的“矩形选框”工具,参照图1-27所示对文字图像进行修改。使几个字连接成一个整体。
图1-27 修改图像
(6)配合使用工具箱中的“椭圆选框”工具
,绘制出如图1-28所示的环形选区。然后使用工具箱中的“矩形选框”工具
,减去一部分选区。如图1-29所示。


图1-28 绘制环形选区 图1-29 减去选区
技巧:在绘制选区的过程中,可配合按下空格键对正在绘制的选区进行移动,松开空格键,可继续对选区大小指定。
(7)接着将选区填充为白色,并取消选区。使用相同方法,制作其他两个文字图像的连线,如图1-30所示。

图1-30 绘制图像
(8)在“图层”调板中,将除“背景”图层和“图层1”之外的所有图层合并。然后为合并后的图层添加“描边”和“投影”效果。如图1-31所示。
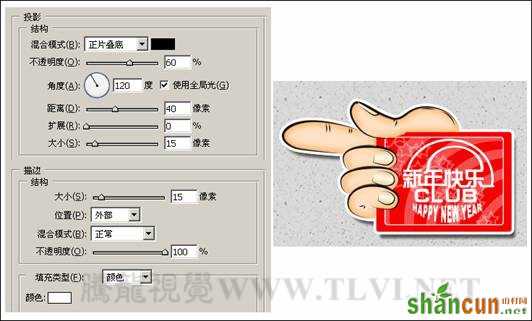
图1-31 设置图层样式
(9)最后在视图中添加一些相关的文字信息,完成该实例的制作,如图1-32所示。如果读者在制作过程中遇到什么问题,可打开本书附带光盘Chapter-02“连体字.psd”文件进行查看。

图1-32 最后完成效果


