
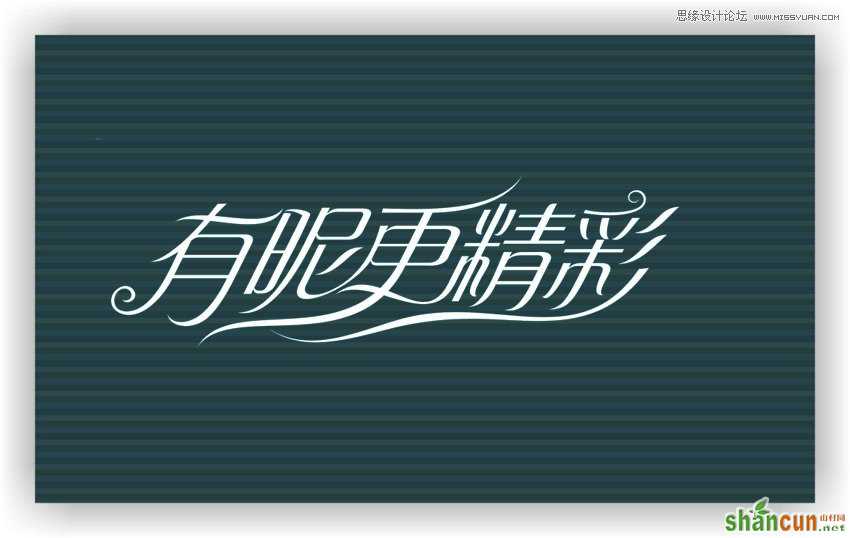
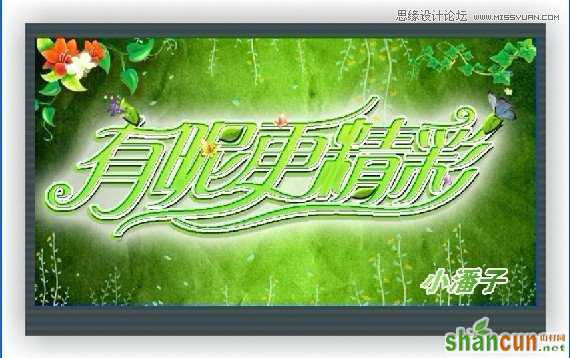
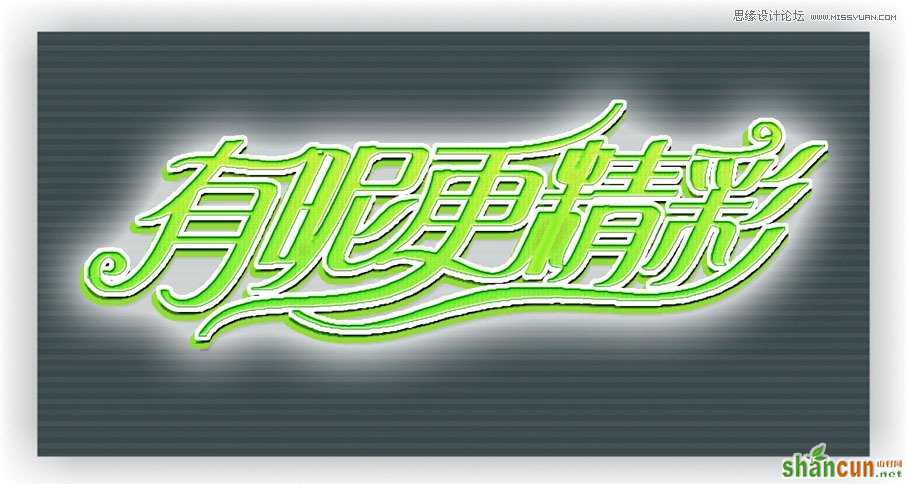
先来看看最终效果
首先:在cdr中变形字体、得下如果效果:
第二步:制作背景色,颜色选项如图下所示:
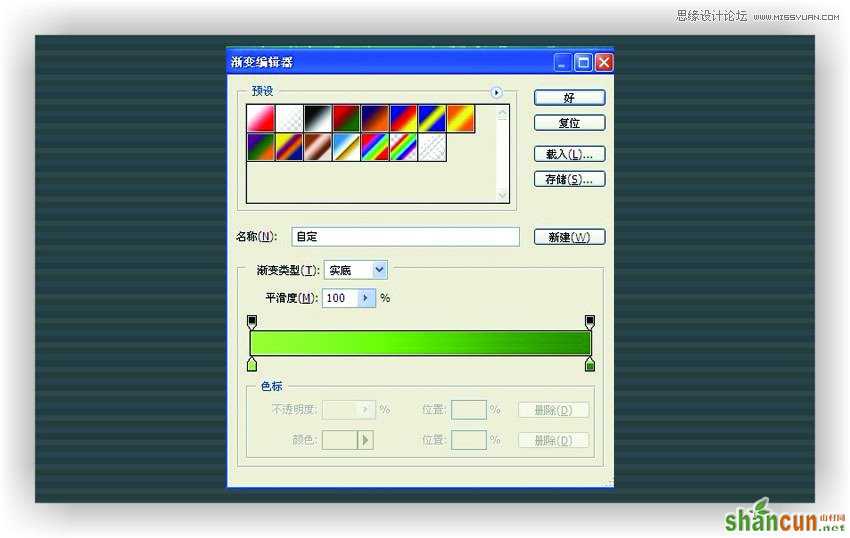
完成颜色填充后效果如下图所示:

找一张有颜色的怀旧纸张、在ps中去色、模式改为线性光、放置于背景色上面
之后就出现这种效果:(如果不用怀旧纸张的话颜色的背景填充看起来很实板,这样好些)
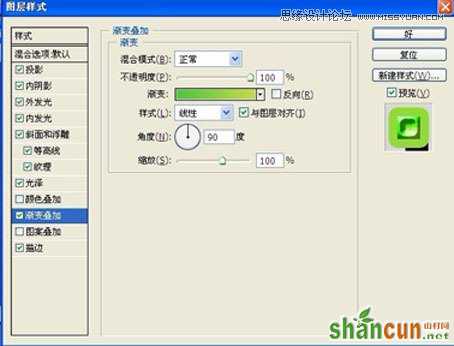
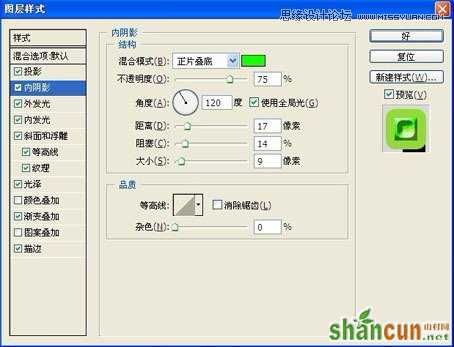
之后来做文字效果:如以下步骤所示:

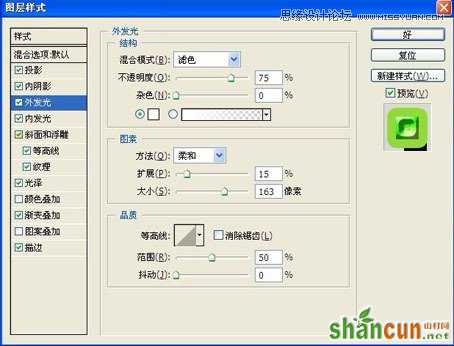
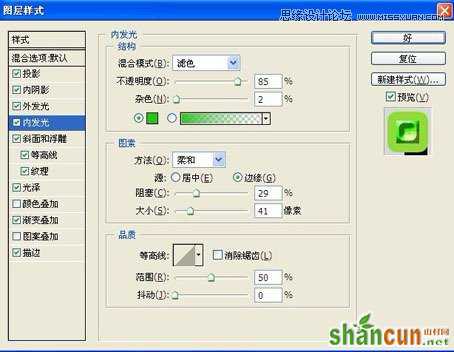
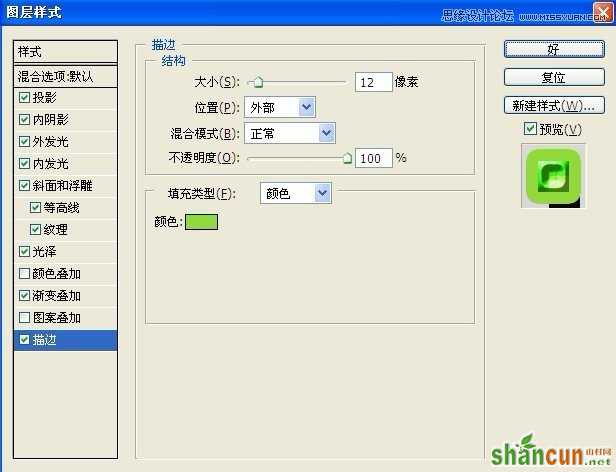
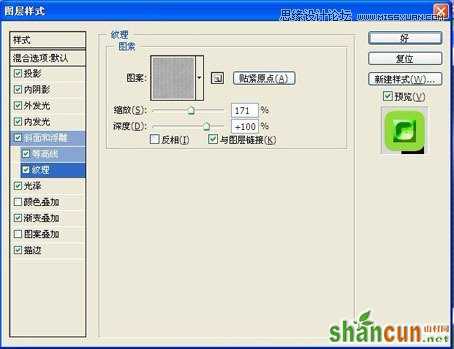
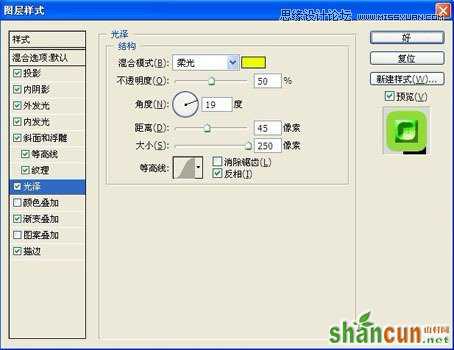
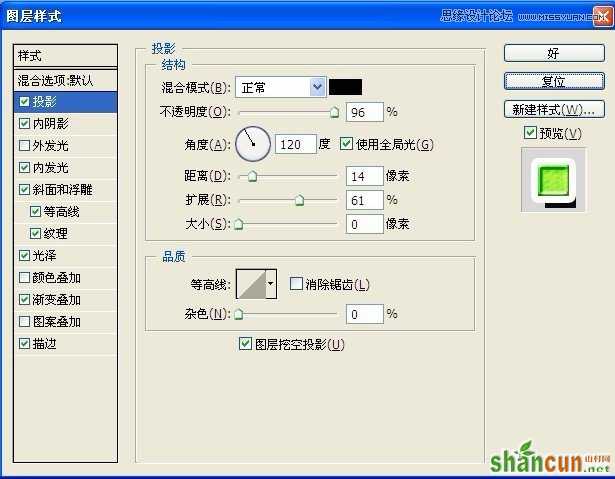
完成后效果如下图所示:(说明:我的字体效细,所以做一遍如上步骤达不到这种效果、要再复制两个字体效果图层、复制一层时按方向键向上下左右四个方面稍微移动点让文字看起来有点厚度,复制的两个文字效果图层不用外发光效果,点击混合选项里把外发光效果去掉,因为做第一遍字体效果时已有外发光效果。)
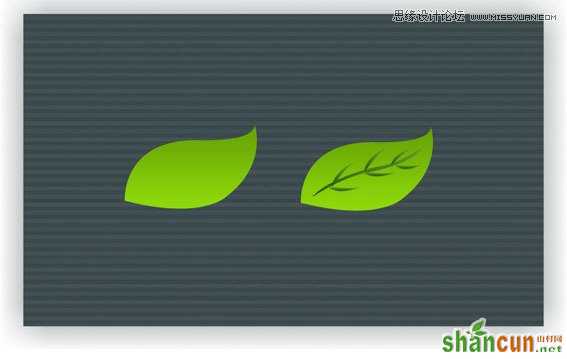
之后来做树叶、用钢笔工具勾勒出如下图形状,之后填充颜色如下图所示放在字体的不同位置:
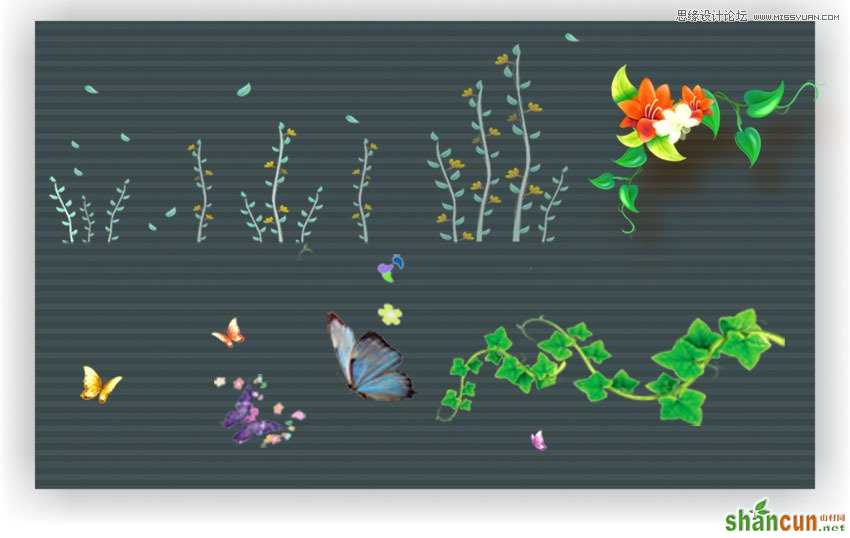
之后摆放上如图所示的素材:
效果完成:


