本教程主要使用Photoshop制作一个逼真的草地凹陷字体,没素材也能做草地字体?今天P大点S微博凭多年经验,教你零素材打造一个逼真的草地字体,达到以假乱真的效果。会PS的人都是神笔马良,来看设计师是怎么凭空造物的。
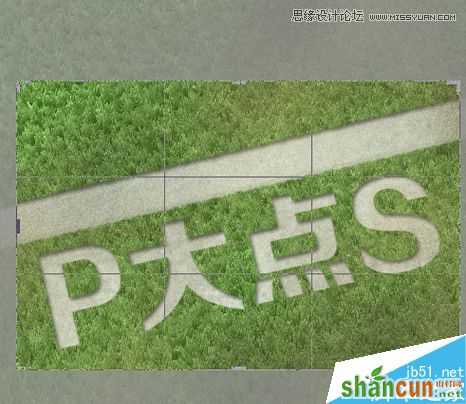
最终效果:

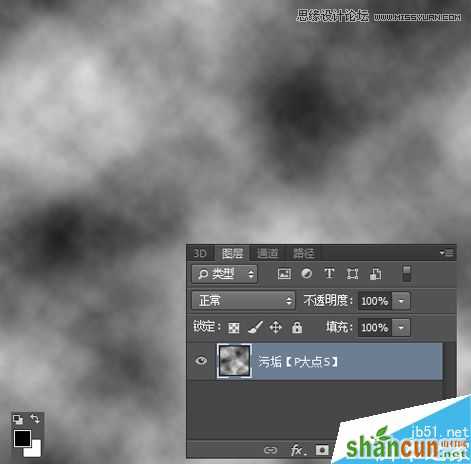
新建一个500*500像素大小的文档,设置前景色为白色,背景色为黑色,执行滤镜—渲染—云彩,并将图层名称命名为“污垢”。
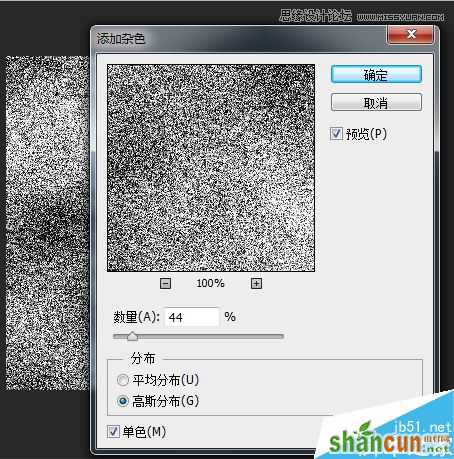
将“污垢”图层转换为智能对象,执行“滤镜—杂色—添加杂色”,设置数量为44,高斯分布,勾选单色。
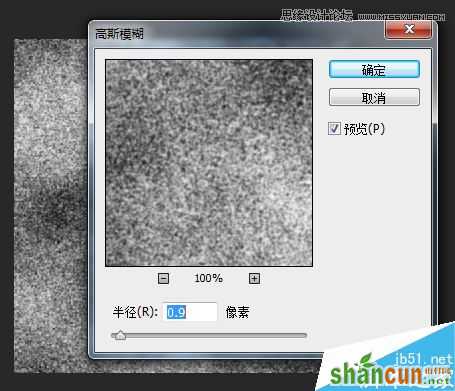
执行“滤镜—模糊—高斯模糊”,设置模糊半径为0.9像素。
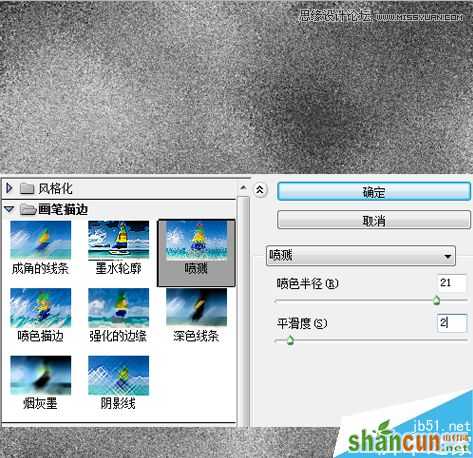
执行“滤镜—滤镜库—画笔描边—喷溅”,设置喷色半径为21,平滑度为2。
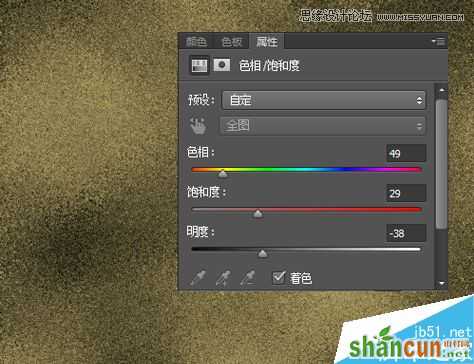
现在我们赋予污垢图层颜色,创建一个“色相/饱和度”调整层,设置如下:
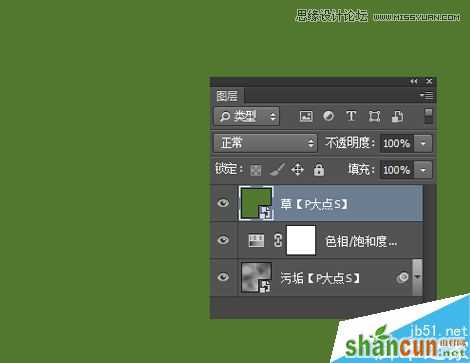
OK,污垢层的创建到这里就算完成了,我们留着到最后再用,下面开始创建草地。新建一个图层,命名为“草地”,填充#52782F,并转换为智能对象。
执行“滤镜—杂色—添加杂色”,设置数量为30%,高斯分布,勾选单色。
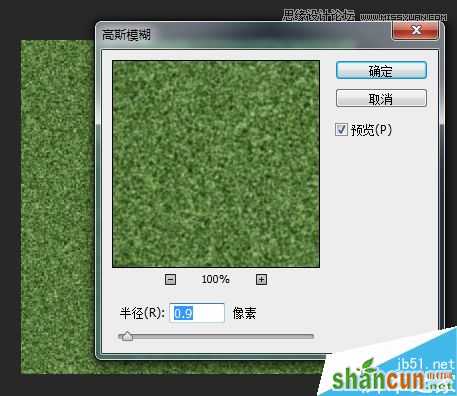
执行“滤镜—模糊—高斯模糊”,设置模糊半径为0.9像素。
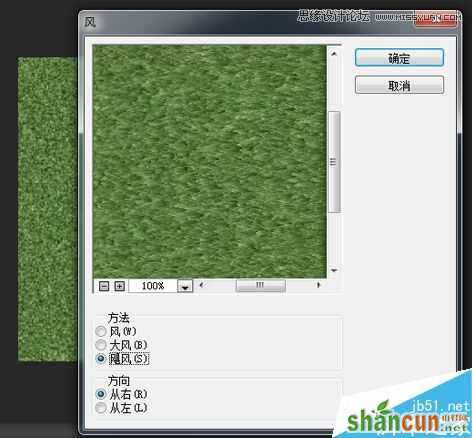
执行“滤镜—风格化—风”,方法设置为飓风,方向设置为从右。
将草地图层再次转智能对象,旋转90度。再次执“滤镜—风格化—风”,设置方法为“飓风”,方向从左。然后再转一次智能对象,旋转-90度。

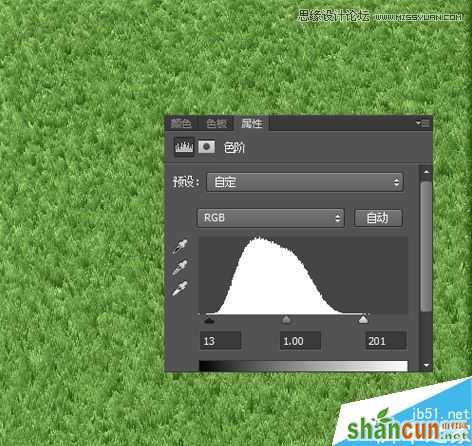
下面,我们添加一个色阶调整层,提高一下草地的对比度。
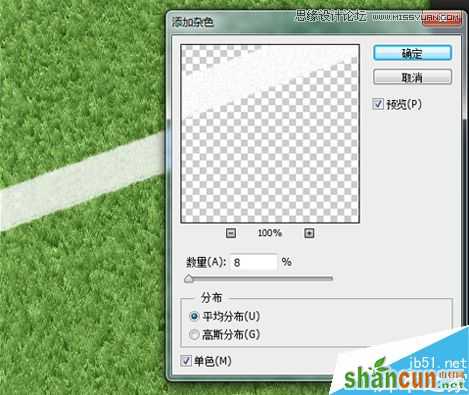
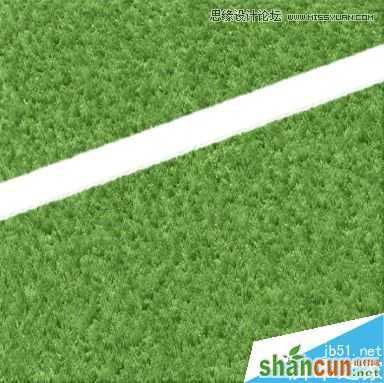
接下来,我们来画一条路,新建一层,命名为线,设置前景色为白色,这里我们直接用画笔工具就行了,友情提示,起点用画笔点一下,然后按住SHIFT画出来的就会是直线了。
选择线图层,执行“滤镜—杂色—添加杂色”,设置数量为8%,平均分布,勾选单色。
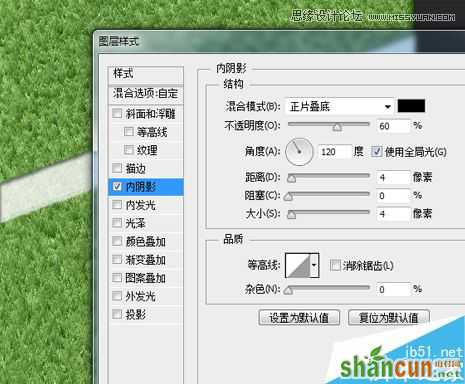
为线图层添加一个图层样式。
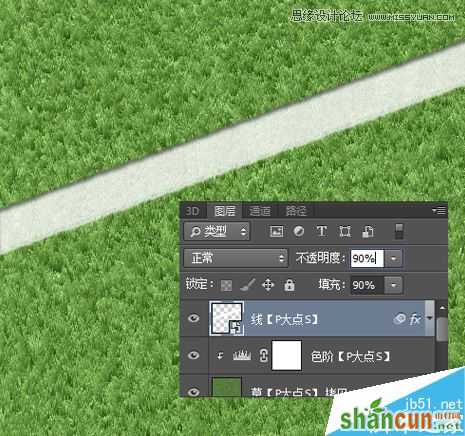
将线图层的不透明度更改为90%,将填充也更改为90%。
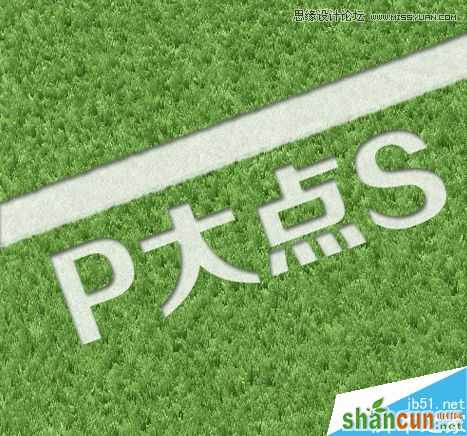
打上我们想要的文字,旋转一定角度,对齐那个线图层的角度,我这里用的是P大点S四个字。

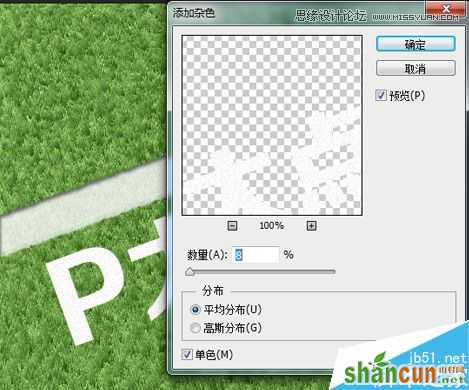
将文字图层转换为智能对象,执行“滤镜—杂色—添加杂色”,设置数量为8%,平均分布,勾选单色。
下面我们为文字图层添加图层样式,直接拷贝刚才那个线图层的图层样式就可以了。
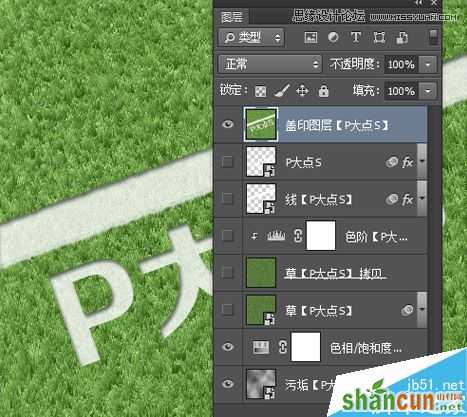
下面,我们CTRL+SHIFT+ALT+E盖印图层,同时隐藏掉最底层的污垢图层、色相/饱和度调整层,和现在的盖印图层。
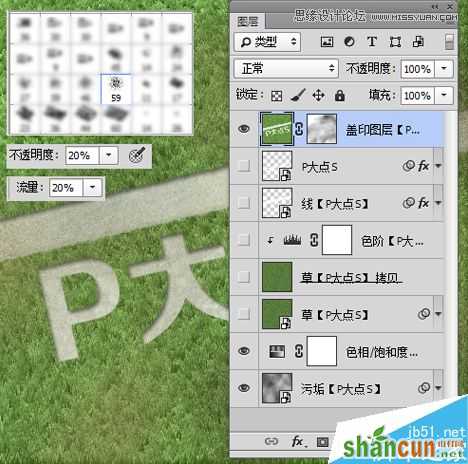
现在,我们给草地添加污垢,选择草地图层,添加一个图层蒙版,使用笔刷涂抹一下,我这里用的自带的喷溅59像素的笔刷,适时降低不透明度、流量和调整笔刷大小,刷刷刷。
使用裁剪工具,将我们需要的部分裁剪。