
这次PS教程制作的Photoshop效果图构成非常简单,由表面文字,中间色块及立体面三部分构成。其中文字部分制作最为麻烦,需要自己慢慢去创作。其它部分基本上用选区和渐变就可以做出来。
最终效果图

图0
1、新建一个1024 * 650像素的文件,背景填充淡绿色:#D0F0CF,如下图。
图1
2、打开文字素材,大图为PNG格式,打开后解锁再拖进来。

图2
3、把文字适当放好位置,然后锁定像素区域,选择渐变工具,颜色设置如图3,拉出图2所示的线性渐变。
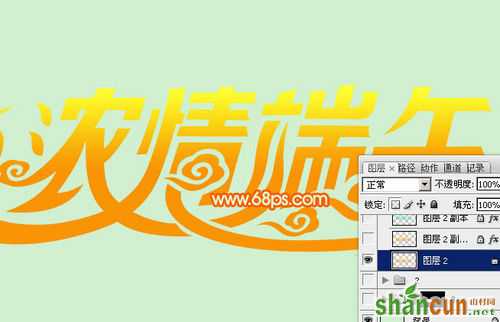
图3
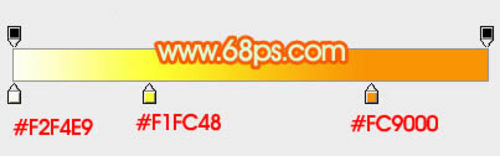
图4
4、双击文字缩略图调出图层样式,设置投影、斜面和浮雕、等高线,参数设置如图4 - 6,效果如图7.
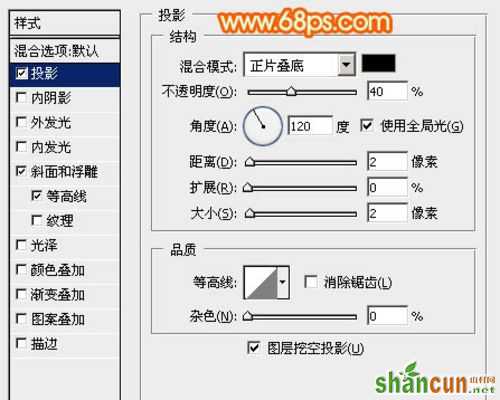
图5
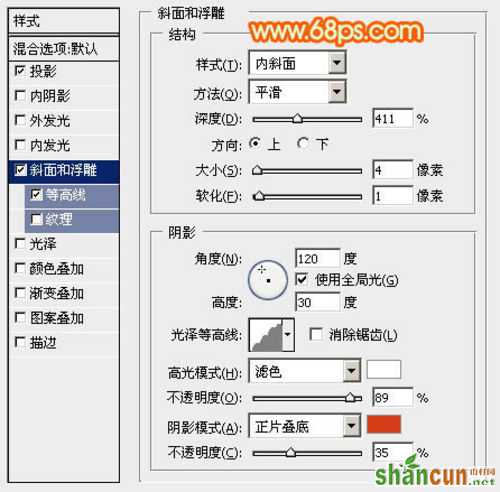
图6
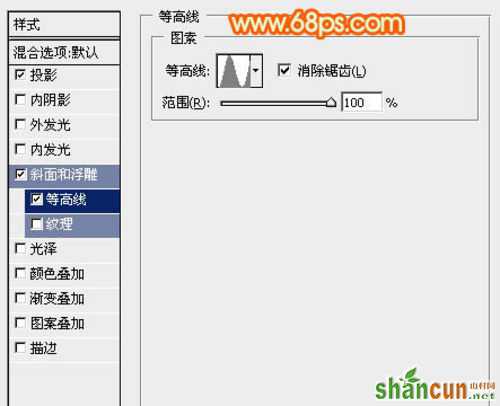
图7
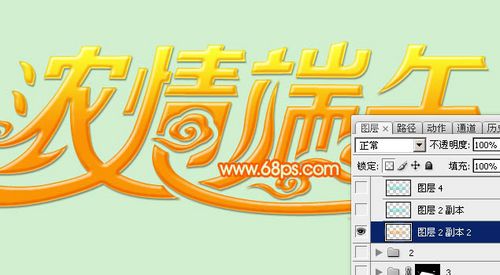
图8
注:更多精彩教程请关注山村photoshop教程栏目,山村PS群:182958314欢迎你的加入


