

不喜请轻喷,教程很新手的,每一步都截图!
相信我,这个教程很容易,大神高手请路过~具体的制作步骤如下:
不懂发问就是了
制作步骤如下:

出现这样的画布!
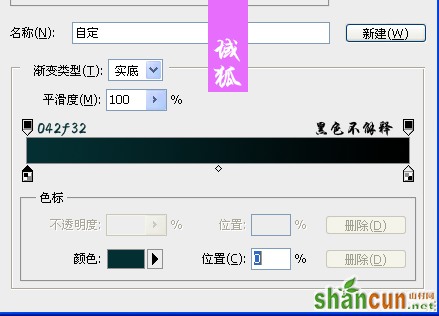
拉渐变!在油漆桶旁边的那个就是了!

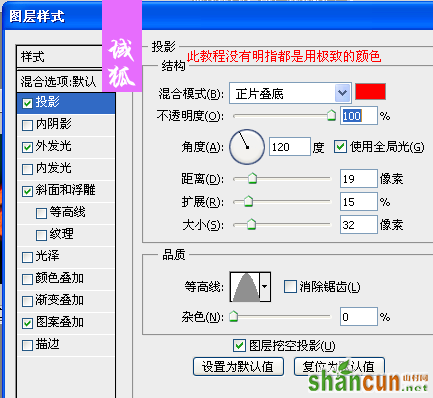
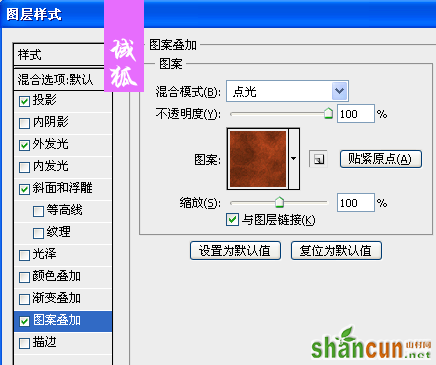
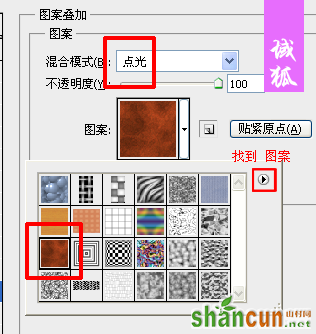
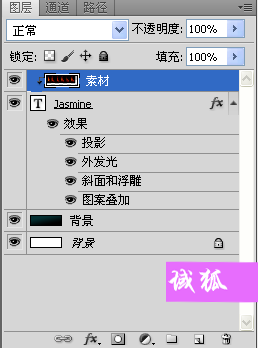
在【字体图层】上右键图层选项,有此面板注意数值哦
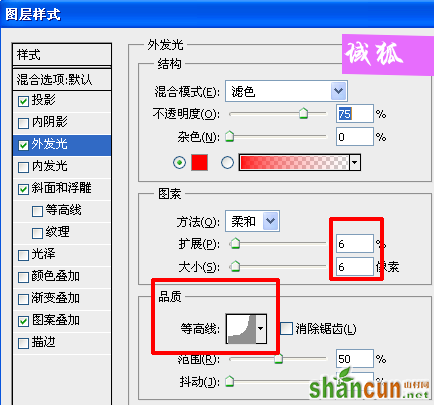
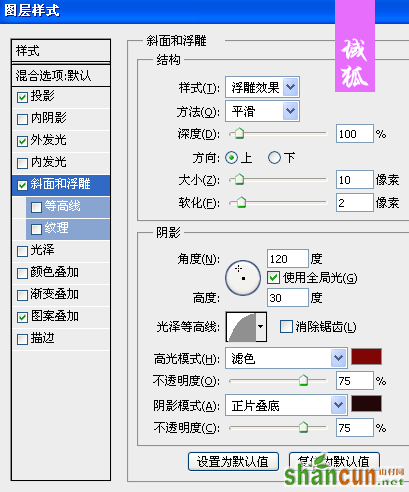
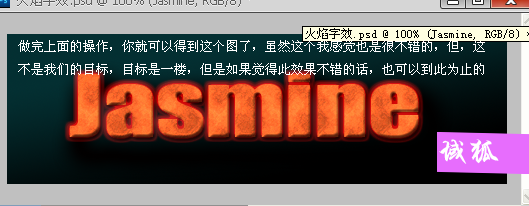
这个真的要注意一些数值,本来想圈出来的,但是好像都要注意,就不标了注意下面两个哦。
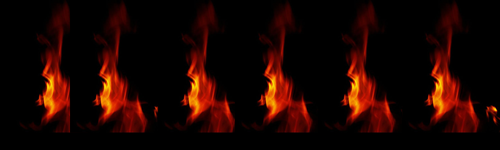
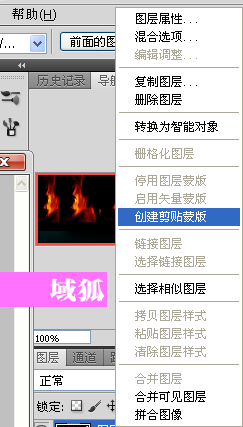
休息一下休息一下,马上进入高潮~置入素材,这张素材经过处理,别介意,原图搞丢了,我把这张素材拼贴在一起,直接把拼贴的贴出来吧,就可以弄下去了
右键啊,有木有我发现吧,吧里很多新手教程都有用到这个功能但是直接被作者给省略了截图,注意比较楼层哦!
最后再给出一张图层贴吧,全貌,对比一下
注:更多请关注photoshop教程栏目,山村PS教程群:181754111欢迎你的加入


