
具体效果:

具体教程:
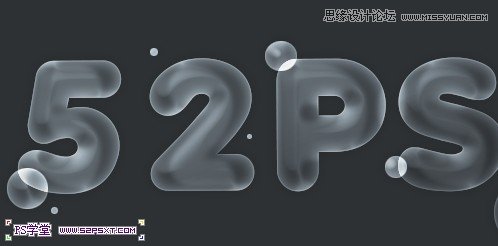
1.新建800*450px大小的文档,编辑填充颜色#2d3134,我们用素材打上“52psxt”。字体自己选择,只要是圆润的就行。字体白色。
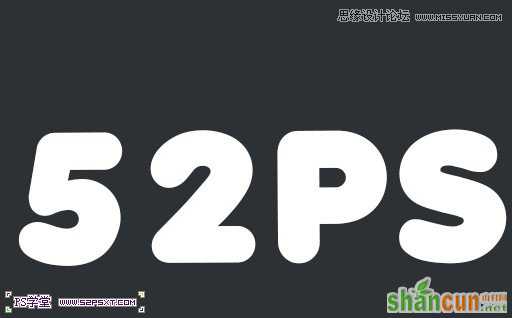
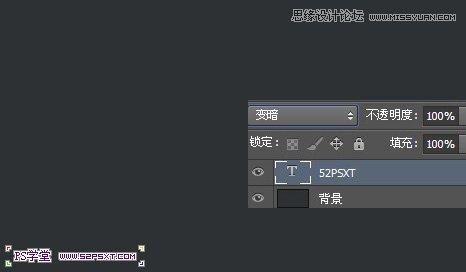
本帖隐藏的内容2.如果你觉得字体不够圆润,你可以删格式化,液化一下,做出一点弯曲的感觉。我们将字体图层模式改为变暗,这样我们的字体就看不见了。
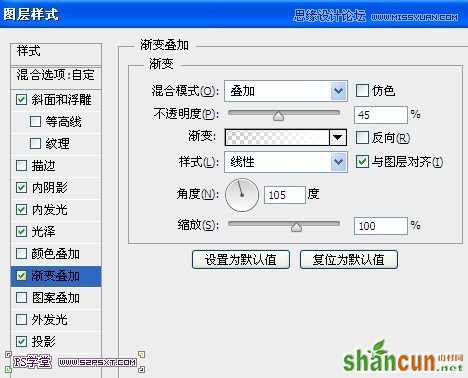
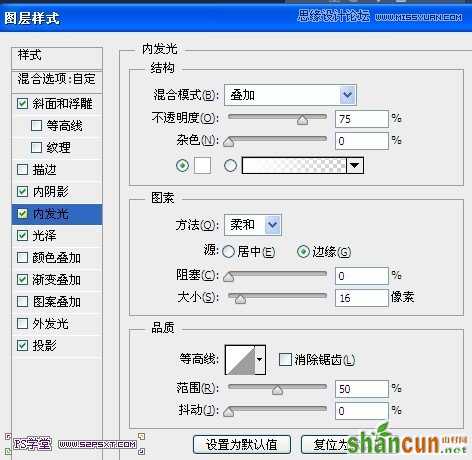
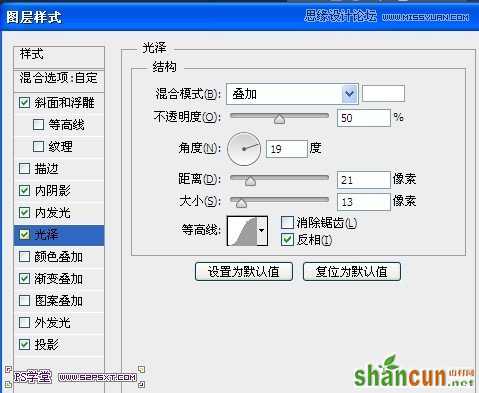
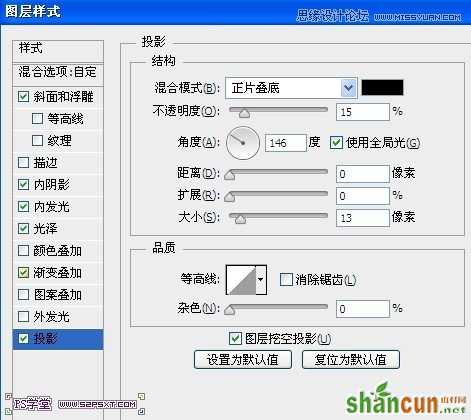
3.接下来我们给字体设置图层样式,如下:
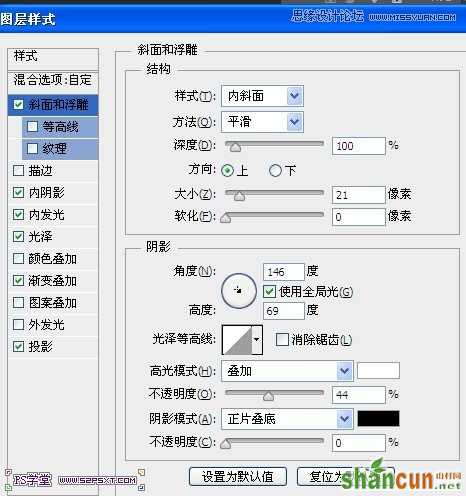
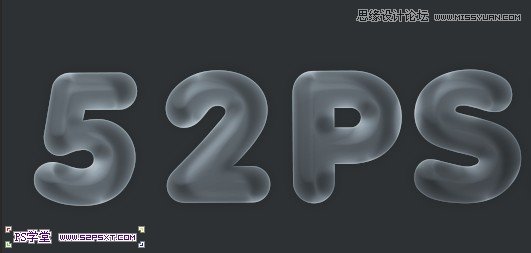
4.最后我们新建图层“泡泡”,和字体一样的操作,椭圆矩形选区填充白色,图层模式变暗,和字体一样的图层样式即可。
注:更多请关注photoshop教程栏目,山村PS教程群:181754111欢迎你的加入


