
春节快要到了,大家总会用一些喜庆的方式庆祝这个中国人最重要的节日,下面我们用Photoshop打造一款金福琉璃字,有彩色打印机的话,还可以打印下来,效果相当棒哦!
1、新建一个宽度为5厘米,高度为5厘米,分辨率为300像素,模式为RGB的文件。设置前景色为黑色,填充背景,如图01所示。

图1 Photoshop填充背景
2、切换至通道面板,在控制面板下方单击“创建新通道”按钮,生成新通道Alpha 1,在工具箱的下方将前景色设置为白色,选择工具箱中的文字工具,在文件窗口中用白色输入文字,效果如图02所示,取消选区。

图2 Photoshop键入文字
3、选择菜单栏中的“滤镜”→“模糊”→“高斯模糊”命令,在弹出的高斯模糊对话框中,将半径选项设置为5,如图03所示,单击好,图像效果如图04所示。
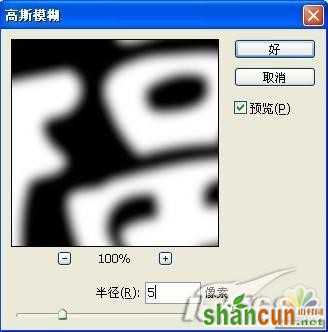
图3 Photoshop设置高斯模糊

图4 Photoshop图像效果
4、执行菜单栏中的“图像”→“调整”→“曲线”命令,在弹出的曲线对话框中,将曲线设置为如图05所示,图像效果如图06所示。
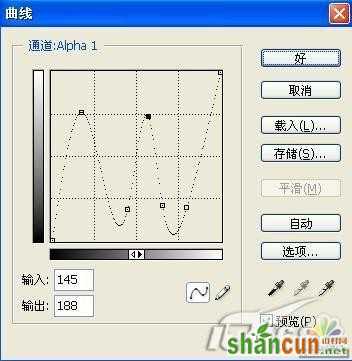
图5 Photoshop调节曲线

图6 Photoshop图像效果
5、按键盘上的Ctrl A键,将文件窗口中的图像全选。再按Ctrl C键,将选中的图像进行复制,按Ctrl D键,取消选区。按Ctrl N键,新建一个宽度为5厘米,高度为5厘米,分辨率为300像素,模式为RGB,内容为白色。按Ctrl V键,将复制的图像粘贴到新建文件窗口中,选择文件存储命令,将文件存储为PSD文件。
6、回到开始的文件中,在通道中选择菜单栏中的“滤镜”→“扭曲”→“置换”命令,在弹出的“置换”对话框中,将水平比例选项设置为10,垂直比例设置为10,其他默认,如图07所示。
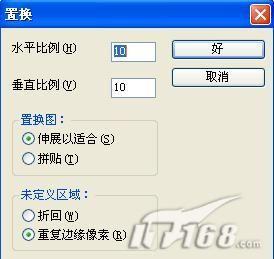
图7 Photoshop置换滤镜
7、单击好按钮,弹出“选择一个置换图”对话框,在对话框中选择刚才保存过的文件,按打开按钮,效果如图08所示。
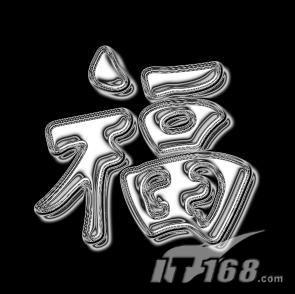
图8 Photoshop图像效果
8、按键盘上的Ctrl A键,将文件窗口中的图像全选。再按Ctrl C键,将选中的图像进行复制。切换至图层面板,新建图层1,按Ctrl V键,将复制过的图像粘贴到图层1。
9、执行菜单栏中的“图像”→“调整”→“色相/饱和度”命令,在弹出的对话框中,勾选着色选项,设置参数如图09所示,图像效果如图10所示。
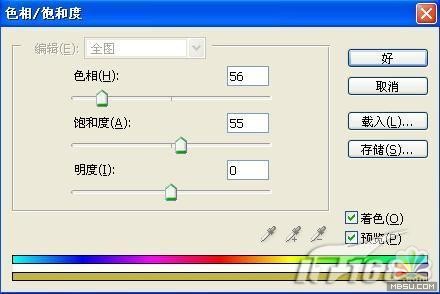
图9 Photoshop设置色相/饱和度

图10 Photoshop图像效果
10、选择工具箱中的魔棒工具,选择背景部分,然后删除。双击图层1,打开图层样式对话框,选择外发光样式,设置参数如图11所示,文字的最终效果如图12所示。
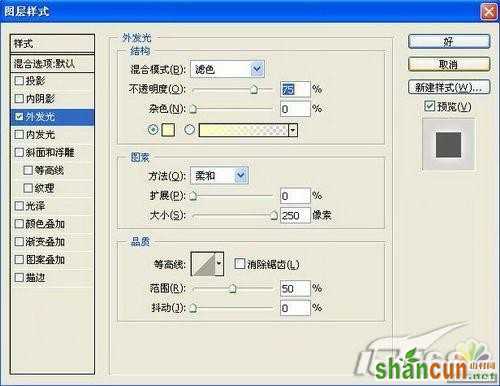
图11 Photoshop设置图层样式
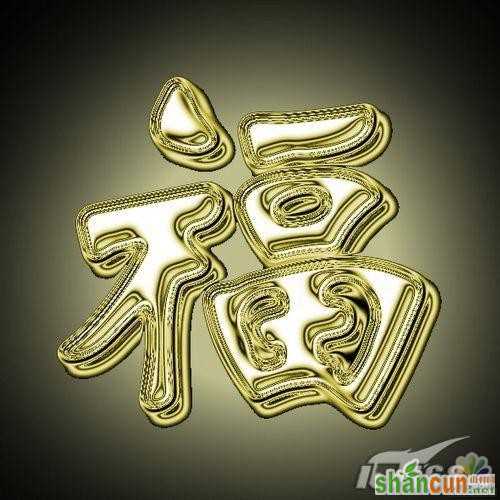
图12 最终效果
注:更多精彩教程请关注山村photoshop教程栏目,山村PS群:182958314欢迎你的加入


