
先看一下最终效果:
制作工具:Photoshop CS
制作过程:
1、打开一幅背景图片,效果如图01所示。
2、在工具箱的下方将前景色设置为灰色RGB分别为150、150、150。选择工具箱中的文字工具,在文件窗口中输入文字,效果如图01所示。在文字层上单击右键,在弹出的菜单中选择栅格化图层命令,将文字层转换为图像图层。

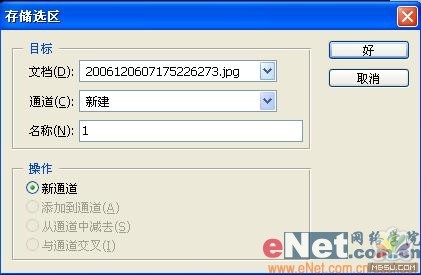
3、按住Ctrl键,单击文字图层,载入选区,选择菜单栏中的“选择”“存储选区”命令,弹出存储选区对话框,名称为Alpha 1,如图02所示,单击好确认。
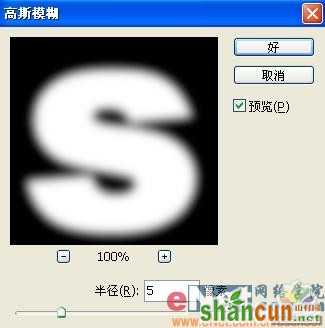
4、切换至通道面板,选中通道Alpha 1,选择菜单栏中的“滤镜”“模糊”“高斯模糊”命令,在弹出的高斯模糊对话框中,将半径设置为5,如图03所示,图像效果如图04所示。

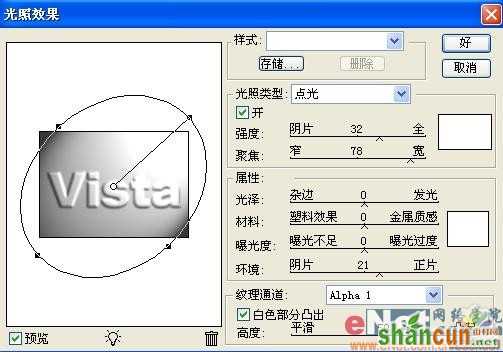
5、选择图层控制面板,选中文字图层。执行菜单栏中的“滤镜”“渲染”“光照效果”,在样式中选择“右上方点光”,在光照类型中选择点光,强度为32,聚焦为78,光泽设置为0,材料设置为0,曝光度设置为0,环境设置为21,纹理通道为Alpha 1,将高度设置为80,其他为默认,如图05所示,图像效果如图06所示。

6、执行菜单栏中的“图像”“调整”“曲线”命令,在弹出的曲线对话框中,将曲线设置为07所示,图像效果如图08所示。
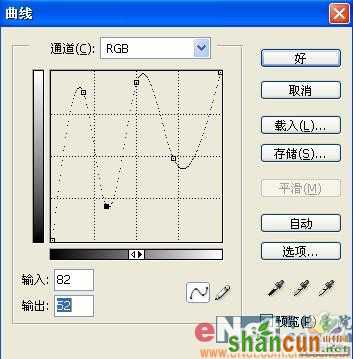

7、再次执行菜单栏中的“图像”“调整”“曲线”命令,在弹出的曲线对话框中,将曲线设置为09所示,图像效果如图10所示。

8、选中背景图层,在图层控制面板下方单击创建新的图层按钮,生成新的图层1,在工具箱的下方将前景色设置为橘黄色,其RGB分别为231、179、37。按住Ctrl键,单击文字层,载入选区。选中图层1,用前景色填充选区,如图11所示,取消选区。设置文字图层混很模式为亮度,图像效果如图12所示。


9、将图层1和文字层链接。选择菜单栏中的“编辑”“自由变换”命令,调整字母的倾斜度,使字母近大远小感觉,效果如图13所示。

10、复制文字层为文字层副本。将该层垂直翻转并调整角度,效果如图14所示,设置文字图层副本的不透明度为36%,图像最终效果如图15所示。


注:更多精彩教程请关注山村photoshop教程栏目,山村PS群:182958314欢迎你的加入


