
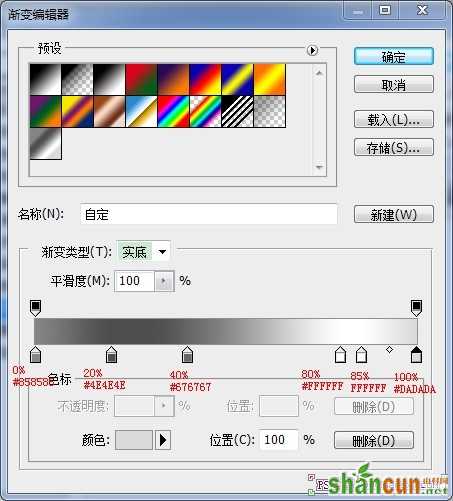
1、创建一个600*450 RGB模式 72dpi的透明背景文档。 使用Alt+Backspace填充新层。并应用渐变叠加图层样式

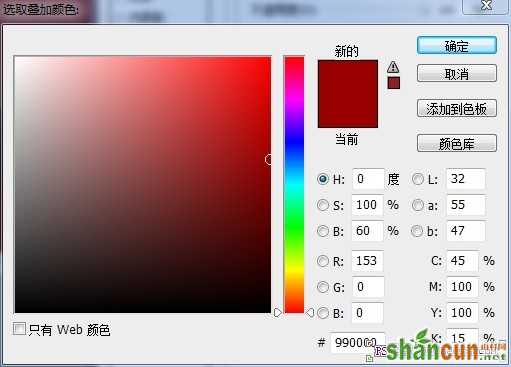
2、添加颜色叠加效果,叠加颜色#990000

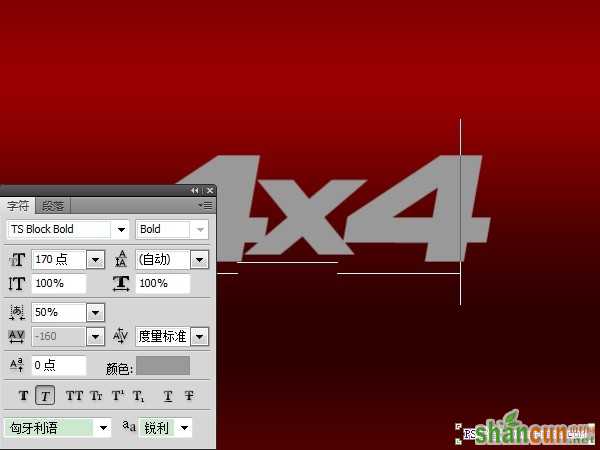
3、输入文字“4”并进行相应设置,颜色为#999999
输入X并进行编辑
复制左边的4到最右边,效果如下:
4、对文字层做图层样式,描边3像素,颜色#666666
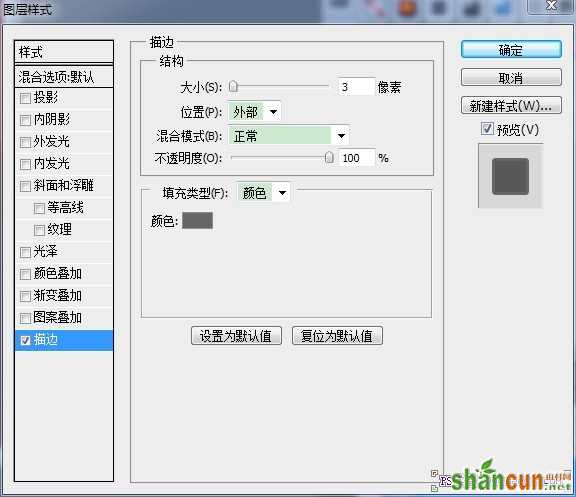

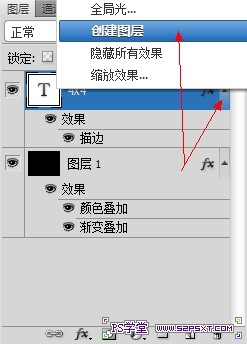
5、我们将描边样式从层中分离出来。 在图层的“FX”图标上右键点击,选择“创建图层”
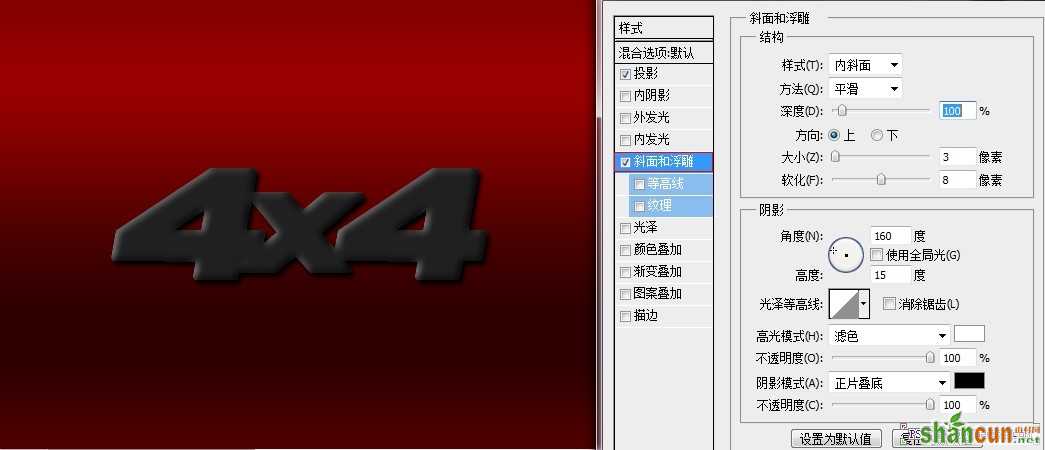
6、我们将在这个新层上添加新的图层样式来模拟徽章的斜面效果
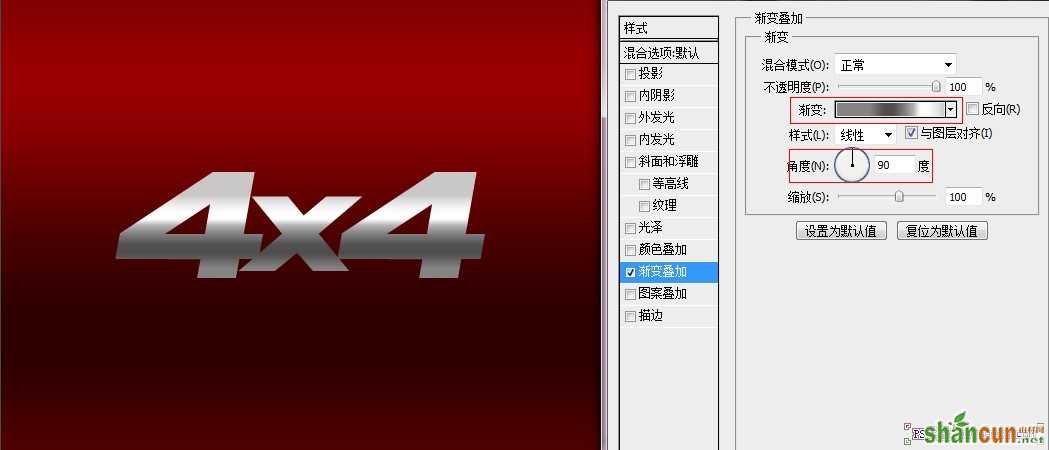
7、先对文字层执行渐变叠加图层样式
接着对描边图层执行渐变叠加和其他图层样式
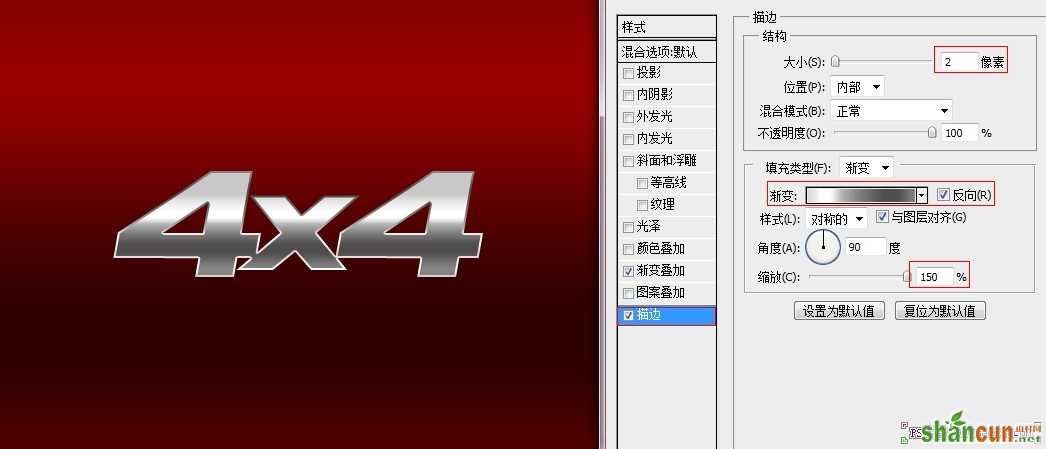
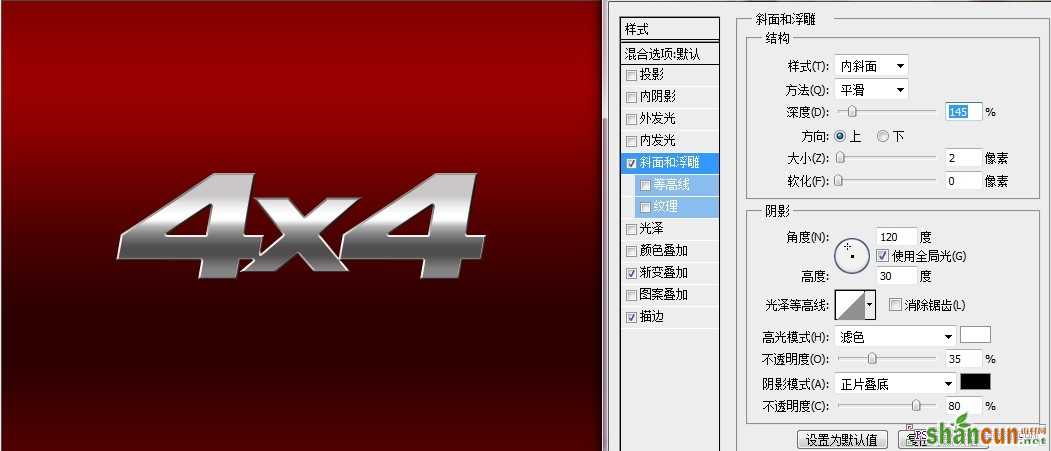
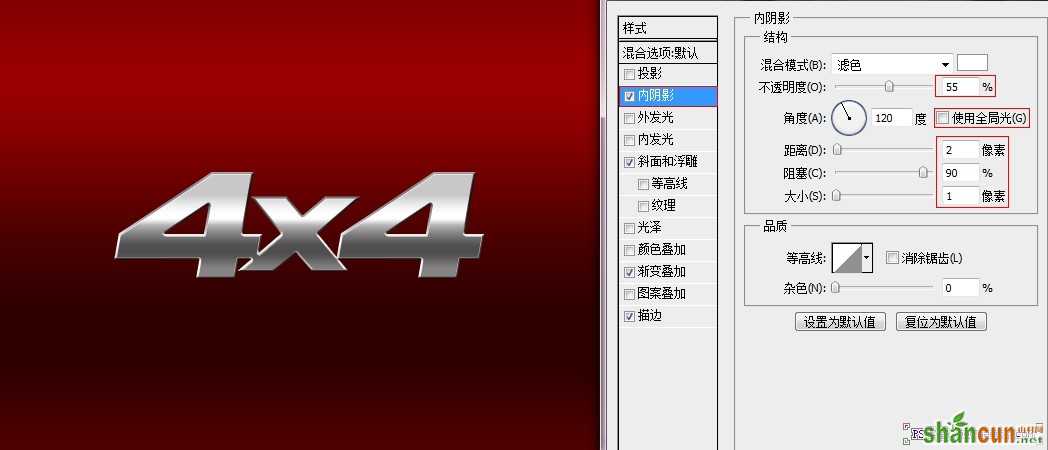
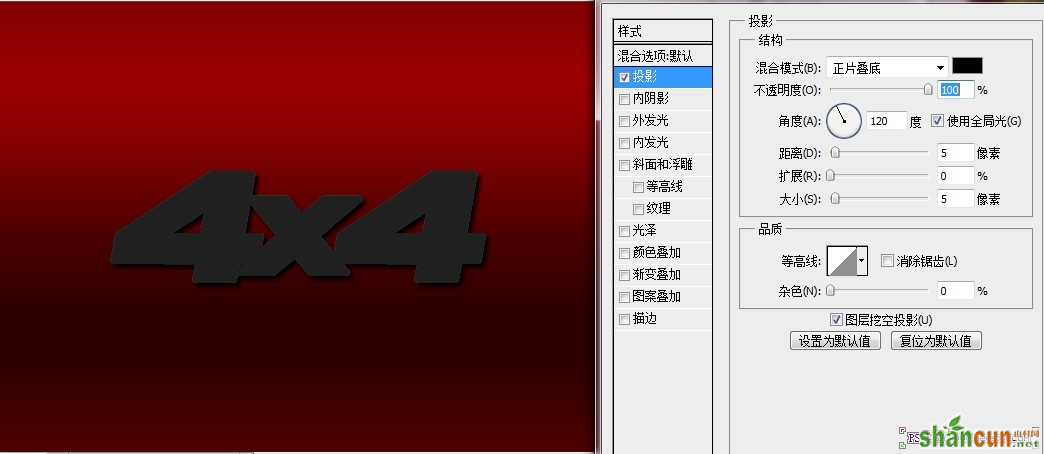
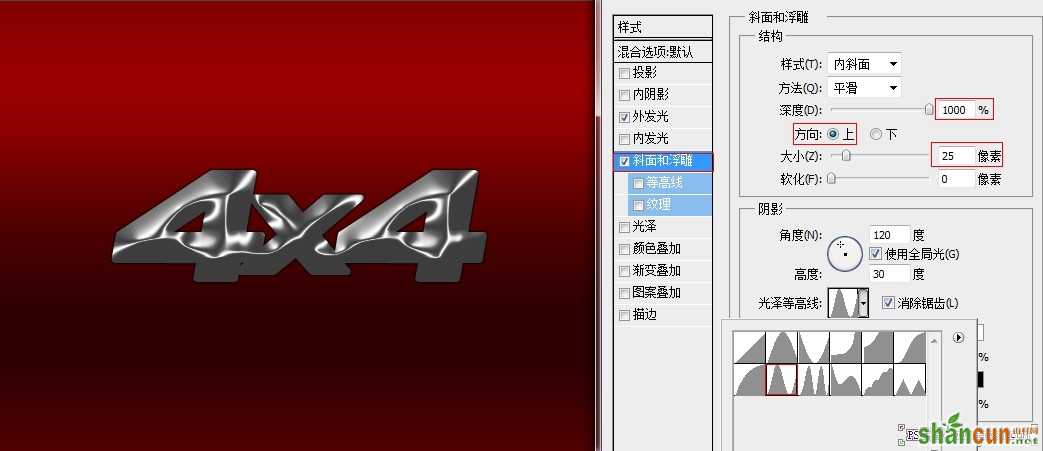
8、接下来我对分离出来的"4*4"的外描边图层执行以下效果
9、我们创建徽章后面的黑色塑料效果。复制“4*4”的外描边图层,并清除图层样式,并移到红色背景层上方。填充颜色#202020,并执行以下图层样式
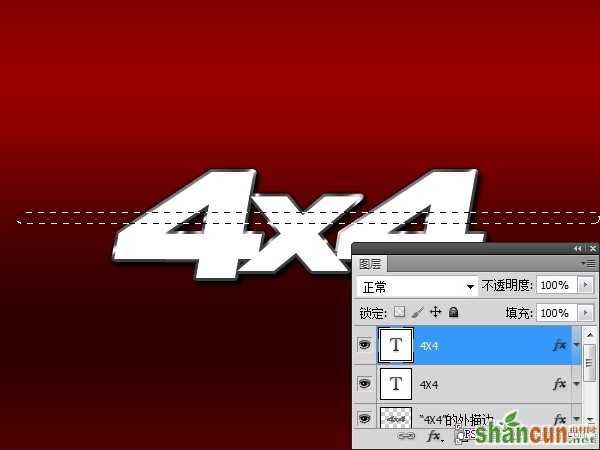
10、复制文字图层,填充为白色,做出如图选区并羽化3像素,单击图层面板上的添加图层蒙版按钮
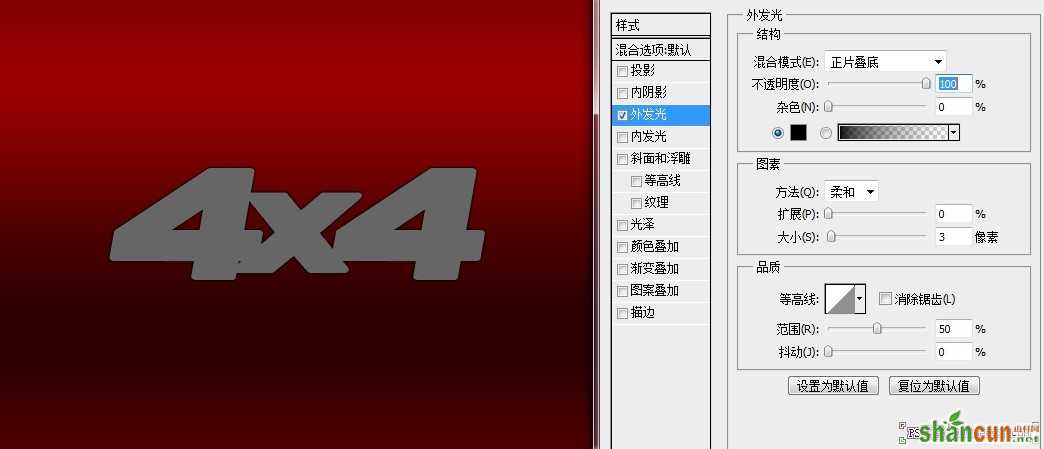
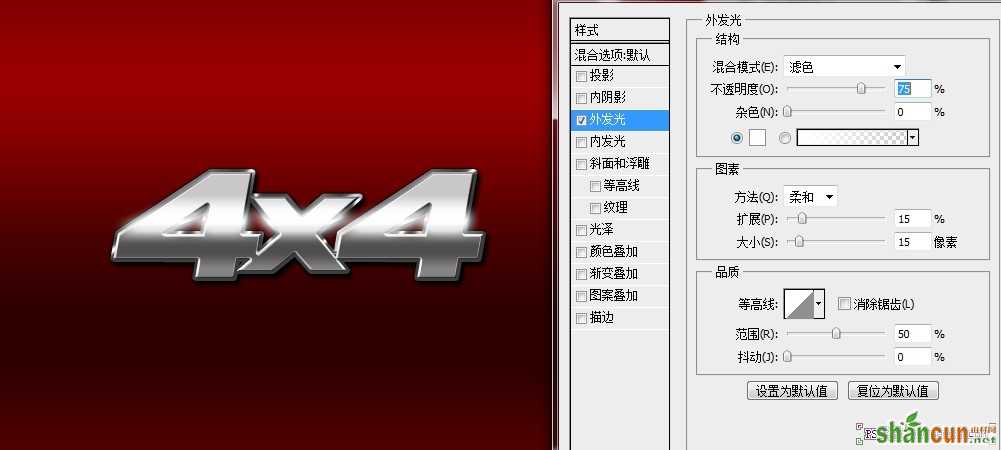
对该图层添加外发光图层样式
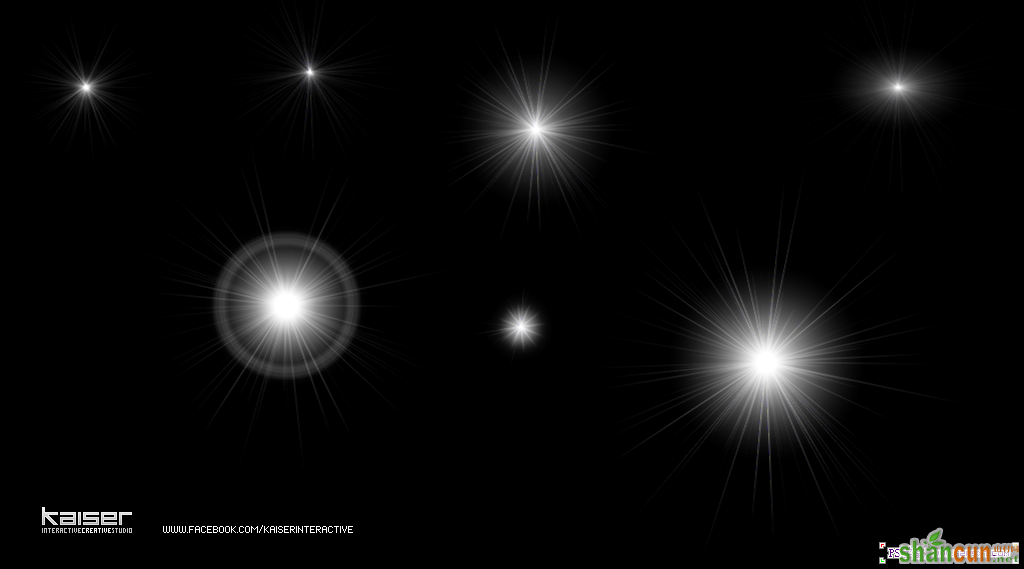
11、选择一个耀斑,制作镜头光晕效果,最后完工。ok
注:更多精彩教程请关注山村photoshop教程栏 目,山村PS群:75789345欢迎你的加入


