
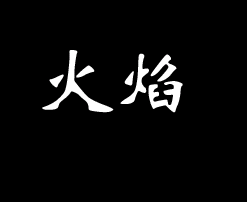
输入你所想制作的文字(这里我就输入“火焰”)
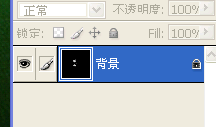
然后将两图层合并。
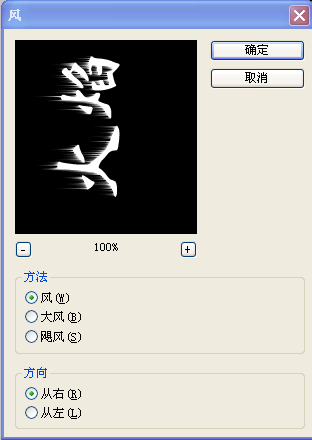
然后将画布逆时针旋转90度,选择“滤镜”——“风格化”——“风”。设置成下图状态:
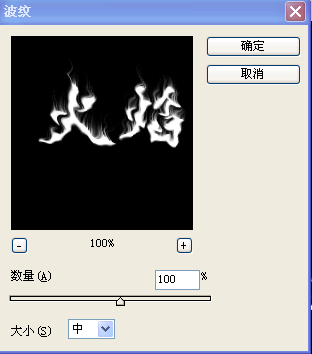
再将画布顺时针旋转90度,选择“滤镜”——“扭曲”——“波纹”。这个可以按照自己想要的效果调节,这里我就选100%了!
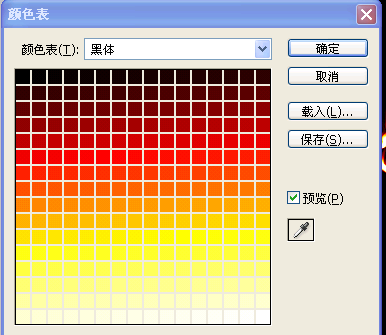
然后选择“图像”——“模式”——“灰度”;再选“图像”——“模式”——“索引颜色”;再选“图像”——“模式”——“颜色表”。选择黑体。如下:
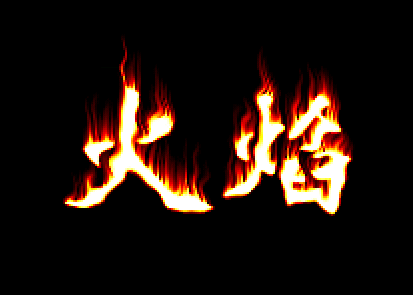
最后再次选择“图像”——“模式”——“RGB颜色”。这样两个着着火的字就诞生啦!
注:更多精彩教程请关注山村photoshop教程栏 目,山村PS群:75789345欢迎你的加入


