
PS怎么制作钢铁侠风格的文字特效
国庆长假结束了,PS已经快一周没有开启了吧。马上来通过这个教程来练习一下吧。
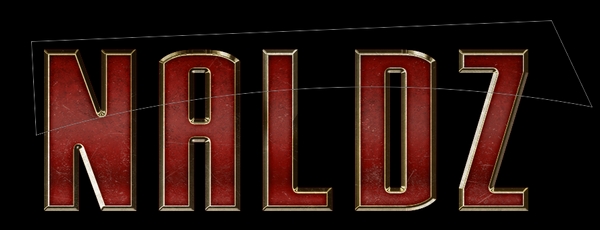
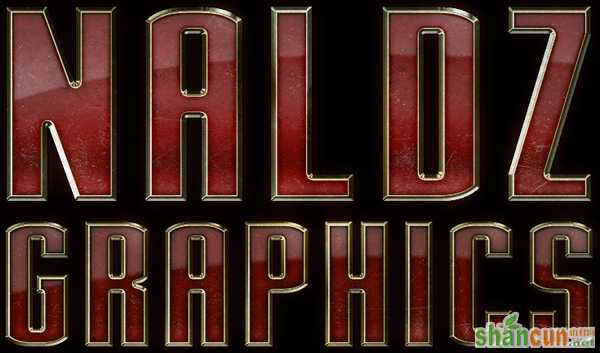
用PS创造一个钢铁侠风格的文字效果。
本文我们将创造一个简单而又漂亮的文字效果,使之看起来像钢铁侠电影中的文字。
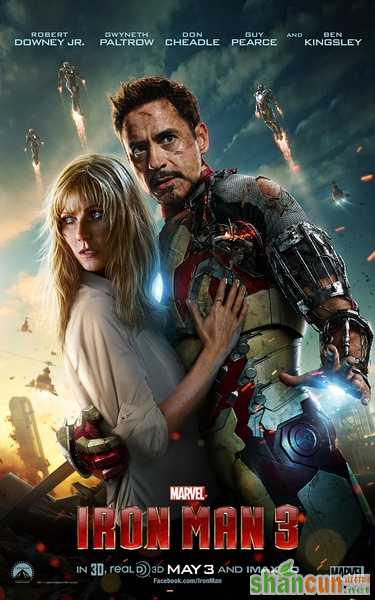
最终效果:
步骤1:
用PS创建新文件,背景设置为黑色。我们需要一些色彩进行对照。从这里下载”Stark”字体:http://www.dafont.com/stark.font
步骤2:
选择字体工具,随便写点什么,这里大小选择为:大字350像素,小字223像素。字体色彩设置为b10a01

步骤3:
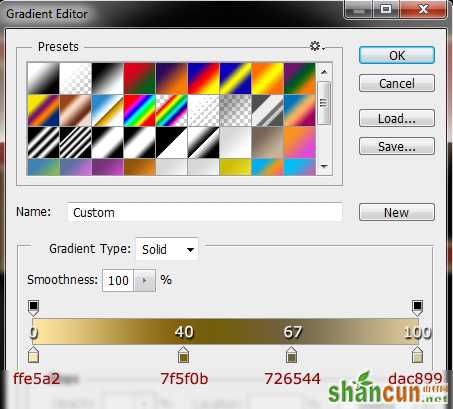
切换到大字所在的图层,将大字的图层复制两次,然后选择原始图层,设置”渐变叠加”,混合模式为”明度”,在最下面,具体参数如图。(我用的CS5)
步骤4:
在新文件里打开铁锈材质,去色(Ctrl+Shift+U),用矩形选框工具选择材质的大部分(不是整个图片),编辑->定义图案,保存
步骤5:
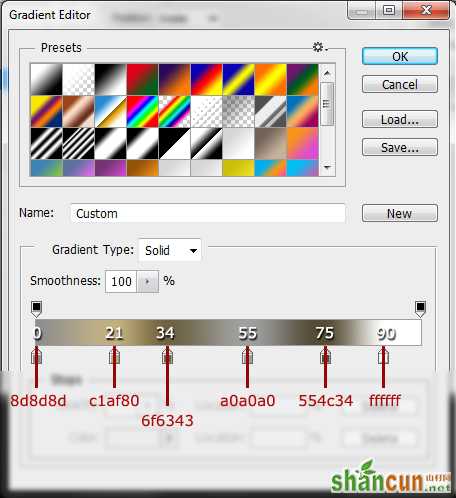
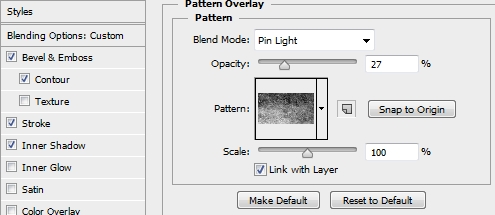
选择大字的第二个图层,调整填充为0%,根据下图进行设置

“描边”参数 填充类型”渐变” 描边位置”内部”

“斜面和浮雕”参数 样式”描边浮雕” 方法”雕刻清晰” 高光模式”线性减淡(添加)”阴影模式”正片叠底
“内阴影”参数 混合模式”线性加深”
“图案叠加”参数 混合模式”点光”
步骤6:
选择大字的第三个图层,填充设置为0%。设置”斜面和浮雕”和”描边”
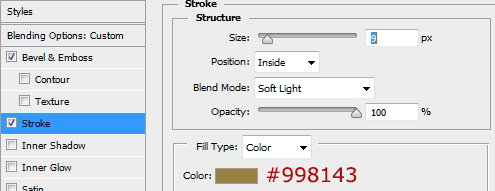
“描边”参数 混合模式”柔光” 位置”内部
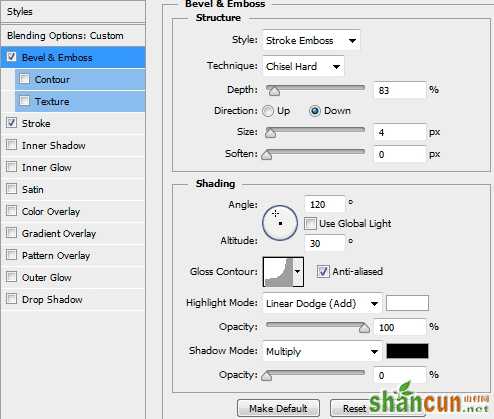
“斜面和浮雕”参数,样式”描边浮雕”方法”雕刻清晰”高光模式”线性减淡(添加)”阴影模式”正片叠底
步骤7:
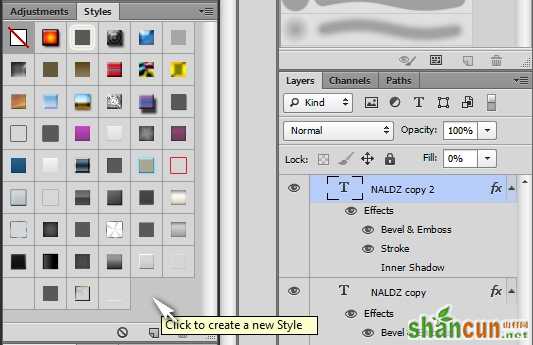
现在,将大字的每个图层的样式进行保存,如果你看不到样式的小窗口,选择 窗口->样式
步骤8:
将铁锈材质放到新的图层,混合模式为正片叠底,不透明度设置为 25%。确保材质将整个文本覆盖。Ctrl+左键单击每个大字图层的缩略图,选择”添加图层蒙板”
步骤9:
置入金属划痕材质,重复步骤8,将混合模式调整为点光,不透明度10-15%
步骤10:
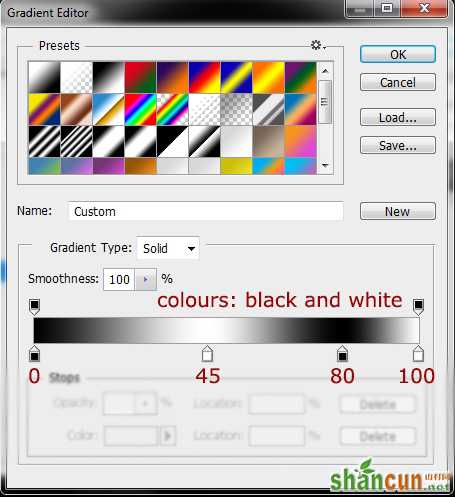
新建调整图层,添加一个渐变映射图层,混合模式为颜色,不透明度为20%
步骤11:
创建新的图层,选择钢笔工具,按照下面的第一个图画出形状,做点高光效果。下一步,选择大字图层上任意点一下,然后收缩(选择->修改->收缩->)收缩到9像素(因为我们在大字中使用的Stroke字体是8px,所以你需要流出来一点)。使用模糊工具,让边缘更平滑一些,不透明度调整到20%

步骤12:
将现在所有建立的和大字有关联图层组织起来,命名为”大字图层组”设置如下图(给组设置混合选项必须CS6或以上版本)

“外发光”设置
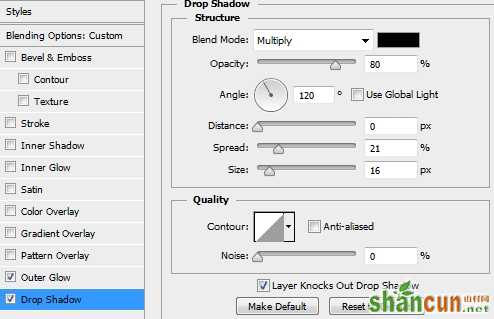
“投影”参数 混合模式”正片叠底”
注意:你可能会发现在字母边缘会随机出现一些红线,我也不知道这是为什么,但是你可以通过 给你的组设置内阴影轻松的去掉

“内阴影参数”
步骤13:
小字的做法和大字的一样。你不用重新设置所有图层的样式。只需要从样式的窗口中找到已经保存过的对应的样式就可以了。然而,你还是需要作出一些调整,考虑的Stroke字体大小的不同。
步骤14:
创建一个新的图层,通过柔性颗粒圆笔画高光,混合模式为柔光,不透明度为50%。如果你想的话添加图层蒙版
更多知识请关注 山村ps教程 栏目


