Photoshop怎么制作水彩艺术字体
效果图

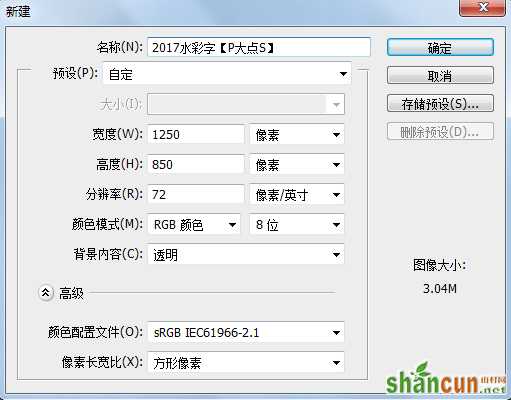
首先,我创建了一个新文档,我用的大小是1250x850像素。
在我们所提供的素材包中,找到这个纹理素材,放置到我们的文档中,你可以适时的调整大小和位置。我创建了一个“色彩平衡”调整层,创建剪贴蒙版,稍微改变了下素材的颜色。(素材来自于Arjo62在deviantart的分享)

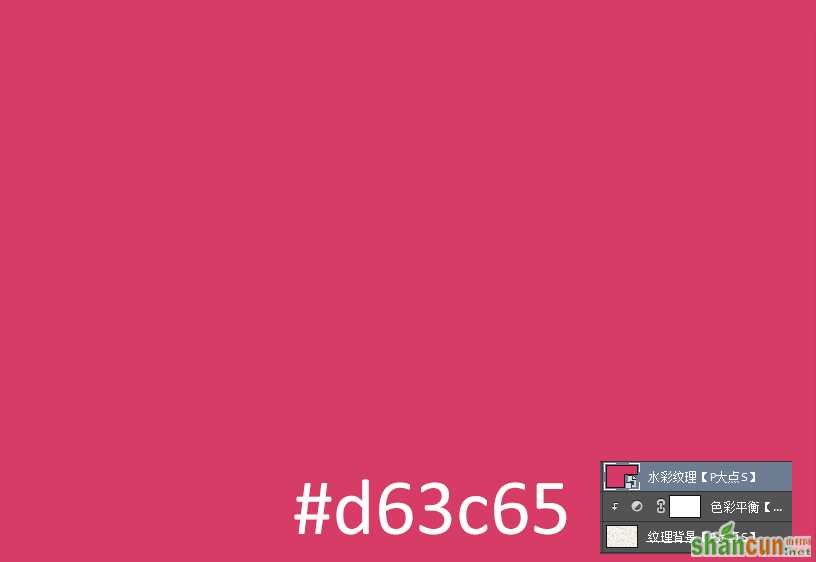
新建一个图层,并填充#d63c65,这个图层将作为我们的水彩纹理图层,因为接下来的操作都是滤镜,建议将其转换为智能对象,方便出错时的修改。
执行一个云彩滤镜,在这里需要注意的是前景色应该是我们刚才填充的颜色#d63c65,背景色是白色。

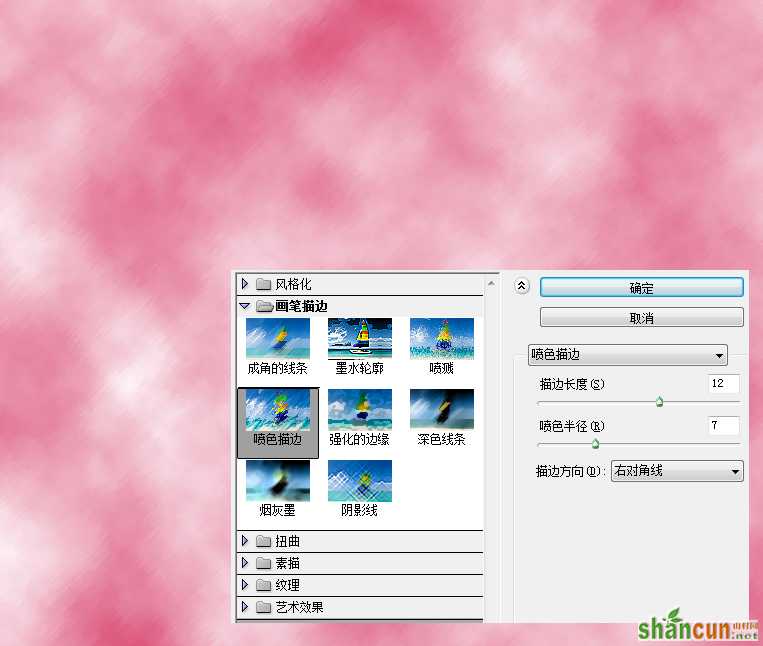
执行一个喷色描边滤镜,设置描边长度为12,喷色半径为7,描边方向为右对角线。
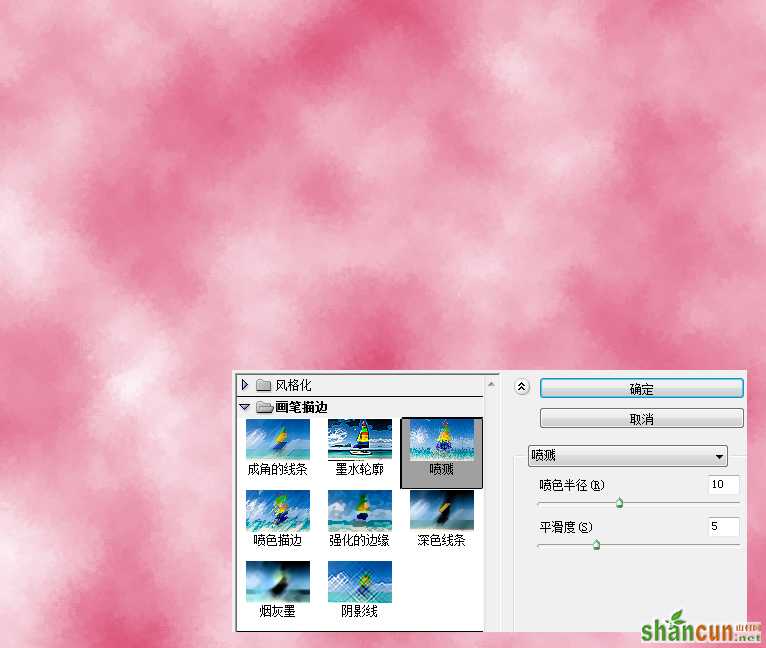
执行一个喷溅滤镜,设置喷色半径为10,平滑度为5。
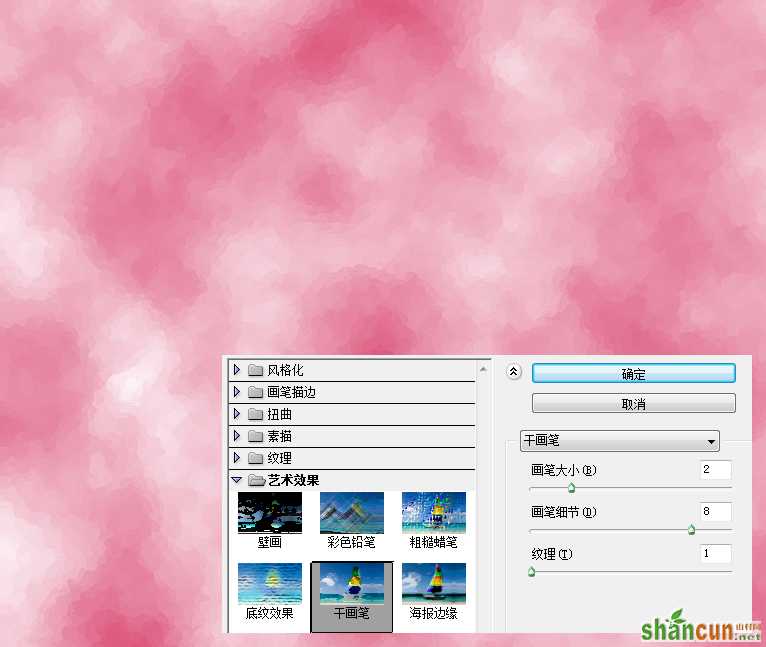
执行一个干画笔滤镜,设置画笔大小为2,画笔细节为8,纹理为1。
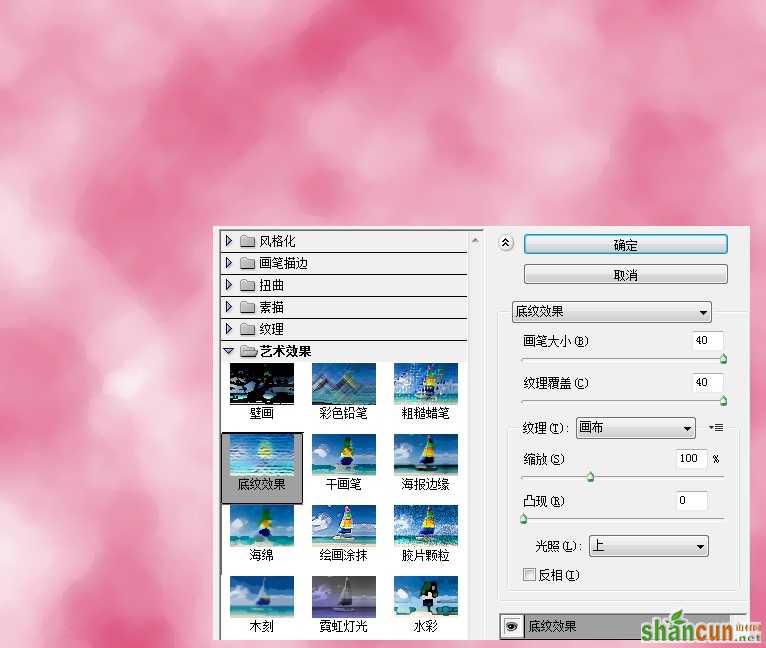
执行一个底纹效果滤镜,设置画笔大小为40,纹理覆盖40,光照为上。
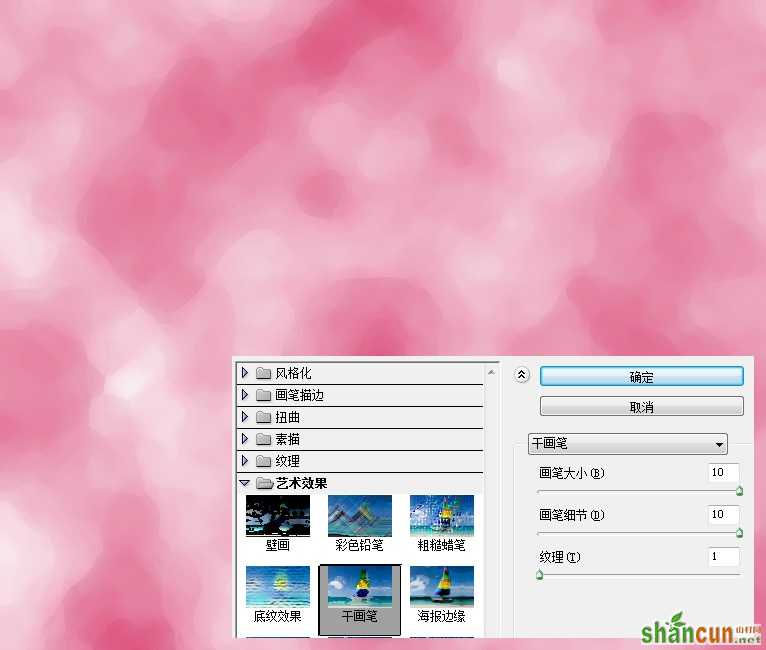
再次执行一个干画笔滤镜,设置画笔大小为10,画笔细节为10,纹理为1。
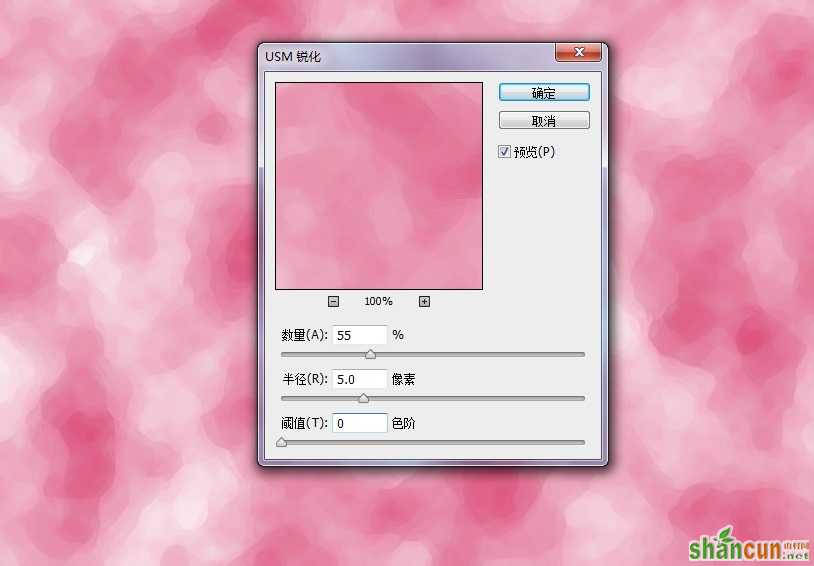
执行一个USM锐化,数量为55%,半径5像素,阈值0色阶。
添加我们的文本,我这里用的是2017 NEW YEAR,其实应该用HELLO 2017的,做到一半才想起来,也就算了。这里的字体用的是Hucklebuck JF,大小200点,它的形状有点连写的样子,我感觉更适合用于水彩字。

在文本图层上右键,选择“创建工作路径”,在路径面板中将路径保存,我这里因为用了两个文本图层,所以保存了两个。

因为文字转路径后,有些文本之间的路径是相交的,我们需要消除这些点,选择住这个路径,合并形状组件。

载入文本的选区,为水彩纹理图层创建蒙版,并隐藏掉我们的文本图层。现在你会看到我们的文本得到了初步的水彩效果,但是不完善,我们需要进一步的优化。
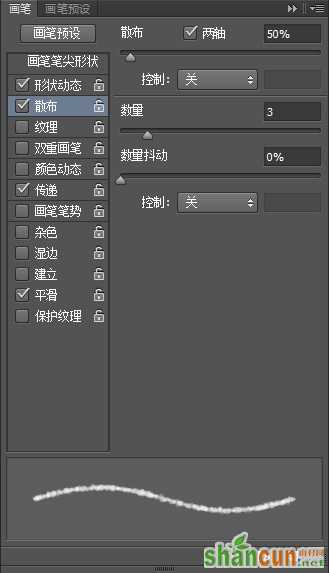
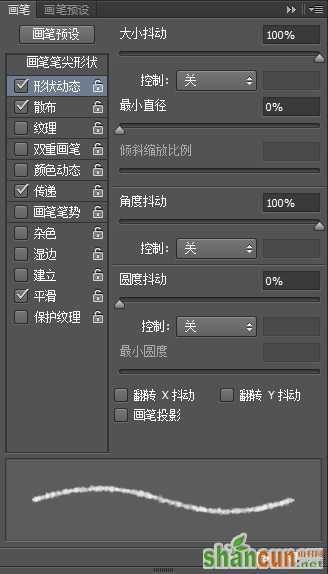
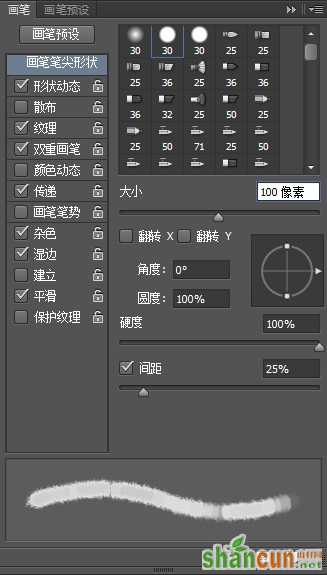
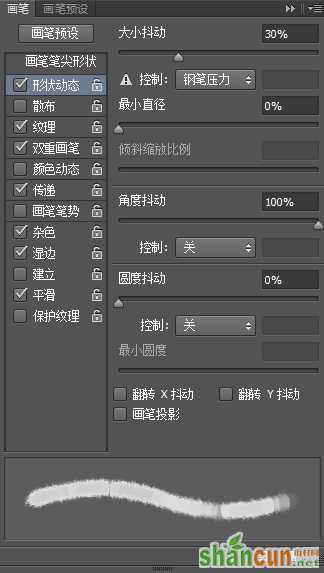
接下来,我们进行优化,首先,我们设置了一下画笔,设置了画笔笔尖形状、形状动态、散布以及传递,记得勾选平滑。

设置好画笔后,设置前景色为黑色,然后,选择水彩纹理图层的蒙版,请一定要选择在这个蒙版上,在路径面板中执行描边路径操作,设置模拟压力。在蒙版上执行描边,就相当于是用这个描边区域在这个蒙版上涂抹,会让边缘更加真实一点。

OK,现在我们得到如下的效果。
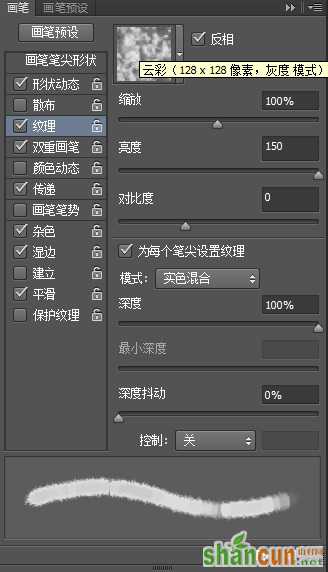
接下来,我们继续设置一下画笔,我设置了画笔笔尖形状、形状动态、纹理、双重画笔和传递,记得勾选杂色、湿边、平滑。
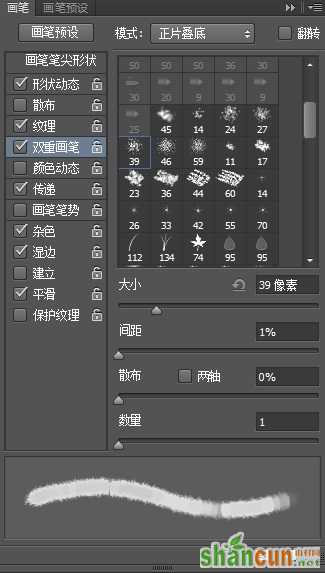
设置完画笔后,现在还是将前景色设为黑色,在水彩纹理图层的蒙版上按照自己的想法涂抹,在你觉得要让它模糊一点,朦胧一点的地方,适当的擦一擦,效果如下:
水彩在画布上,是会渗透的,纸张的纹理也会是可见的,所以,我们把水彩纹理图层的图层混合模式修改为“线性加深”,效果如下:

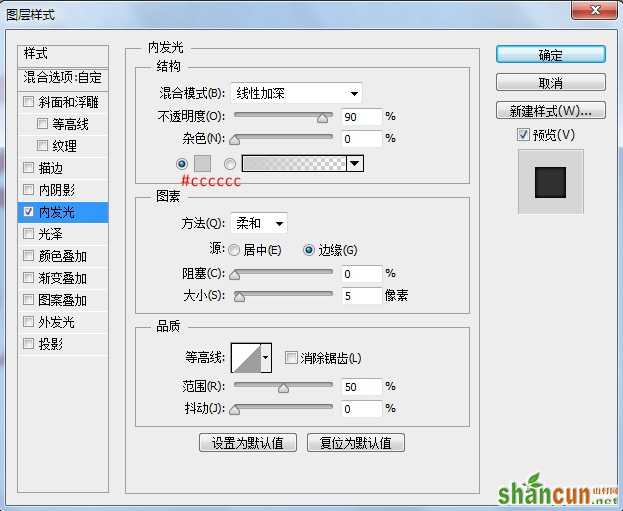
接下来,我们为水彩纹理图层添加一个内发光效果,让文字的边缘适当的加深一些,注意我们内发光的图层混合模式。

接着,我们在水彩纹理图层的下层添加一个渐变填充调整层,参数如下图。
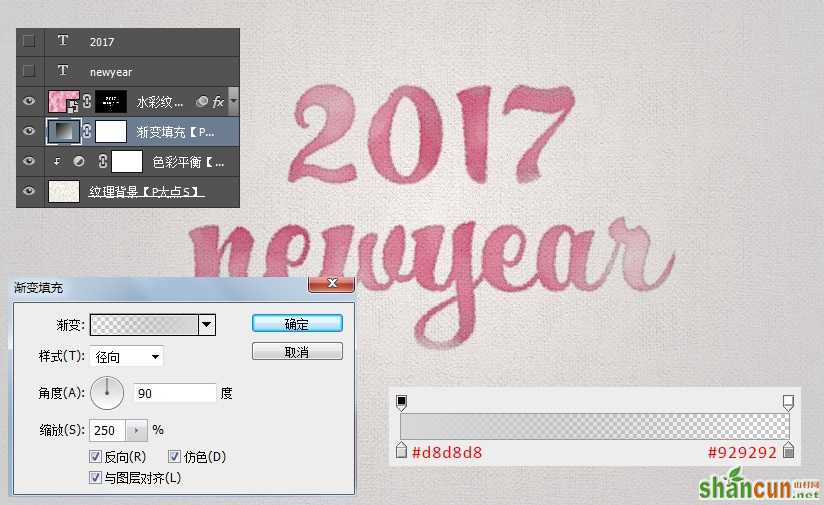
将渐变填充调整层的图层混合模式修改为“线性加深”,效果如下:

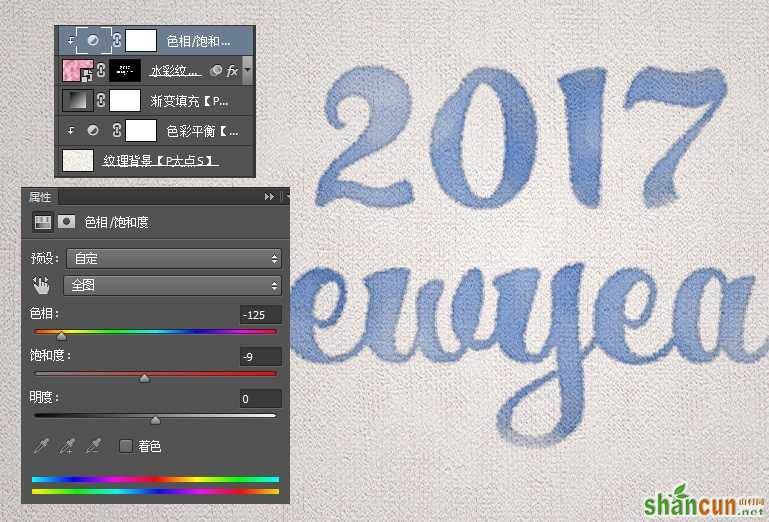
如果我们想修改水彩字的颜色时,添加个色相/饱和度调整层,(记得剪贴蒙版),修改颜色变得很容易。
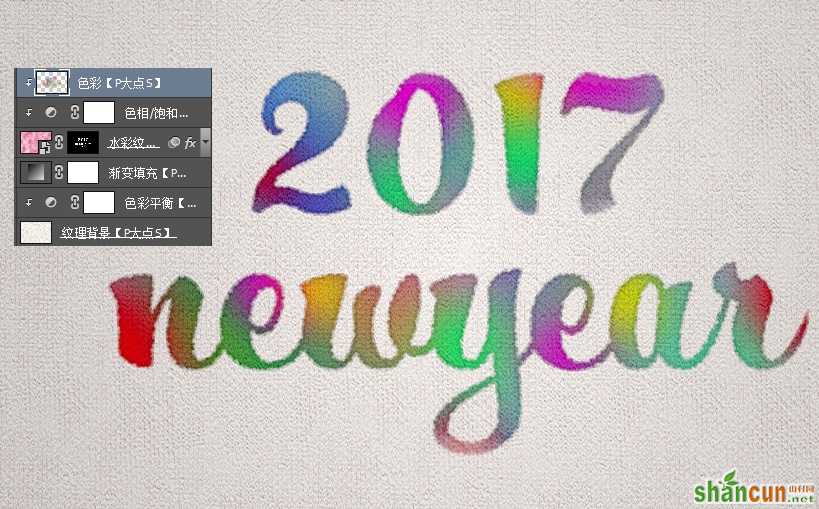
如果你想要个渐变颜色的水彩字,也很简单,建个新图层,自己涂点颜色,可以适当的高斯模糊下,也可以将图层混合模式修改为颜色。
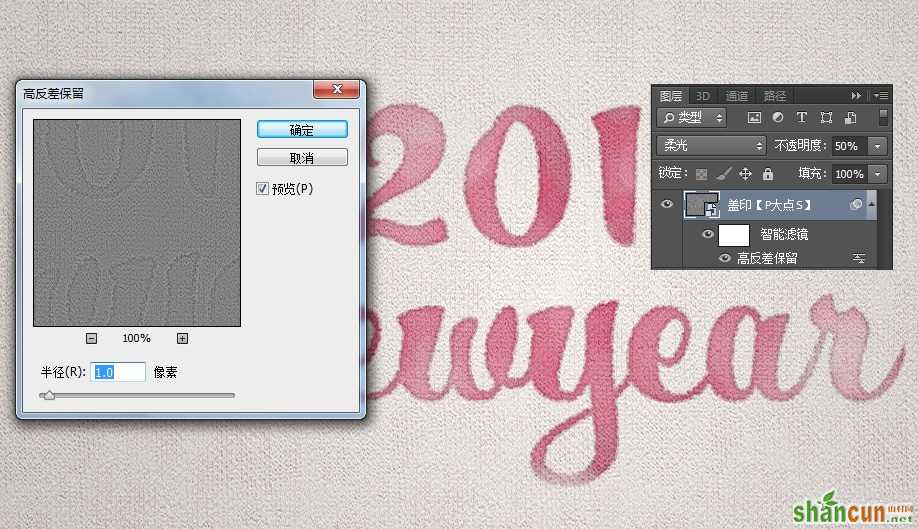
OK,我们接着来,Ctrl+Shift+Alt+E盖印可见图层,执行一个高反差保留滤镜,半径设置为1像素,将图层混合模式设置为柔光,图层不透明度50%,效果如下:
再次按Ctrl+Shift+Alt+E盖印可见图层,执行一个影印滤镜(这里需要注意前景色的颜色,至于为什么,你可以自己测试一下),参数如下:
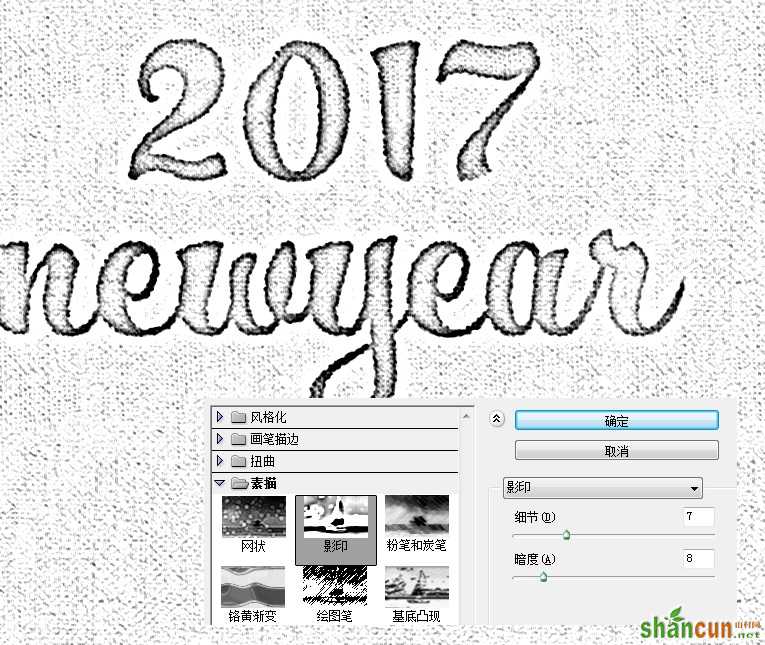
将执行影印滤镜的这个图层图层混合模式修改为柔光,图层不透明度10%,效果如下:

到这里就算完事了,我们的最终效果如下: