
Photoshop如何制作岩石火焰字体
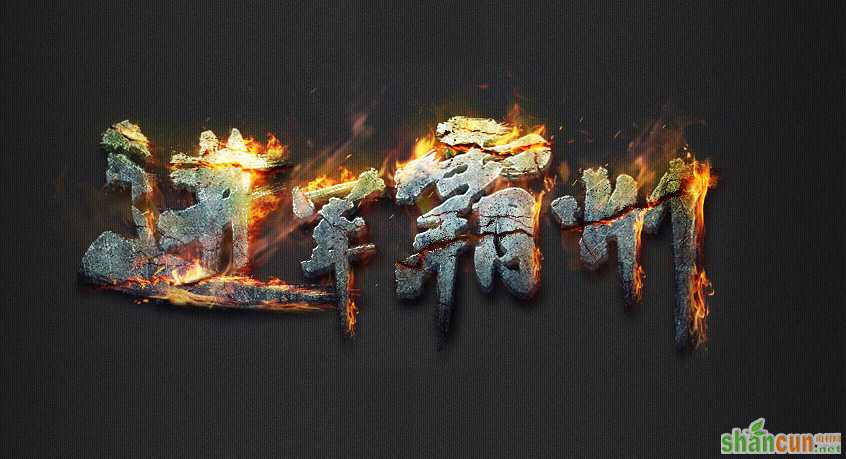
最终效果
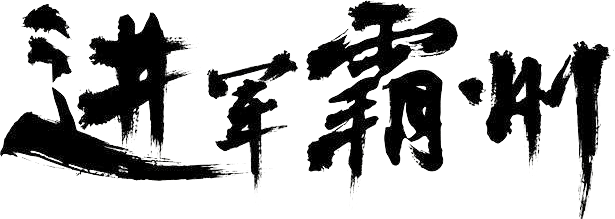
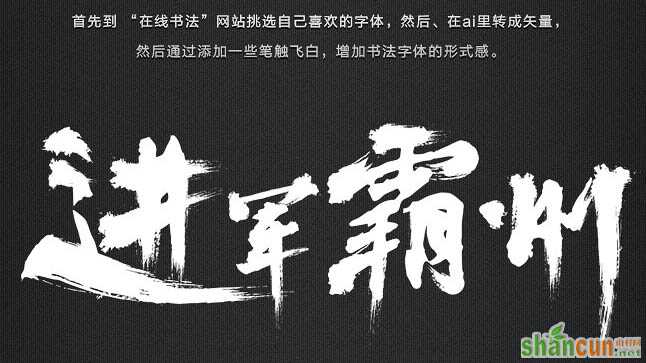
1、首先选择自己喜欢的字体,在Ai里面转为矢量,然后通过添加一些笔触,增加书法字体的形式感。这里可以直接先保存下图所示的PNG素材图片,新建一个800 * 600像素的文件,背景填充黑色,把文字素材拖进来,填充为白色。
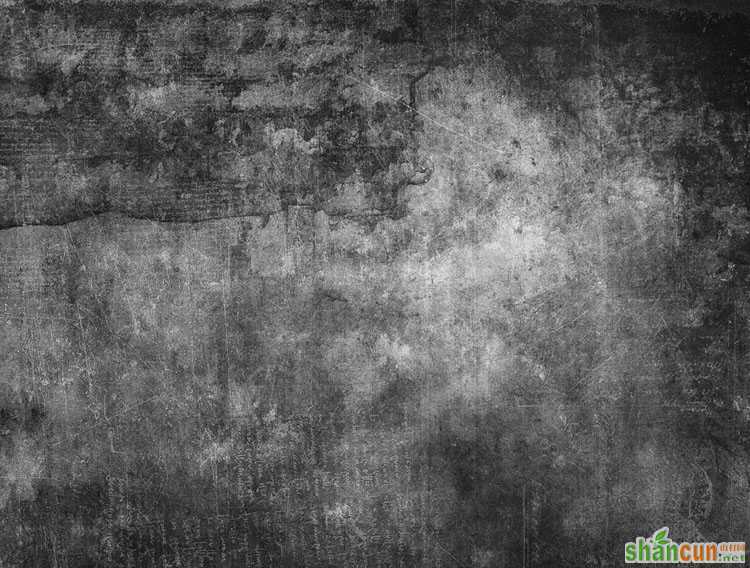
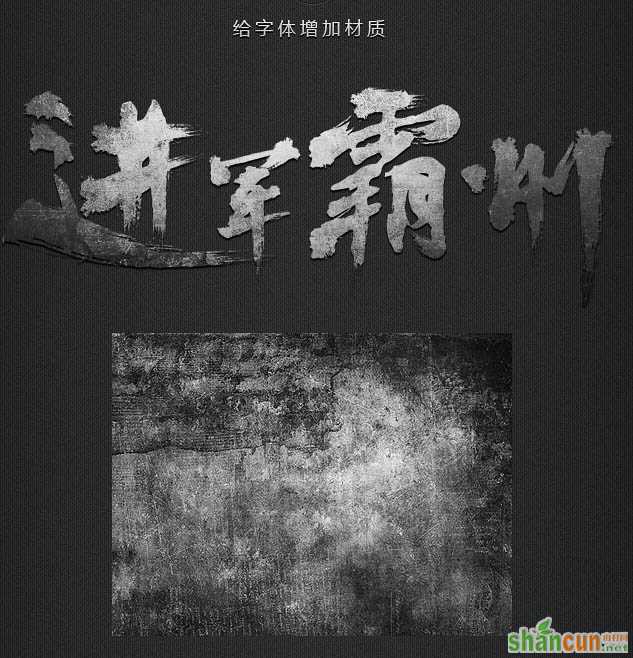
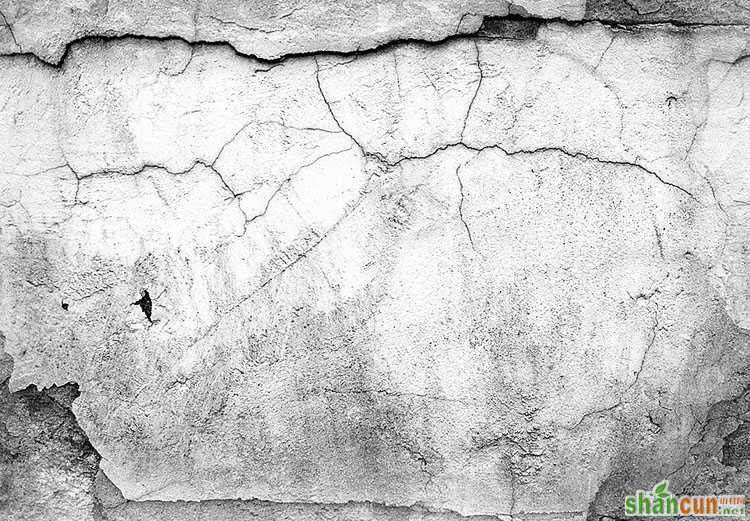
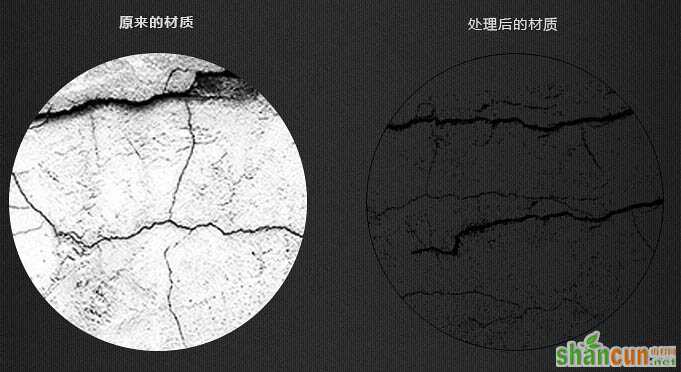
2、给字体增加材质,打开下图所示的纹理素材,拖到文字上面,载入文字选区,按Ctrl + J把选区部分的纹理复制到新的图层。
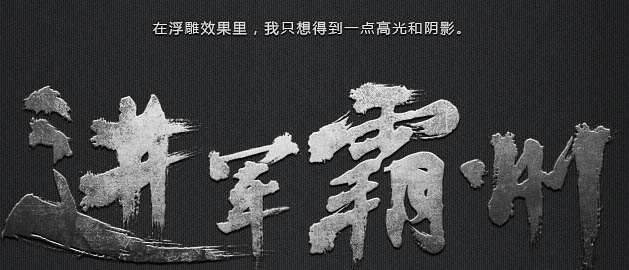
3、给复制的纹理图层添加图层样式,选择斜面和浮雕效果,数值可以自己把握。
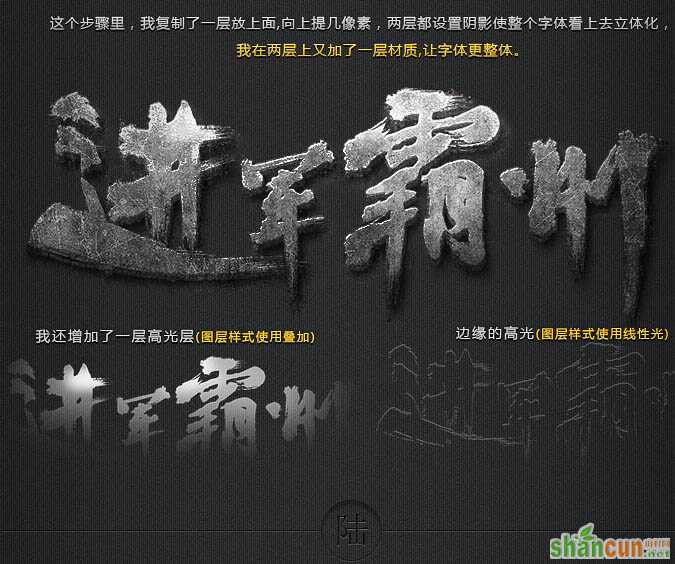
4、这个步骤里,我复制了一层放上面,向上提几个像素,两层都设置阴影使整个字体看上去立体化。我在两层上又加了一层材质,让字体更整体。
5、因为我要做火焰字,所有字体本身我增加了一些冷色调,这样和火焰的暖色有些对比。
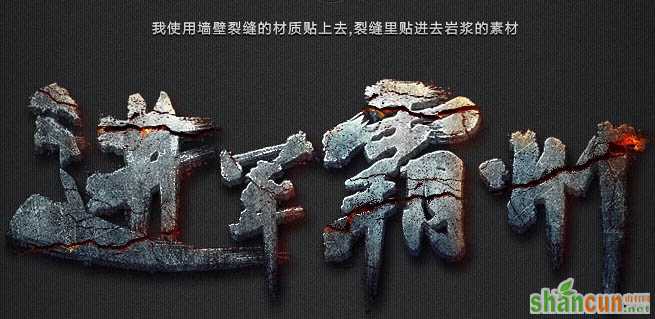
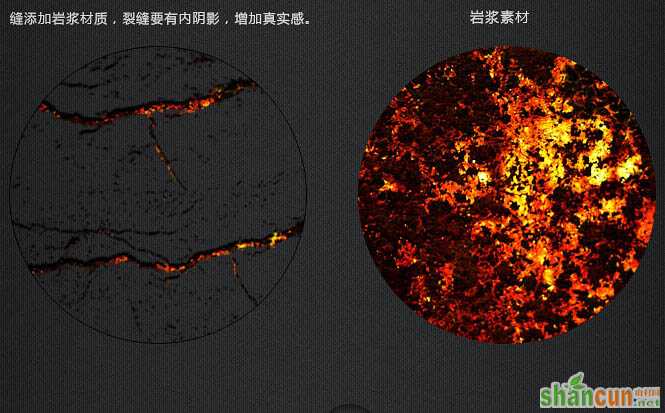
6、我使用墙壁裂缝的素材贴上去,裂缝里贴进岩浆的素材。
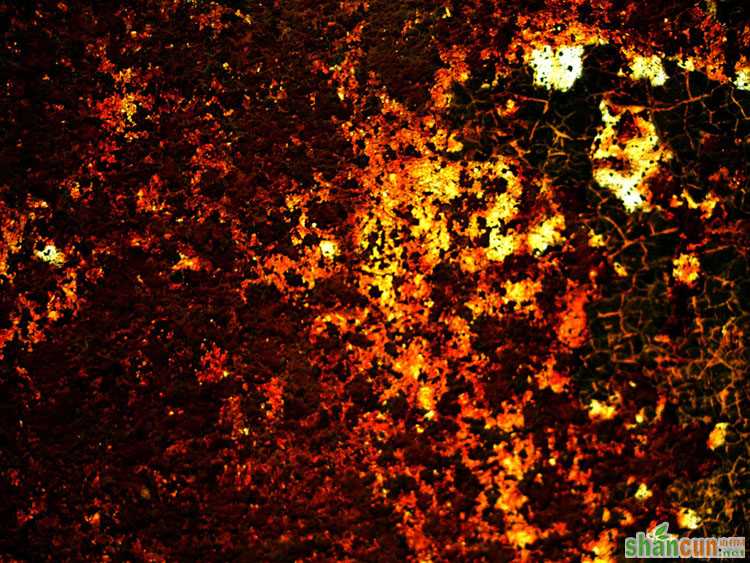
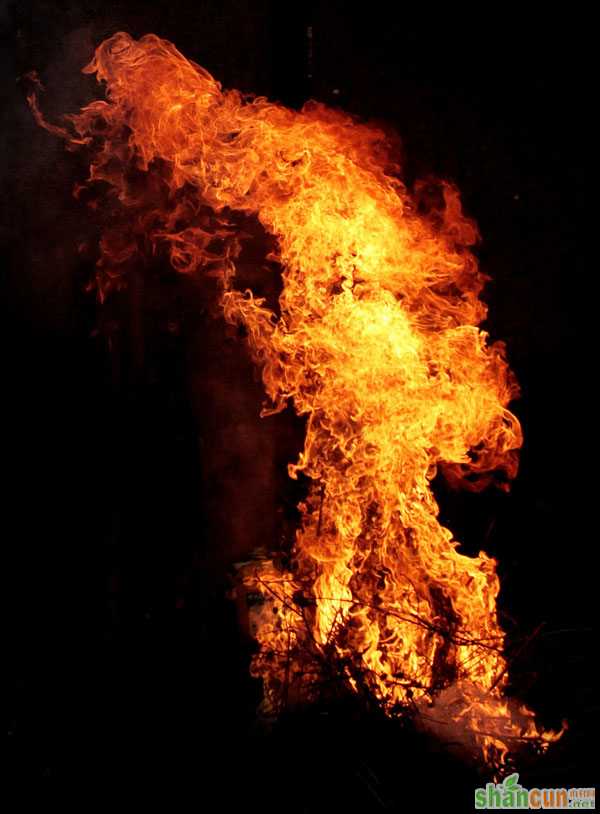
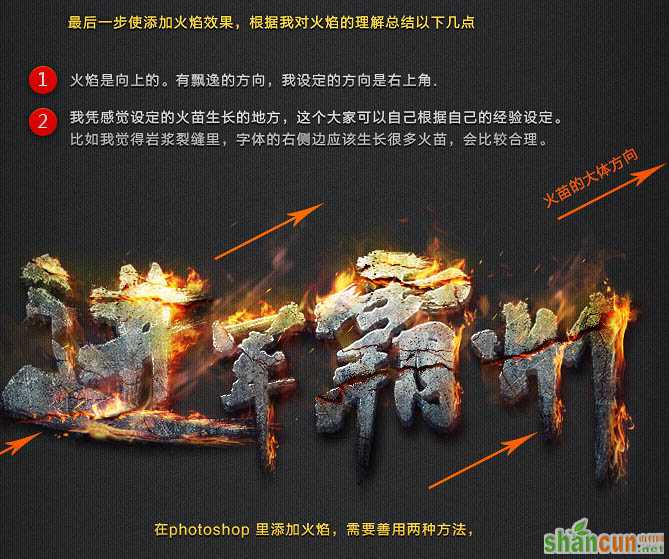
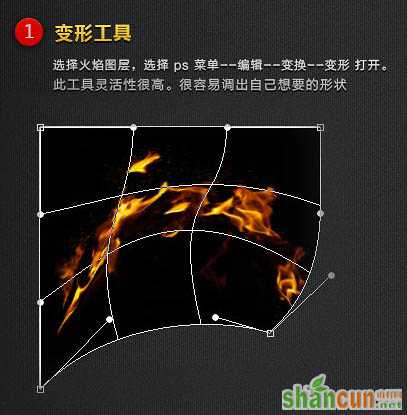
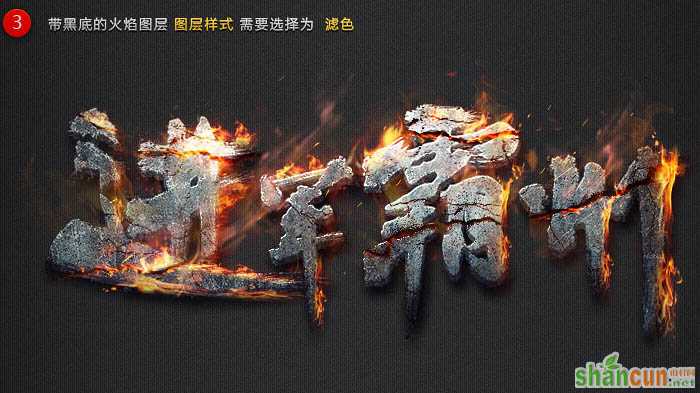
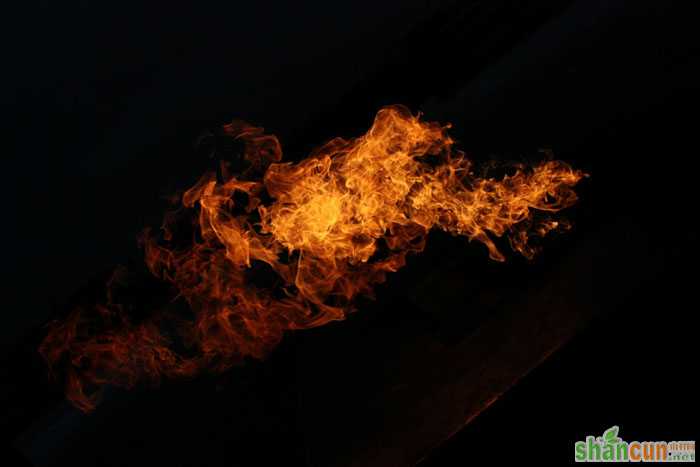
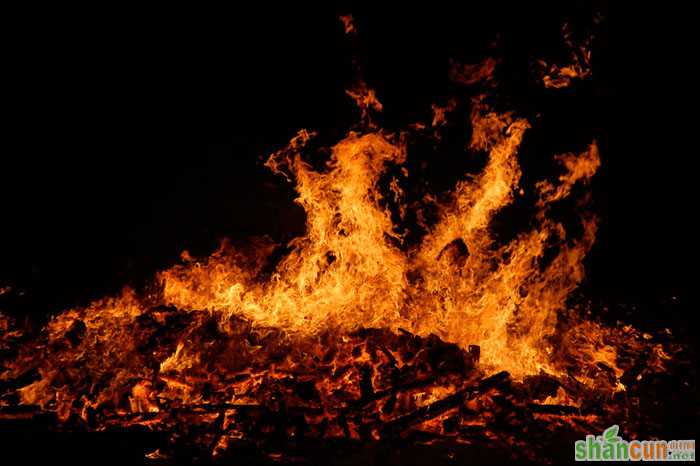
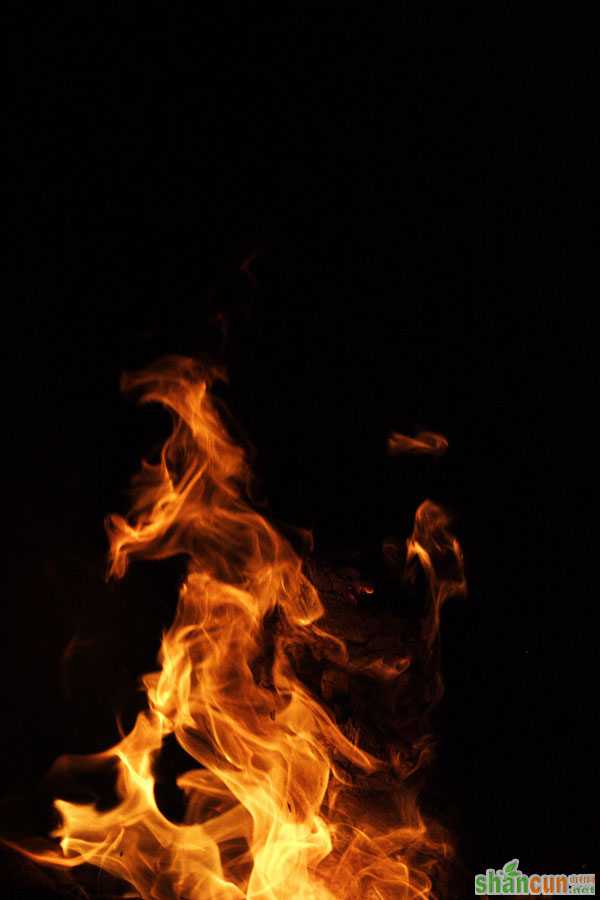
7、最后一步添加火焰效果,火焰需要经过简单的变形处理,然后把混合模式改为“滤色”。
最终效果:


