

第一步:创建一个文档,大小自定义,填充颜色,色码为:#17CBFF

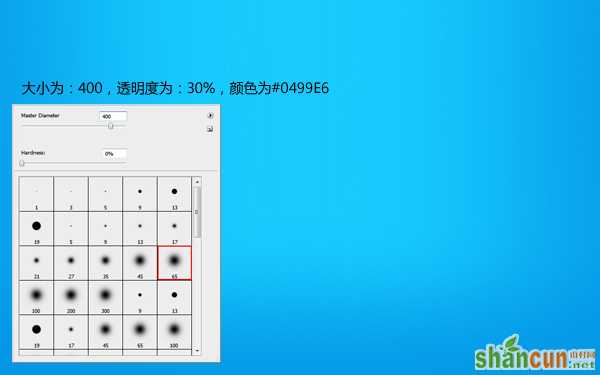
选择yago工具。大小为:400,透明度为:30%,颜色为#0499E6。然后在画框的两边以及下方画出一些暗部。
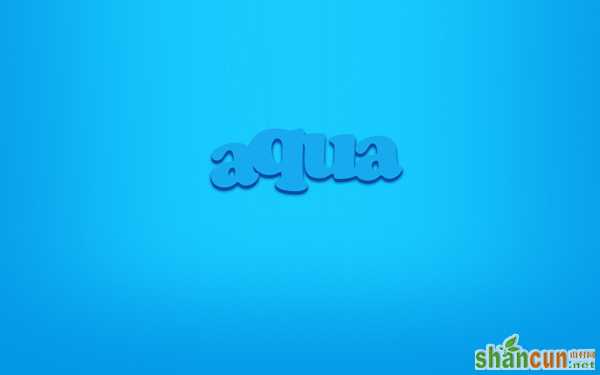
第二步:然后我们在到上面添加文字.颜色为:#0497e5。这里没提供字体,大家找个差不多的可爱字体代替下吧。
复制一个,把颜色改为:#084DA2,然后往下面移动一点。
第三步:现在我们在最上面的字体上面添加混合模式>外发光。设置如下:
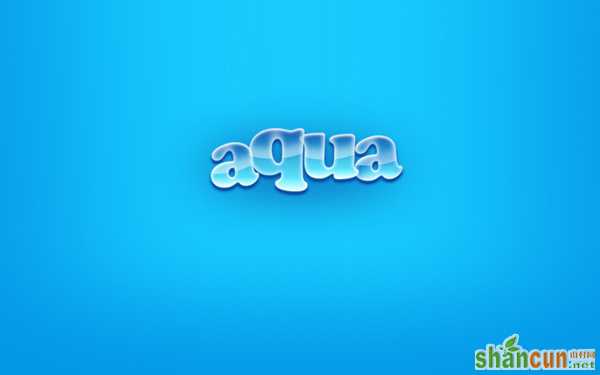
结果:
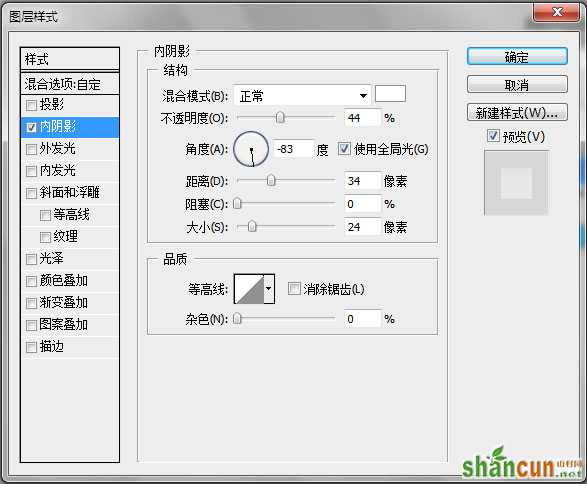
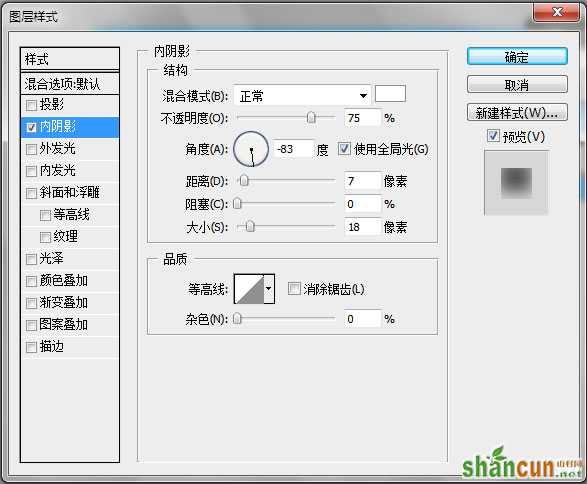
第三步:现在我们把字母一个个分开,目的是让他们有叠加效果。分开后选择字母a。然后添加混合样式,设置如下:

做完后得到的效果应该是这样的:
这时候我们复制a字母的图层样式,然后粘贴到其它几个字母上面。

在最后面的一个a字母我们需要在加入一个样式,如下:
这样看起来,那个字母就有点与众不同了。因为暗了那么一点。
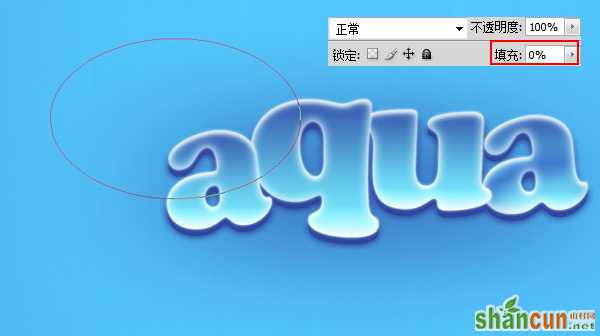
第四步:现在我们在字母下面新建一个层,使用画笔来做阴影效果。画笔设置和前面的是一样的,把大小调小点就可以了。
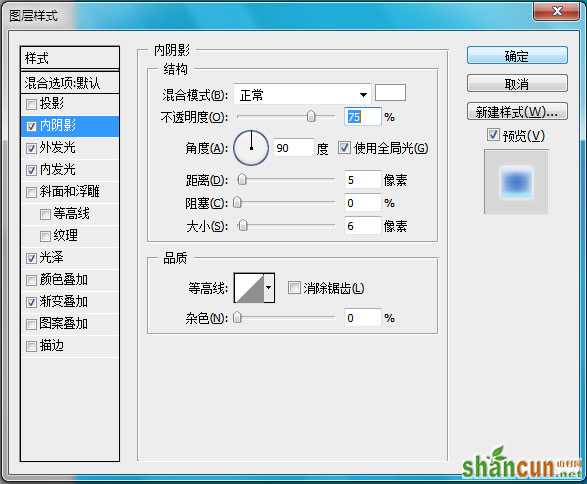
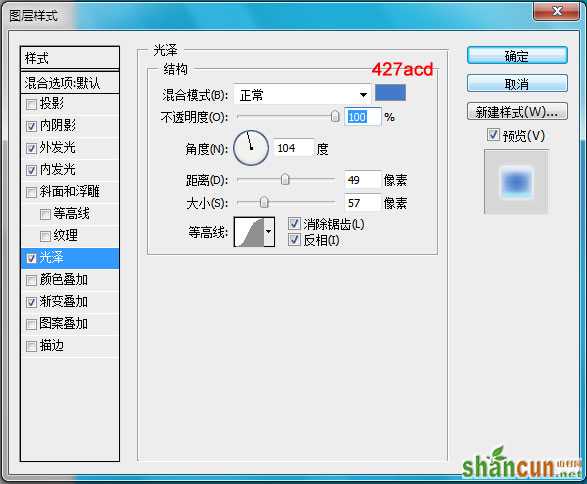
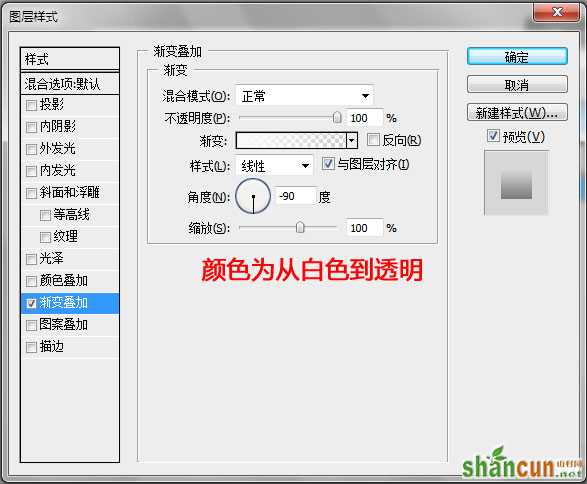
第五步:现在我们来制作字母上面的光泽。使用椭圆工具,填充为:0
混合样式为:
做出来的效果如下:
然后我们把椭圆栅格化,然后单机字母a,选取出在字母上面的那一块,这里按CTRL+J,然后删除那个椭圆,现在光泽就出来了。

现在我们使用同样的方法制作其它文字。
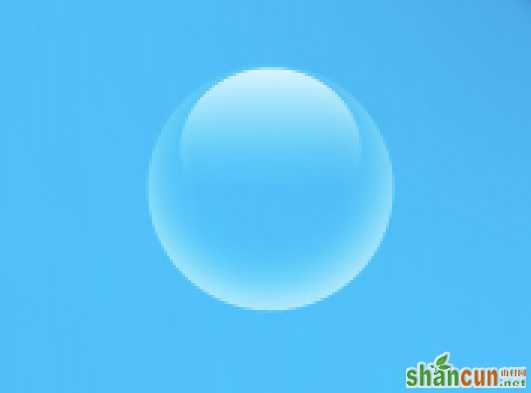
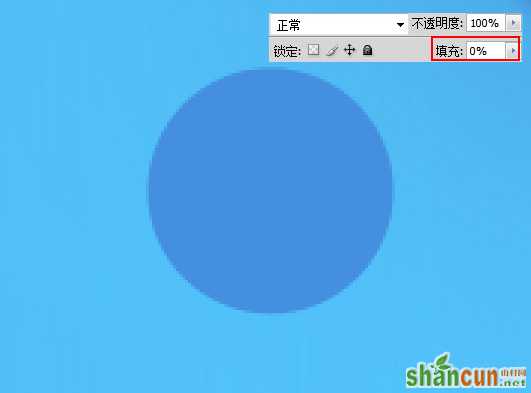
第六步:现在我们添加一些气泡。用椭圆工具,按住CTRL键,画出一个正圆出来,填充依然为:0。
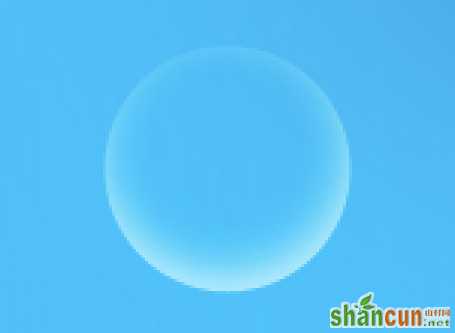
现在我们在添加一个混合样式:
出来是这样的:
我们在上面在画一个园,填充还是0,然后在转到混合选项,设置如下:
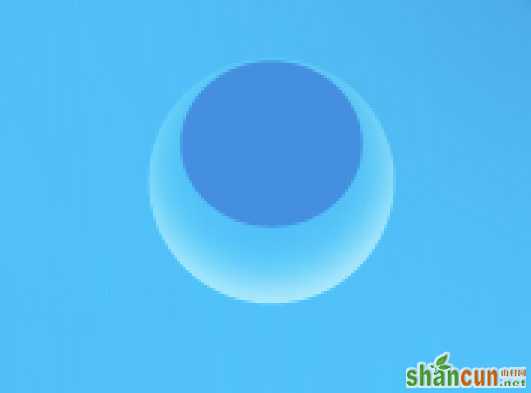
我们的气泡就出来了。
多复制几个,然后变大变小,随处摆一点就完成了。
如果你在看这个PS教程制作的时候有什么不懂的地方可以加本站的QQ群(旁边的侧栏点击直接加入)。
注:更多精彩教程请关注山村photoshop教程栏目,山村PS群:249667984欢迎你的加入


