
Photoshop简单设计漂亮的鲜花文字

步骤:
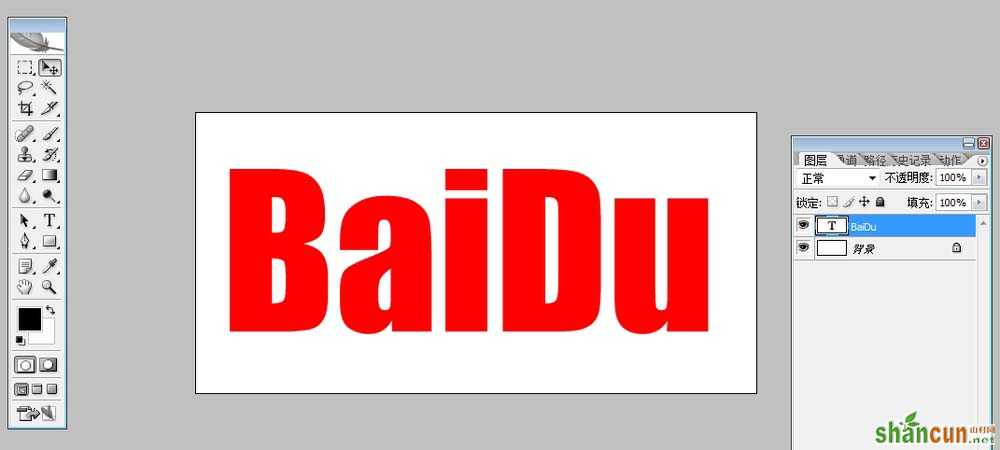
打开PS软件,点击文件新建,在弹出的对话框中设置名称:BaiDu。宽度和高度分别为600像素和300像素。

点击文字工具输入BaiDu。
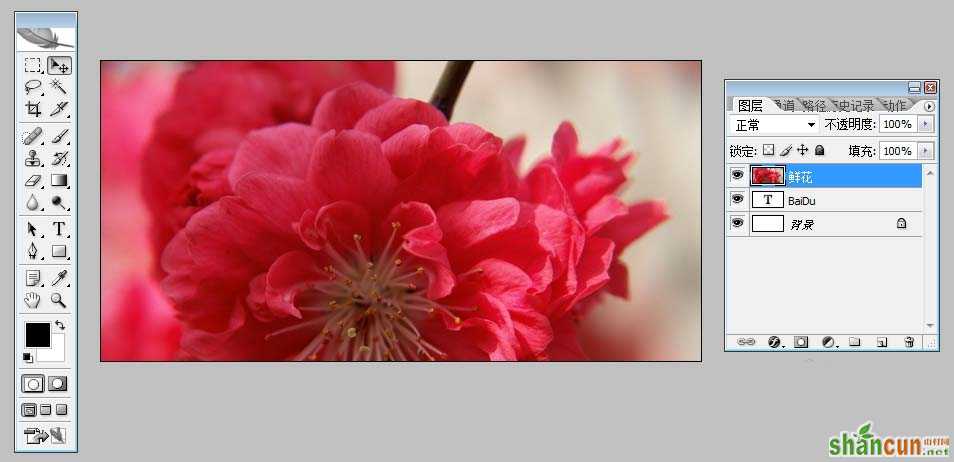
在文字图层上面新建一层鲜花图层。
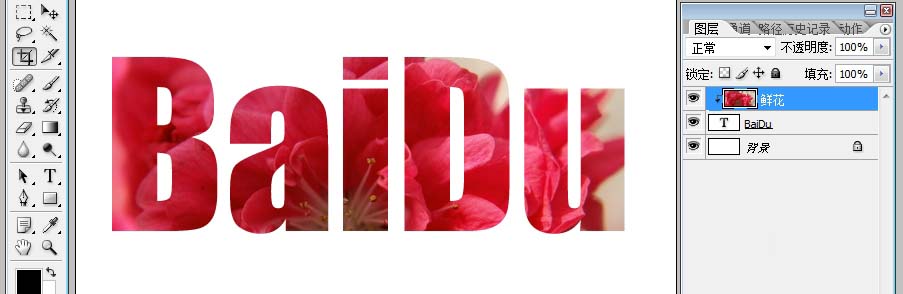
选中鲜花图层,按【CTRL+ALT+G】。鲜花文字的效果就出现了。
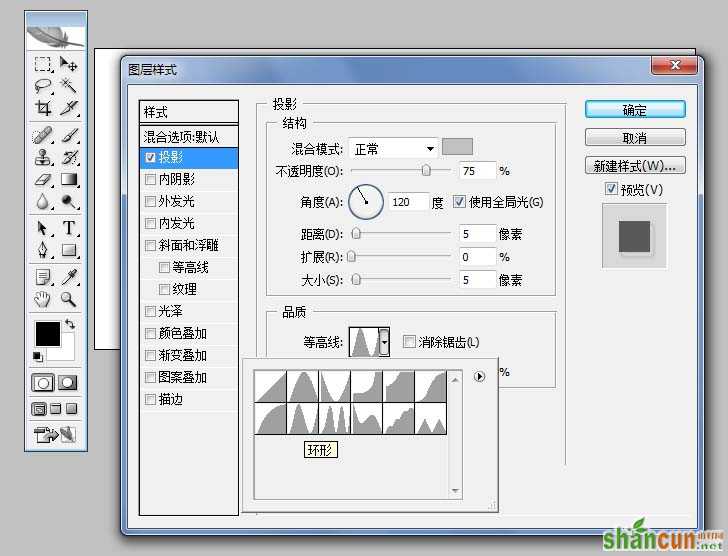
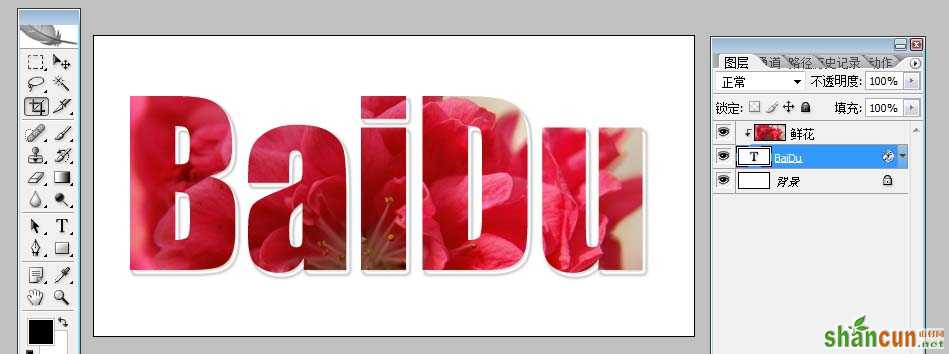
双击文字图层给文字图层加一个【投影图层样式】,文字颜色设置为:【#c0c0c0】,等高线设置为:环形。设置完毕点击确定。
制作完毕最终效果如下图。
保存文件按ctrl+alt+shift+s品质调整到100。

上面就是山村小编为大家介绍的内容,更多知识请关注 山村PS入门教程


