
最终效果图
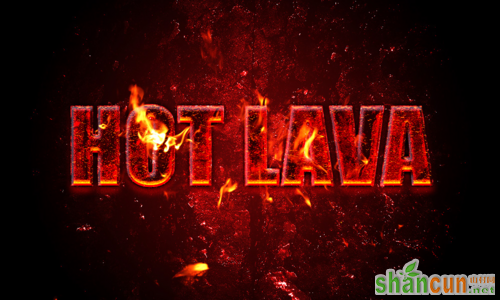
图00
一、创建背景
首先创建一个1000x600px的背景,填充黑色。
添加一个径向渐变图层,参数如图。完成后调整图层不透明度为40%
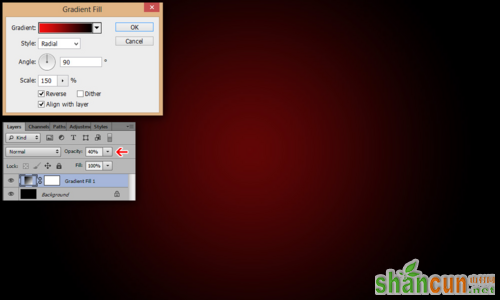
图01
打开岩浆纹理素材,将它定义成图案。(编辑 → 定义图案)
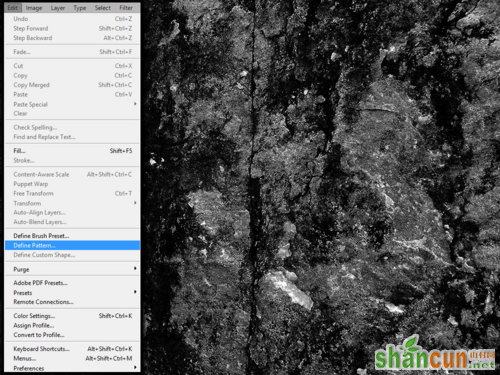
图02
回到背景中,新建图层,填充背景,将混合模式改为颜色减淡,如图:
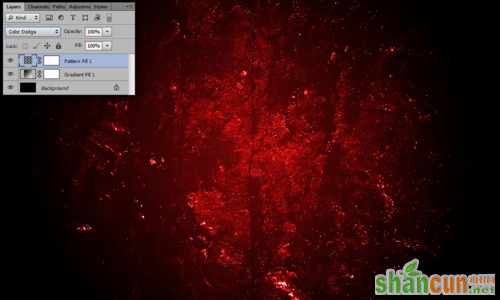
图03
二、创建文字
打出HOT LAVA,字体大小设置为200px,填充红色。参数如图:(译者操作时36点就很大了,同学们自己选择大小即可)
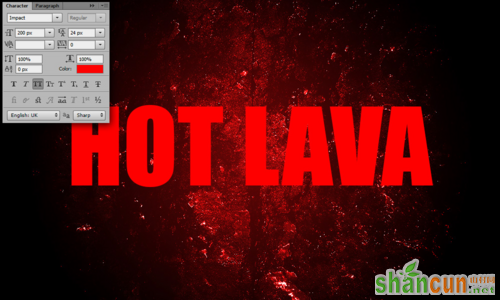
图04
给文字添加图层样式:
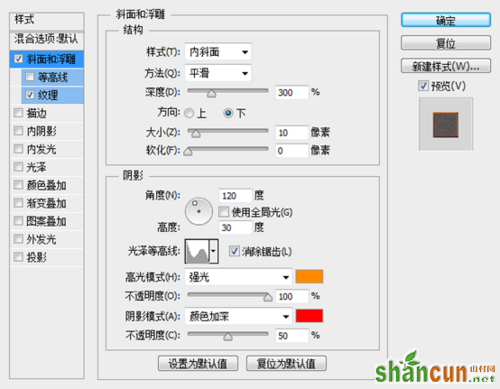
图05
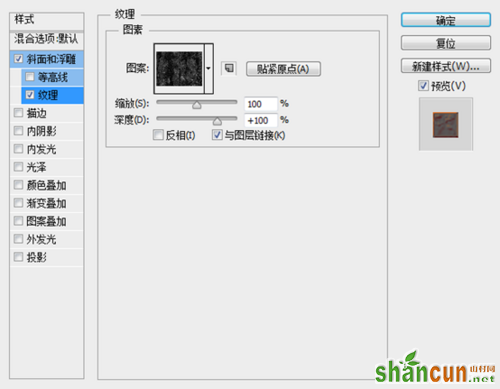
图06
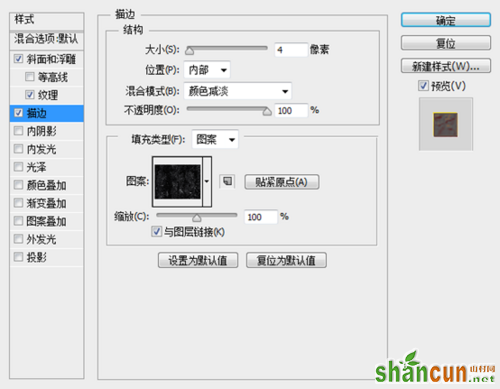
图07
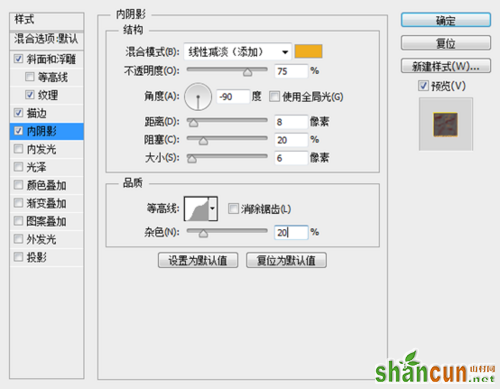
图08

图09
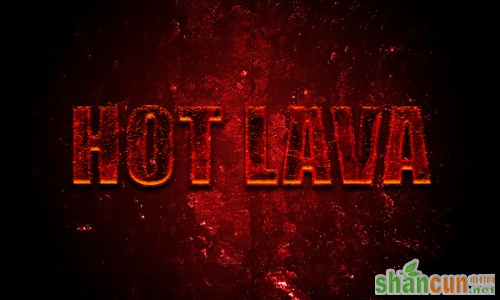
图10
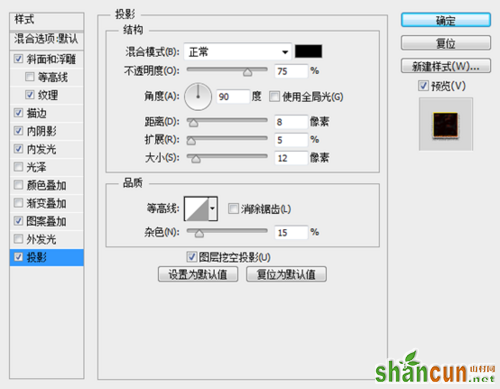
图11
现在的效果应该是这样的:
图12
复制一层,填充度改为0
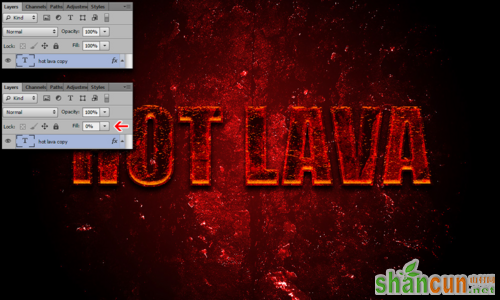
图13
为复制的图层添加样式:
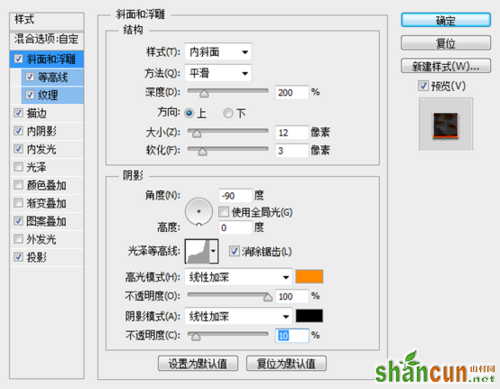
图14
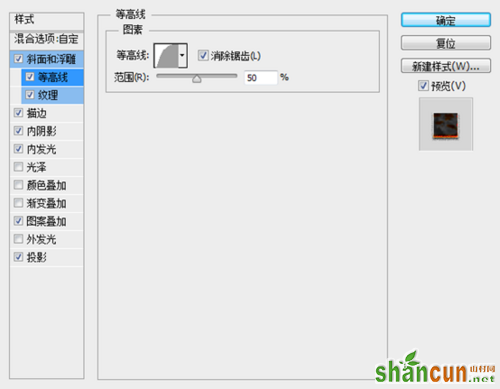
图15
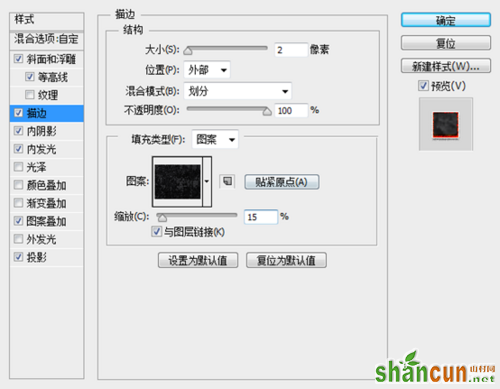
图16
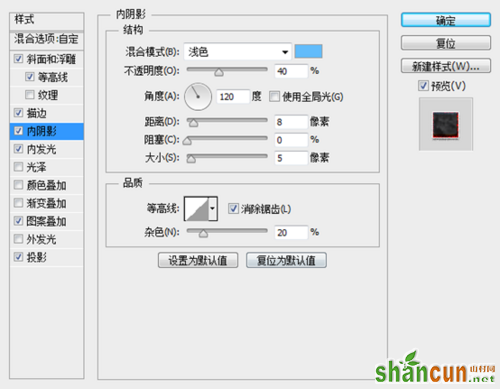
图17
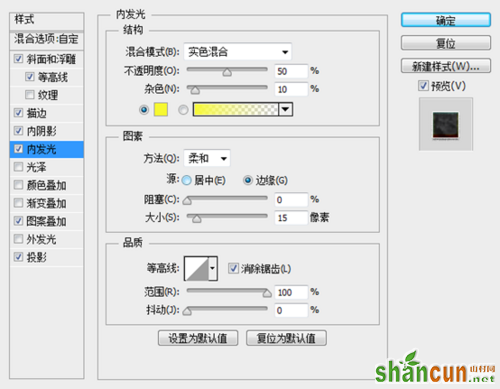
图18

图19
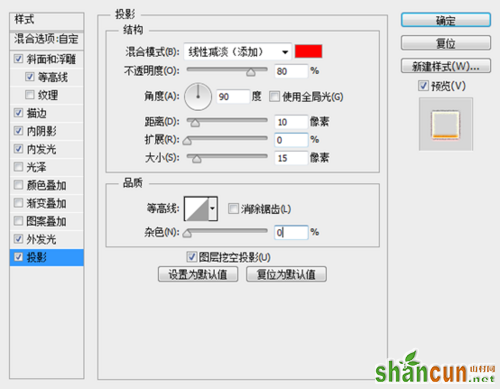
图20
这一步完成后,效果是这样的:
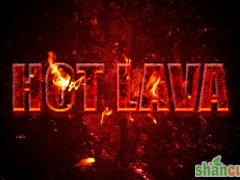
图21
三、锦上添火
现在该为它们添加点火焰,让它看起来更加真实了。
打开火焰素材,魔术棒点击黑色部分,删除。然后反选,右击羽化,羽化值为5
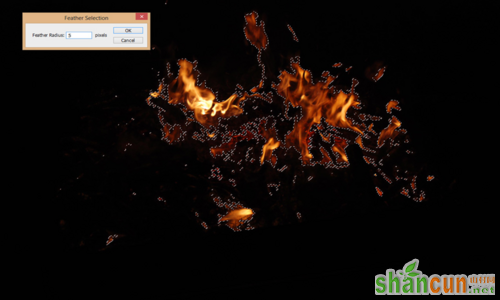
图22
复制过来,图层模式改成”滤色”,然后转化成智能对,Ctrl + T 调整大小,如图:
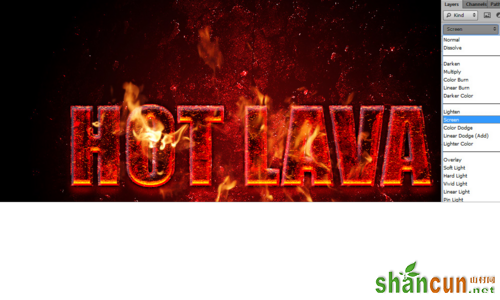
图23
现在我们调整下火焰的细节,为调整图层创建剪切蒙版,调整数值如下:
图24


