
PS怎么制作飘逸的喷溅文字
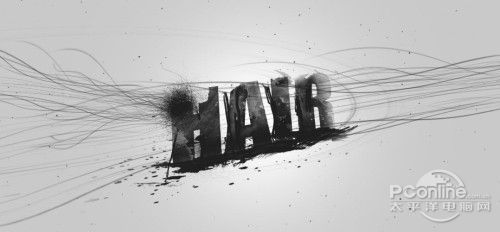
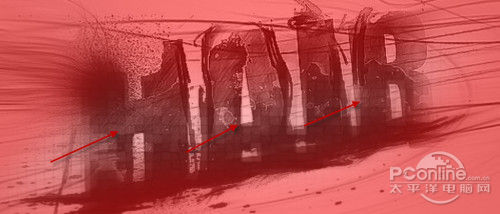
最终效果

1、创建一个背景色为灰色的“1200px*600px”的新文件,并使用柔软的白色笔刷在中间绘制一个光源亮点。
2、创建一个新图层, 并使用你下载的脏迹笔刷,在光源上绘制出一些纹理图案,同时将其扩展到底部。

3、使用任何一种你喜欢的文字字体,在文件上打出一些字母,笔者在文中使用的是“HAIR”。

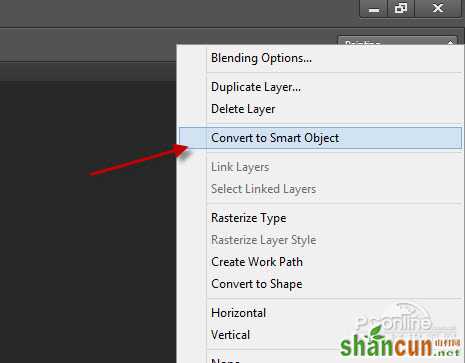
4、鼠标右键单击该图层,并选择转换为智能对象。
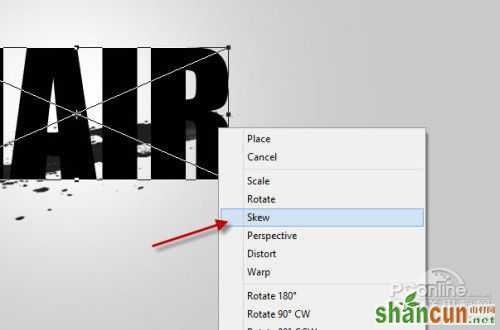
5、像下图所示调整文字层,使之歪斜。

6、将你所下载的脏迹笔刷当做橡皮擦来使用。
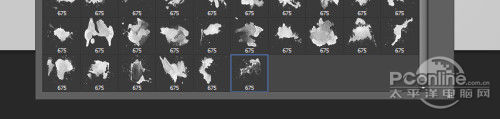
7、调整橡皮擦的不透明度和流量,具体参数设置如下图所示。

8、给文字图层添加一个蒙版图层,同时在蒙版图层上使用脏迹笔刷。
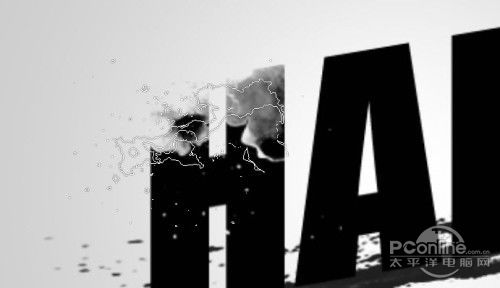
9、转到文字图层,效果如下图所示。
10、接下来,我们将会为图中添加一些细线。打开钢笔工具,画出如下图所示的路径。
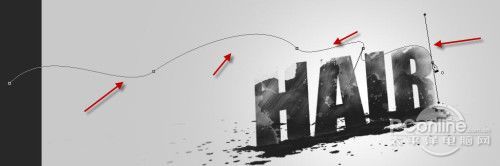
11、使用下面的笔刷来划路径,这里需注意的是,在划路径的过程中,一定是勾选了“Simulate Brush”,具体参数如下图所示。
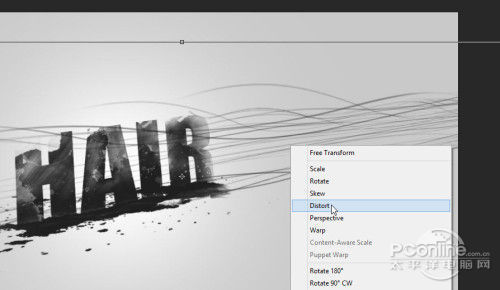
12、在划过路径后,复制这个图层几次,并将每条线设置为组,然后使用自由变换工具进行扭曲变形,直到它们形成发丝般的效果,如下图所示。
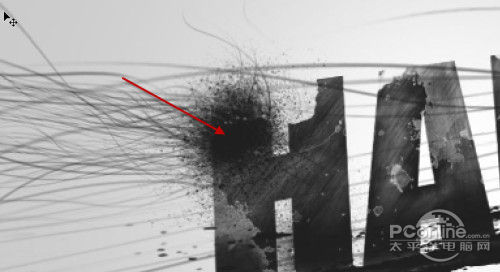
13、为文字图层增加更多的线。
14、使用你下载的喷溅装饰效果笔刷,添加一些喷溅特效到文字图层上。
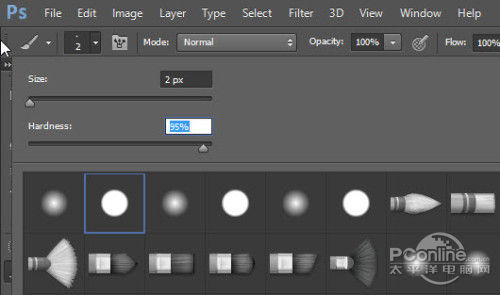
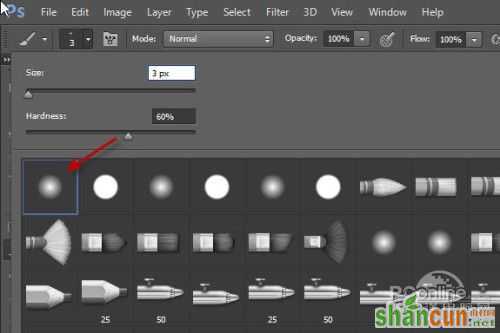
15、我们希望画布中的文字看上去能更加有情趣,因此这里还将使用一个3px、硬度为60%的笔刷,具体设置如下图所示。
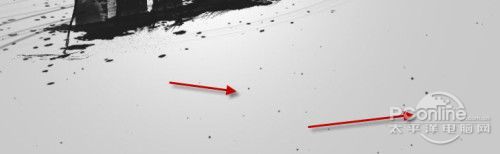
16、在文字图层随意的画一些线,如下图所示。
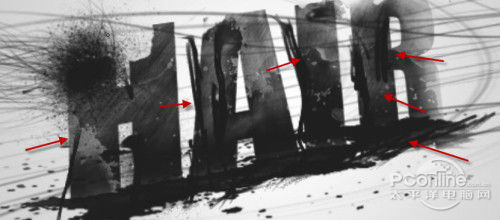
17、这里,我们同样也可以使用一些粒子笔刷在画布周围添加一些粒子特效。
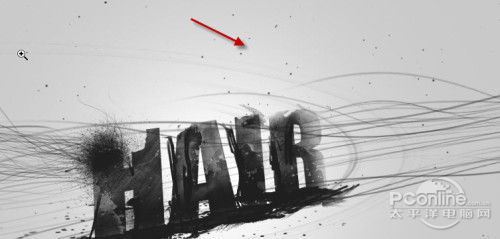
18、到现在为止,我们可得到的图像效果如下。
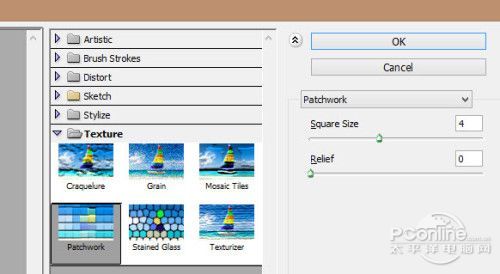
19、到这里,我们就已经完成了大半工作了。在最后几步的润色中,笔者主要是让该图像看上去更加扁平,以及复制背景层,然后对复制的背景层应用“拼贴”滤镜,具体参数设置如下图所示。
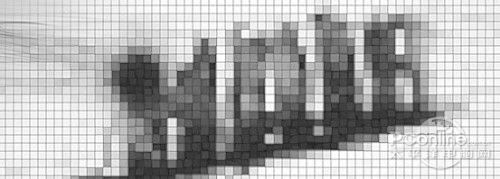
20、我们要屏蔽掉该图层的大部分,只留下文字图层的下半部分,如下图所示。
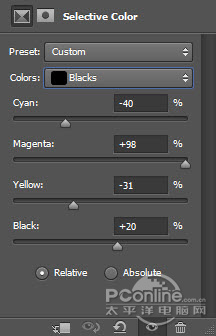
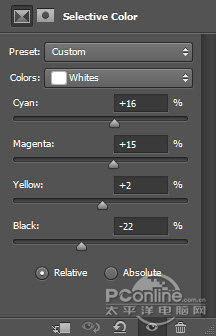
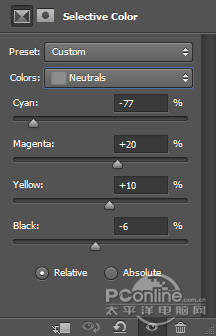
21、然后为该图像添加一些颜色,打开调整图层:可选颜色的参数设置。
22、在可选颜色图层上使用蒙版。

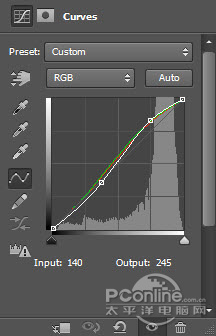
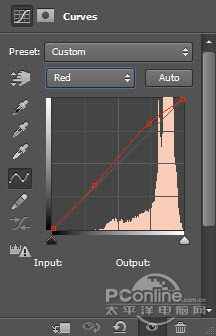
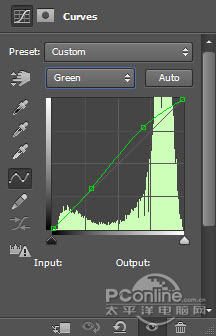
23、曲线。
最终效果:
更多知识请关注 山村ps教程 栏目


