
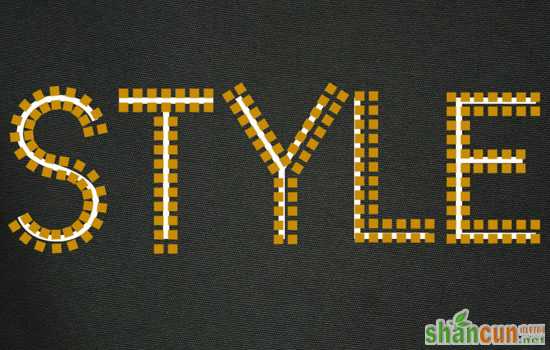
效果图:

Step 1
新建 1250 x 680 px 画布,将Texture Fabric 2 图案拖到背景层,调整大小到合适为止:
单击 图像 > 调整 > 色相/饱和度,将饱和度调整为-10

安装好刚才的字体后创建文本,字体颜色为白色,大小是385 pt,字距调整设置为 10.
Step 2
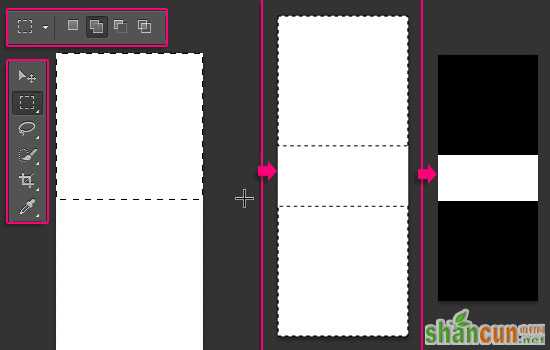
新建大小为 100 x 246 px 的画布,背景设置为白色,选择「矩形选框工具],上方选项设置为添加选区
然后在画布顶部创建大小 100 x 100 px 的选区,底部也创建一个同样的。如图
用黑色填充选区,然后取消选择。
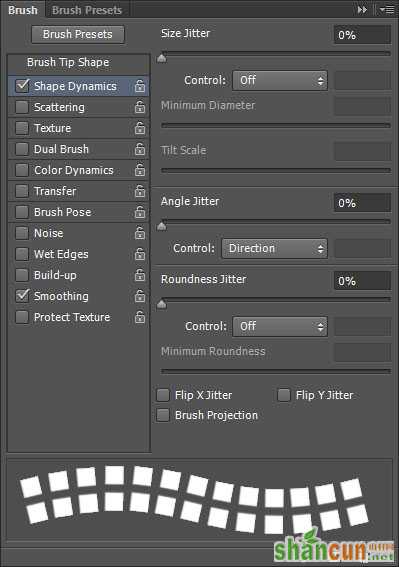
单击「编辑」 —— 定义画笔预设,建一个新的笔刷。
打开笔刷面板,画笔笔尖形状,选择刚才的笔刷,参数设置如下:
形状动态
设置「角度抖动」为「方向」,这样笔刷能跟着路径。
现在,我们要将笔刷应用到文本里,这里有三个部分,直线、斜线和曲线。直线很简单,斜线和曲线部分就需要路径了。开始咯
Step 3
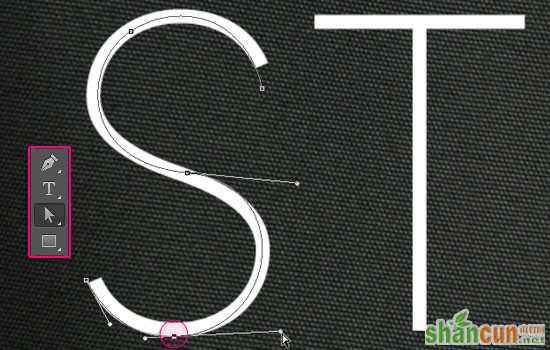
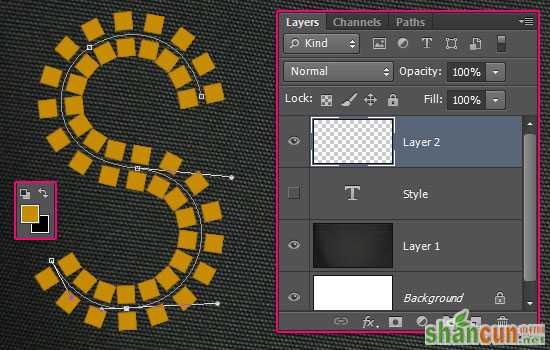
先是曲线部分。选择钢笔工具,选项栏为路径。设置锚点,利用文本的形状作参照,不必非常精确,大概就好。
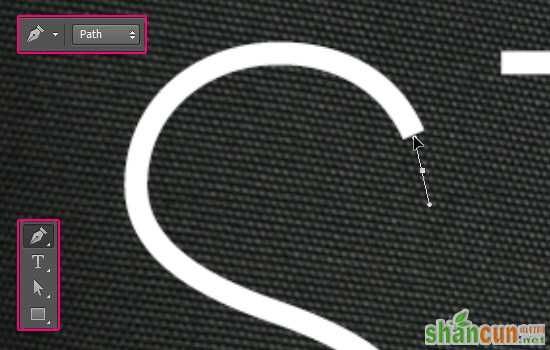
等路径全都描好后,单击路径选择工具,雕琢一下。
(这个需要对钢笔比较了解的童鞋哟)
一旦你做好之后,选择笔刷工具,将前景色设置为#c78c04,敲下回车,描边路径。隐藏文本图层,这样你能更加清楚地看到效果。
如果你对效果不满意,可以调整笔刷大小、间距值和路径,直到满意为止。
Step 4
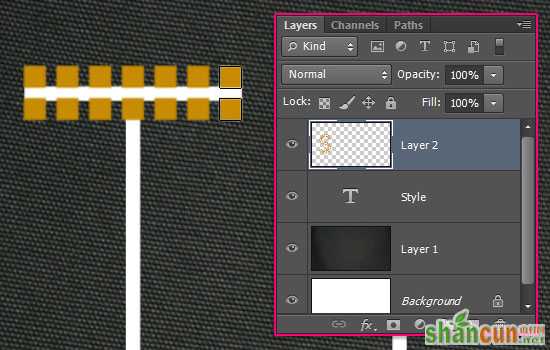
把文本图层重新显示出来,直线部分,只需摁住Shift键拉过去就行咯
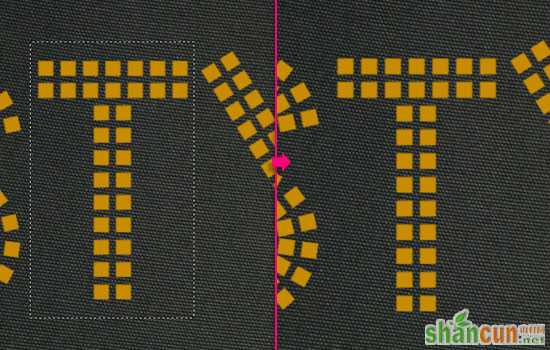
对角线部分,也用路径描绘就可以。但是这里要注意字母的图形。
例如,文本中的 Y ,如果给两边都描上路径,到时笔刷的图案会重叠,所以,我们可以先给左边的对角线描上路径
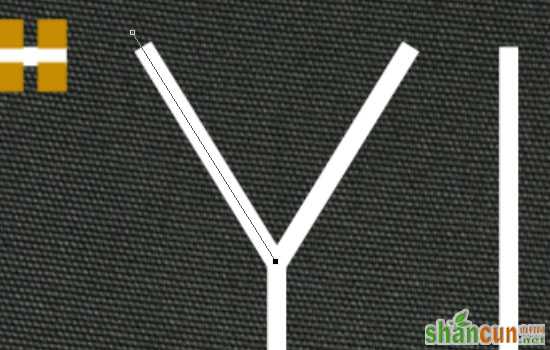
新建一个图层,给左边描上路径,依刚才的方法,画笔上图案。
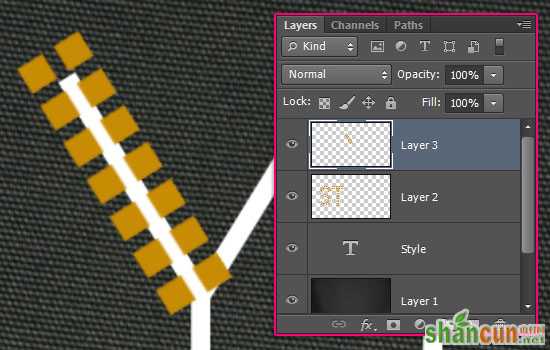
复制图层,单击「编辑」——变换——水平翻转
选择移动工具,调整好右边图案的位置,直到底部叠加为止,如图:
使用橡皮擦工具,擦掉多出的部分。
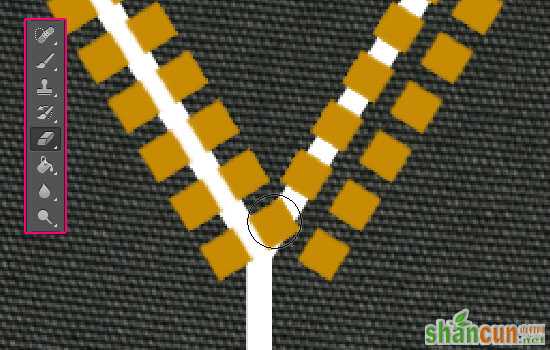
重复这个过程。
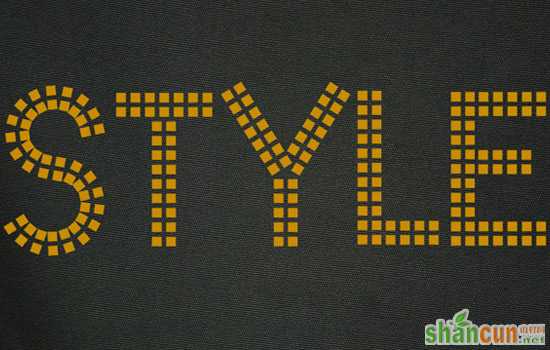
等你完成了,效果如下:
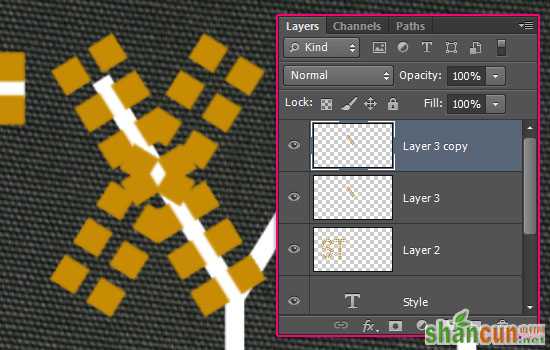
Step 5
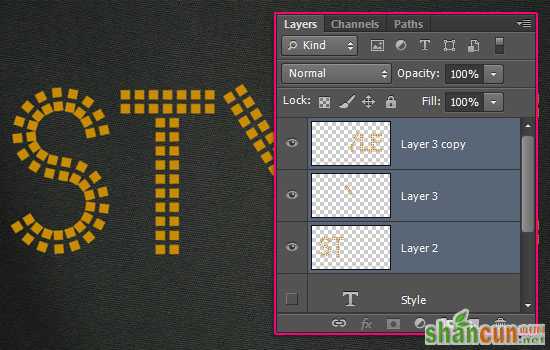
完成后,隐藏文本图层,全选所有饰钉效果图层,Ctrl + E 合成。
什么,你还没有掌握快捷键的用法?该补补了童鞋,来这里瞧瞧《这50个PHOTOSHOP快捷键技能你用起来了吗?》
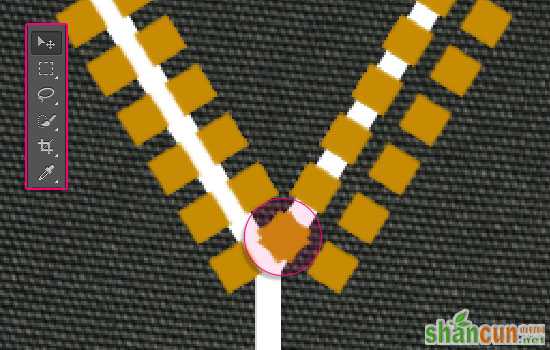
现在,你可以修改你的作品了,比如 T 的一竖长了点,可以用矩形选框删除

或者是利用选框和移动工具调整位置。
直到你对结果满意。
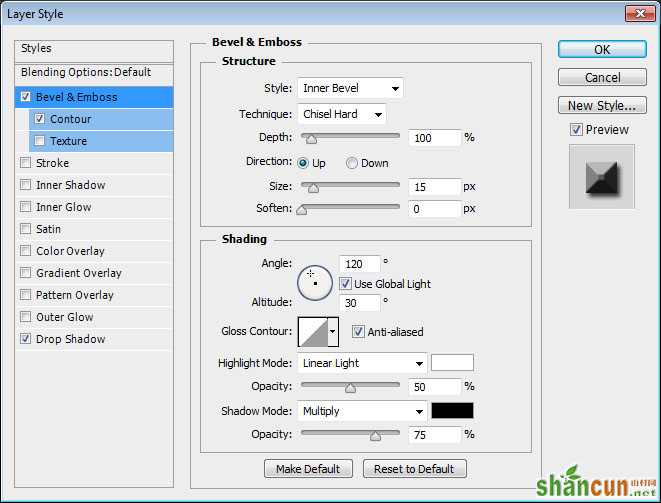
Step 6
双击图层,设置参数如下:
斜面和浮雕:
方法:雕刻清晰
大小:15
高光模式:线性光
不透明度:50%
如图。
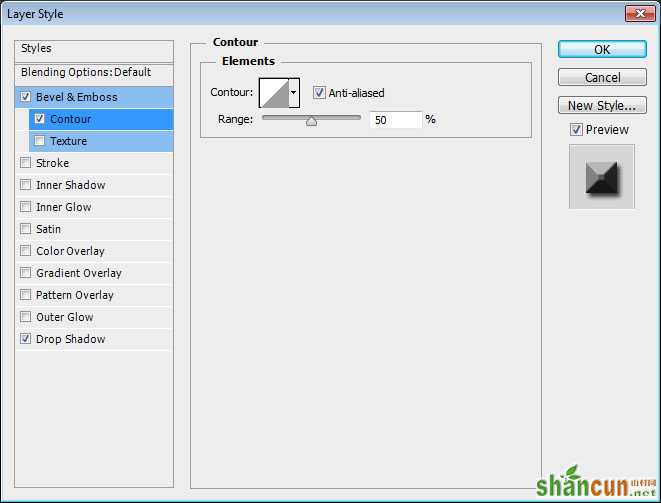
等高线:
投影:
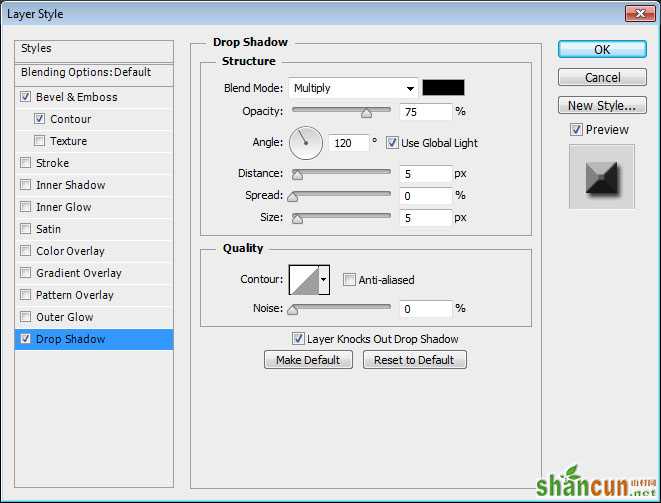
到这里就有饰钉的效果了。
你也可以变换颜色等等,随意发挥。

就这么轻松完成咯!处理路径有点费事,其他都很简单,也希望你能从这个教程学到东西 :)


