
Photoshop制作浓香逼真的面包字体
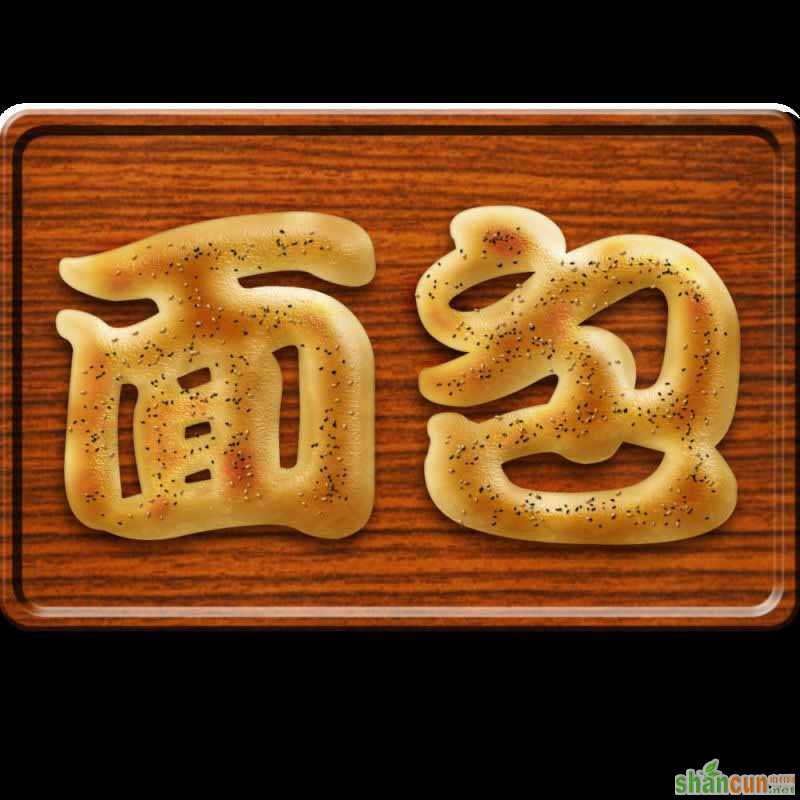
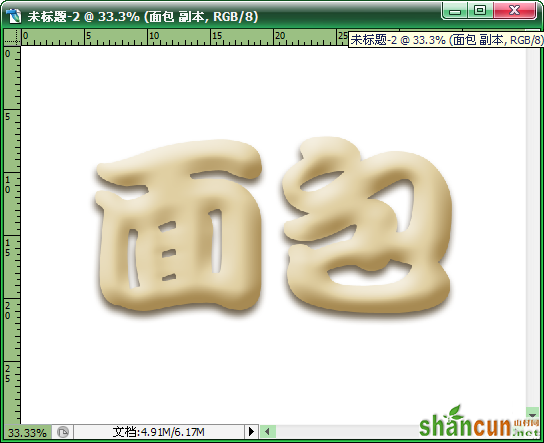
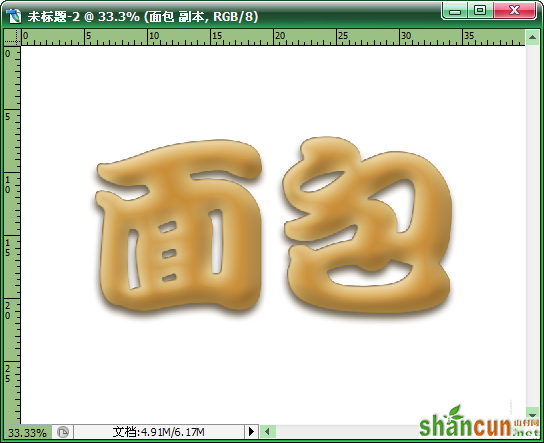
最终效果图:
步骤:
1、新建一个宽40厘米,高30厘米,以白色为背景的文档。
2、使用“文字工具”输入,“面包”两个字。(要用一些圆润的字体)
设置字体颜色为e0cfa2。
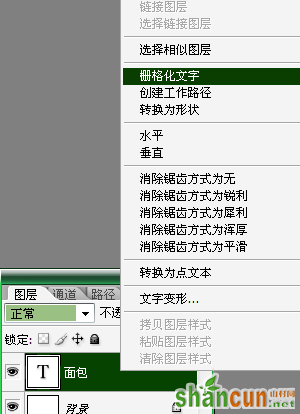
右键栅格化文字。

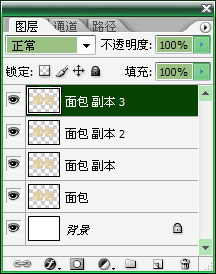
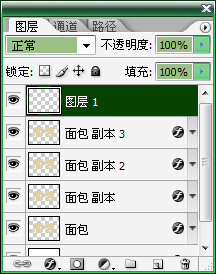
3、按“Ctrl+J”键,将“面包”图层复制出来3图层。
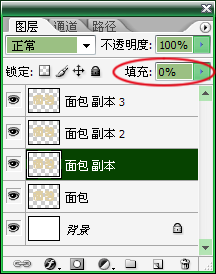
并将3层的填充改为百分之零。
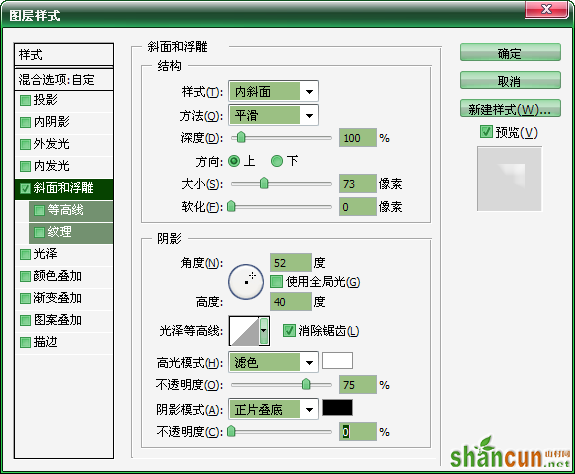
4、双击“面包”图层,编辑图层样式。
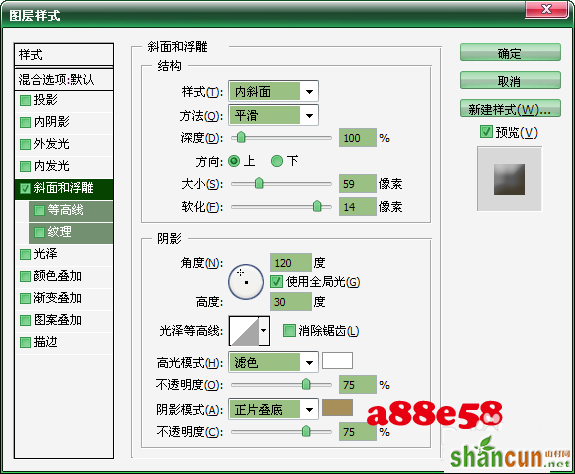

5、双击“面包副本”图层,编辑图层样式。
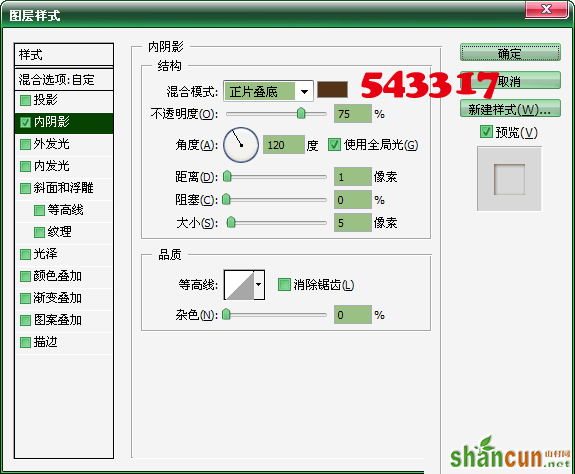
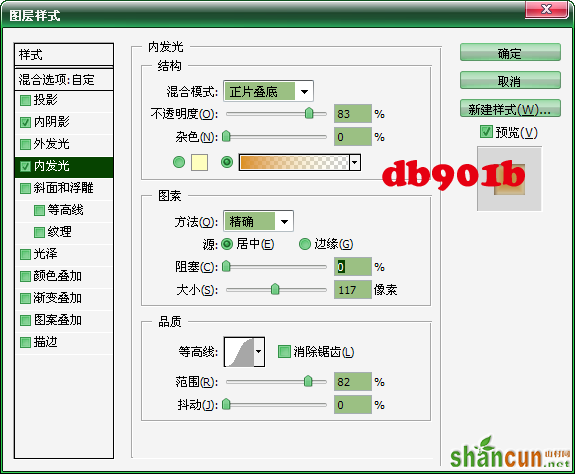
6、双击“面包副本2”图层,编辑图层样式。
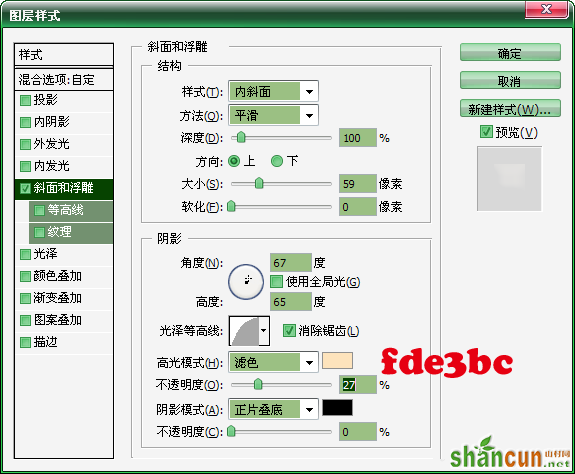
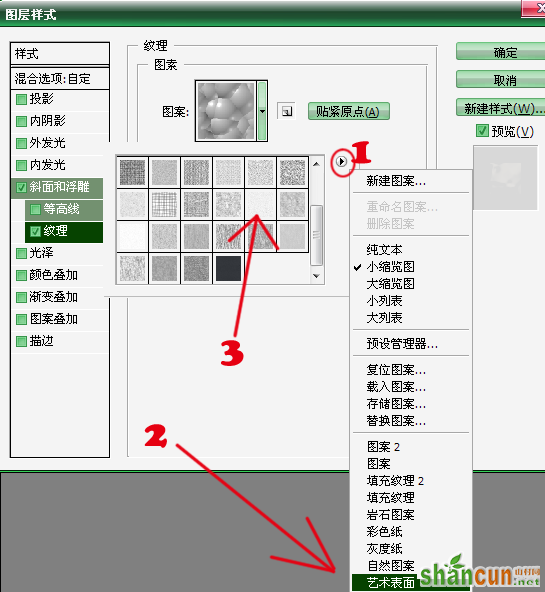
7、双击“面包副本3”图层,编辑图层样式。


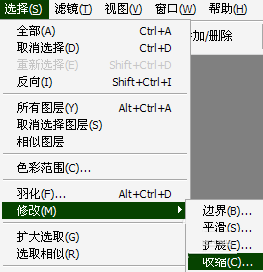
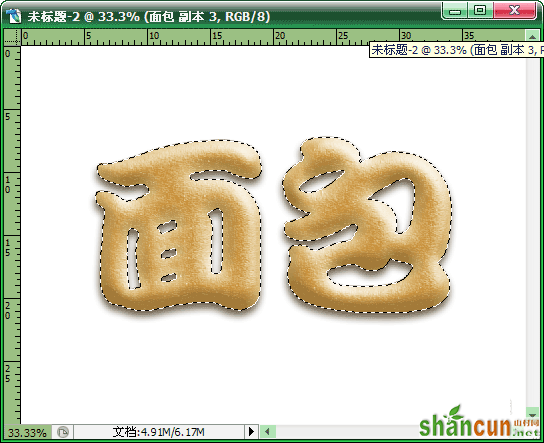
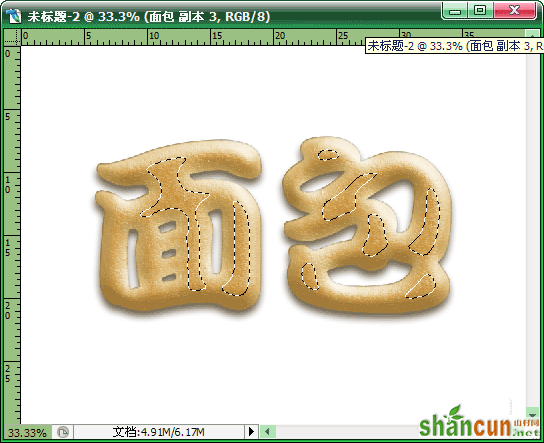
8、按住“Ctrl”键,鼠标同时点击“面包”图层的缩略图。
得到面包选区。
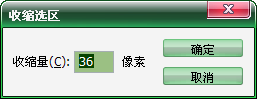
执行“选择”—“修改”—“收缩”命令。
9、按“Alt+Ctrl+D”组合键,调出羽化。
羽化15。
10、新建“图层1”,设置前景色984c0c。
使用“油漆桶工具”对选区进行填充。
取消选区。

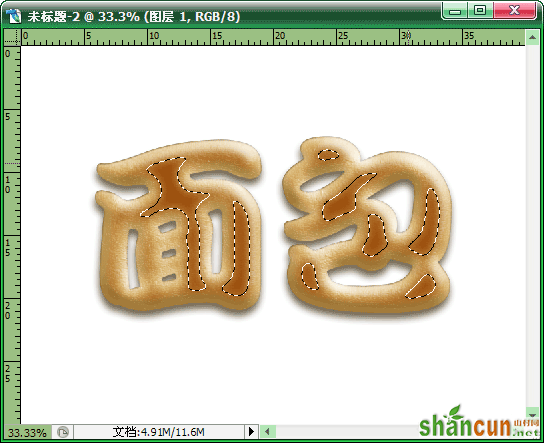
11、按住“Ctrl”键,鼠标同时点击“面包”图层的缩略图。
再次得到面包选区。新建“图层2”。
设置前景色e3cca1,背景色946c30。
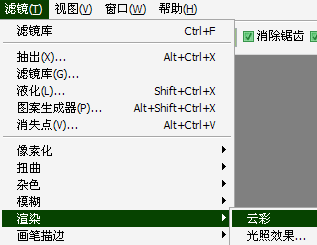
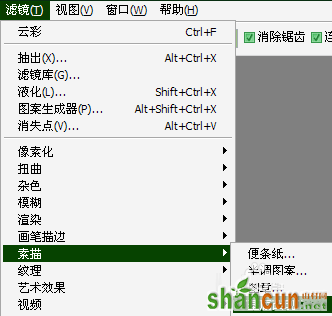
执行“滤镜”—“渲染”—“云彩”命令。
取消选区。


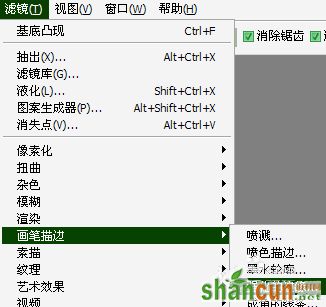
12、执行“滤镜”—“素描”—“基底凸现”命令。
数值默认,直接点击确定。
执行“滤镜”—“画笔描边”—“强化的边缘”命令。
数值默认,直接点击确定。
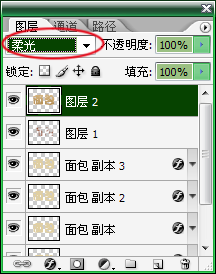
13、将“图层2”的混合模式改为柔光。
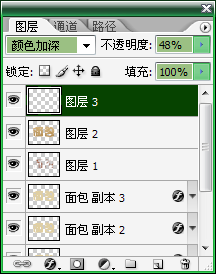
14、新建“图层3”,将混合模式改为颜色加深,不透明度48,
设置前景色c9c3b6。
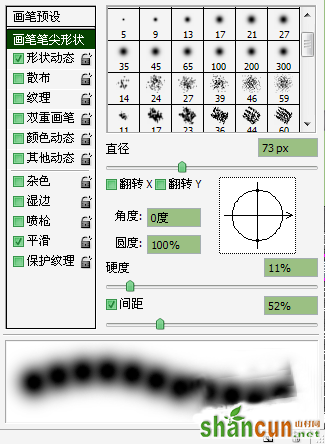
使用柔角的画笔工具,并设置如下参数。在面包上进行适当的涂抹。

15、面包上撒点芝麻,加个背景装饰一下,保存即可。


