
最终效果
<效果图>
1、新建一个900 * 500像素,分辨率为72的画布,打开背景素材,拖进来,适当调整混合模式及不透明度。怎么用ps设计字体,怎样用ps做字体设计
打开文字素材,拖进来放好位置,也可以输入自己想要的文字。

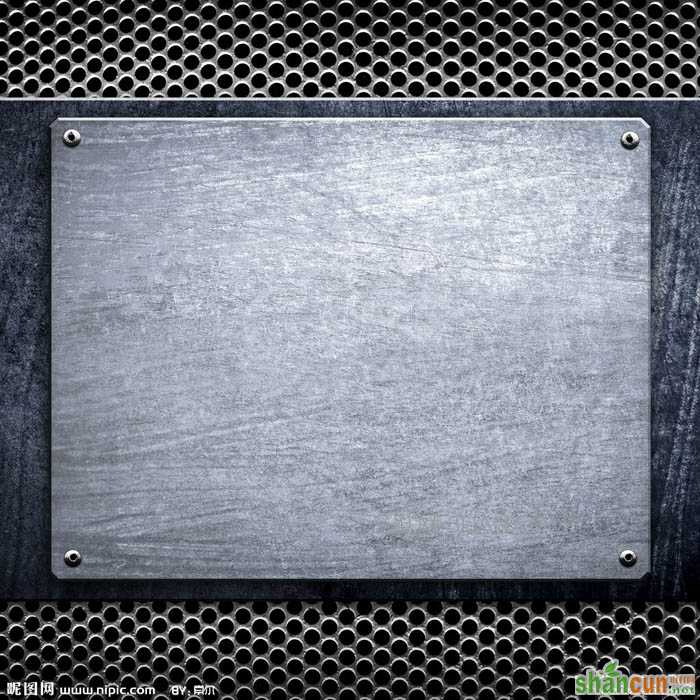
<素材>
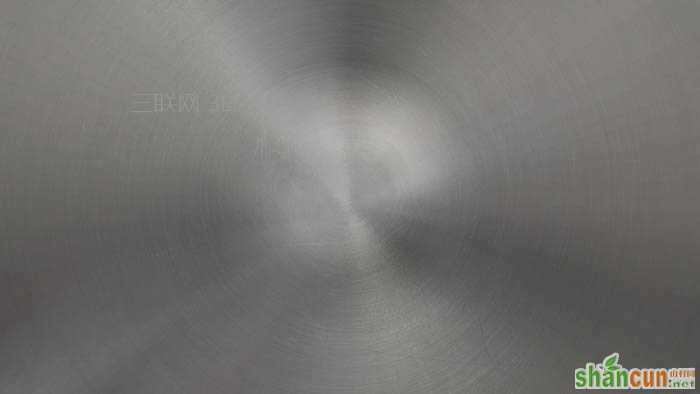
<背景>

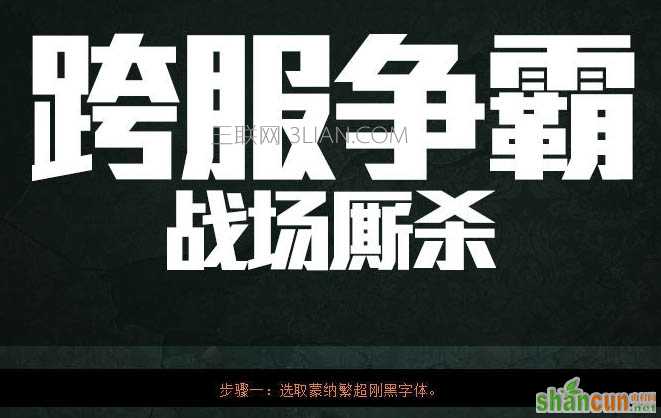
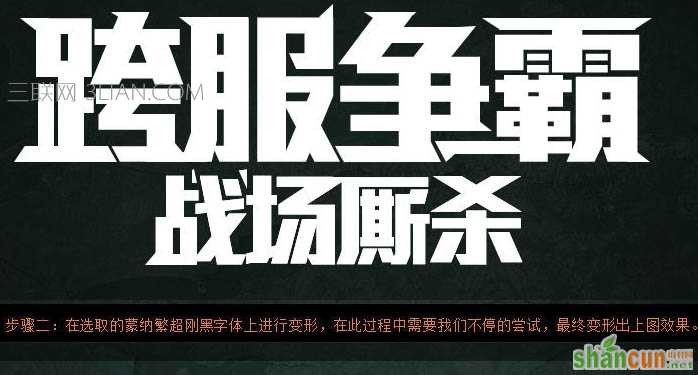
怎么用ps设计字体,怎样用ps做字体设计
2、给文字适当变形。
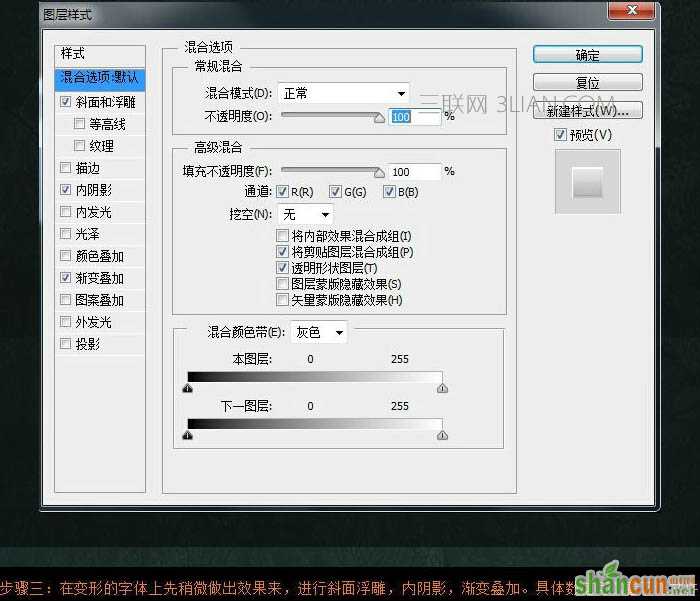
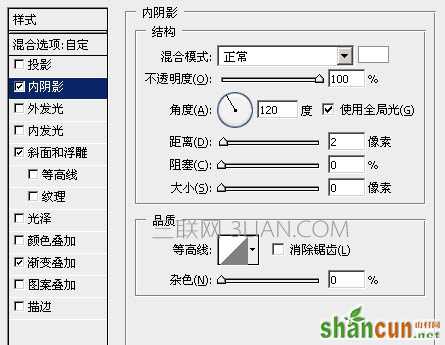
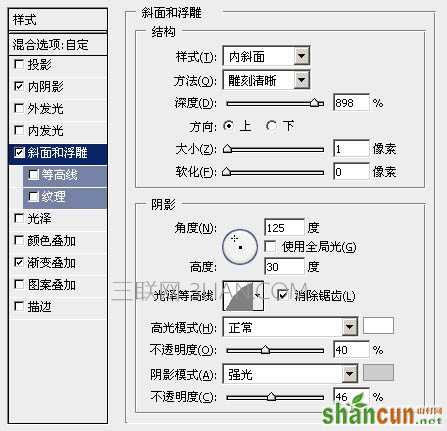
3、在变形的文字上线稍微做出效果,进行斜面浮雕、内阴影,渐变叠加设置,参数及效果如下图。
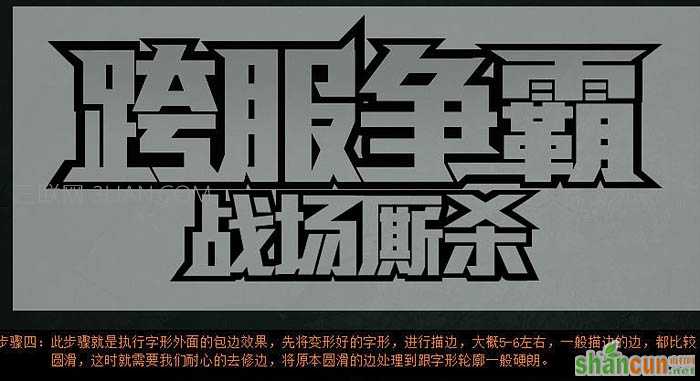
4、此步骤就是执行外面的包边效果,先将变形好的字形进行描边,大概5-6左右,一般描边的边都比较圆滑,这时就需要耐心的去修边,将原本圆滑的边处理到跟字形轮廓一般硬朗。
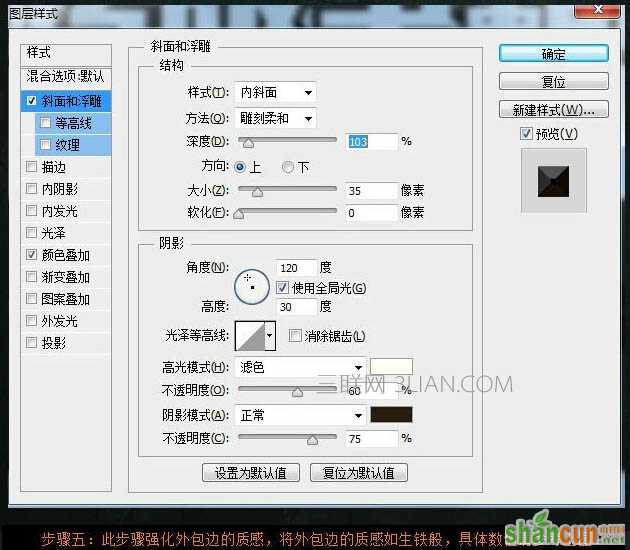
5、此步骤强化外包边的质感,将外包边的质感如生锈般,参数设置如下图。

6、将前面操作的几个步骤加在一起,我们可以看下图的效果,后面的处理基本上就是细节刻画了。

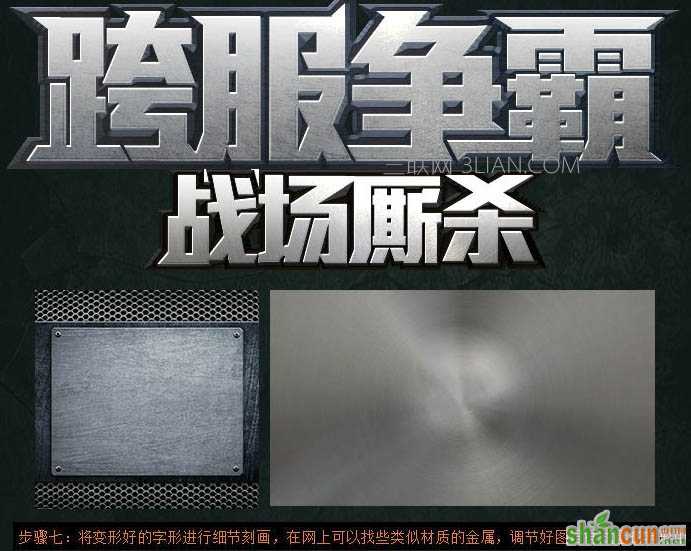
7、将变形好的字体进行细节刻画,在网上可以找些类似金属的纹理,调节好图层样式叠在字形中。
<点小图查看大图>
<点小图查看大图>
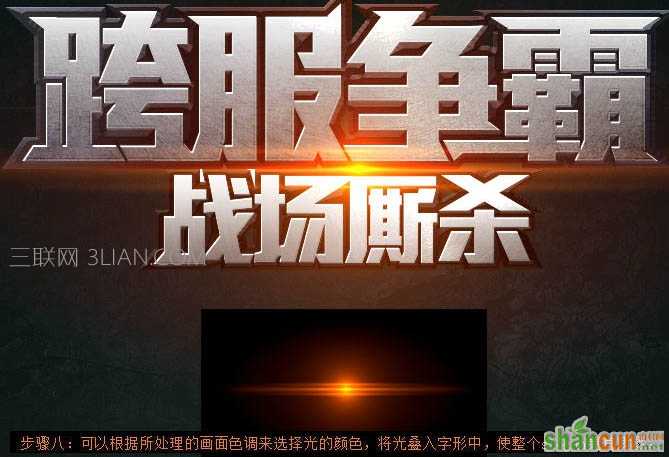
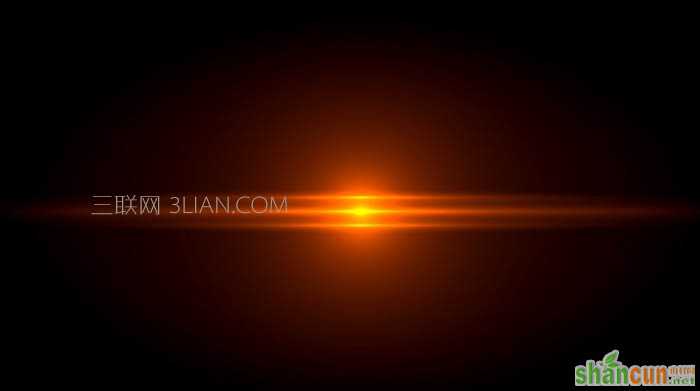
8、可以根据所处理的画面色调来选择光的颜色,将光叠入字形中,使整个文字更有质感。
<背景>
最终效果:


