
最终效果

一、创建文本
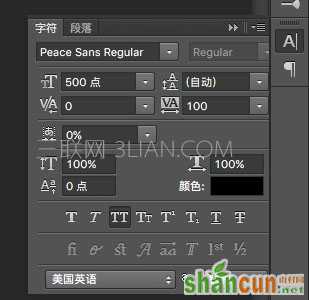
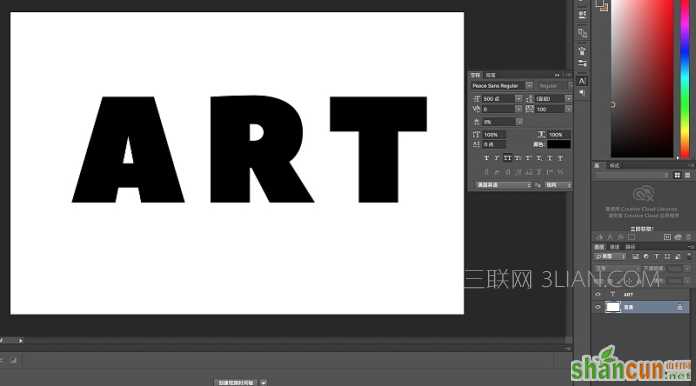
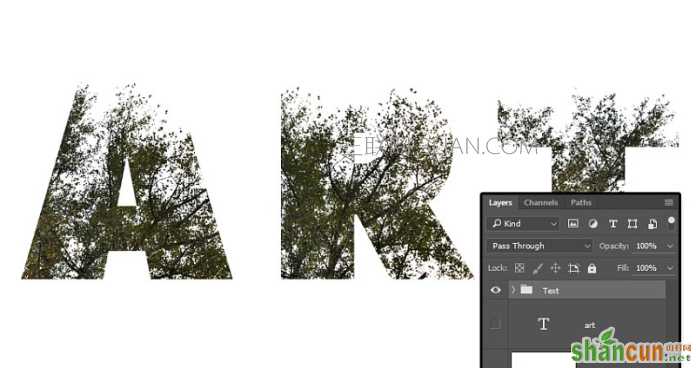
1、新建文件,宽:1500px;高:1000px;背景内容:白色#ffffff;字体Peace Sans Regular。如下设置。字体大小设置大一些,便于将细节更好展示。除此之外,可依据自己喜好设置其他数值的间距。
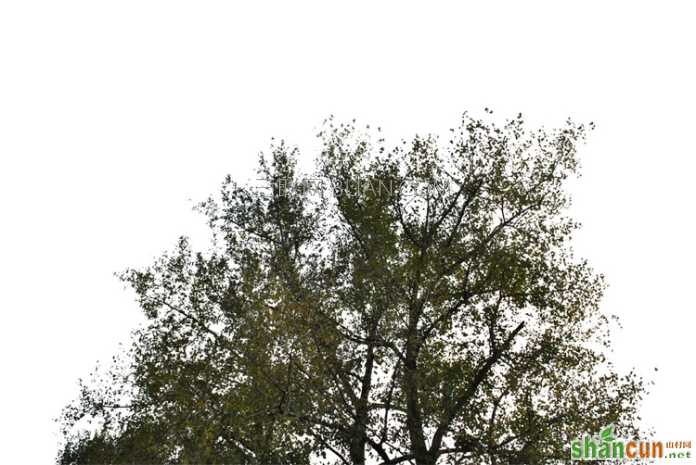
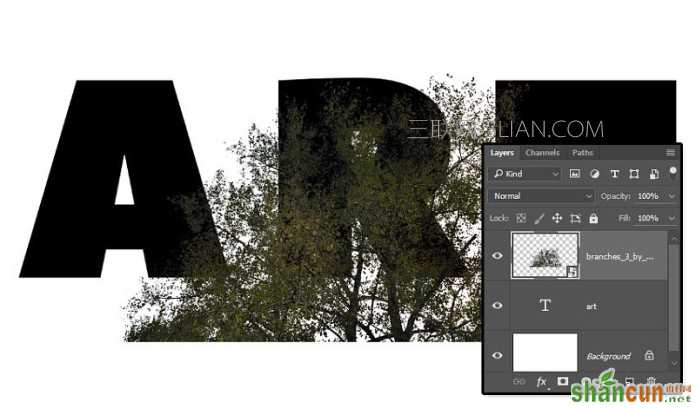
2、将树枝的图片,搁置在文本图层上方,并依据需求调整大小。
<点图片查看大图>
二、树枝图像添加蒙版
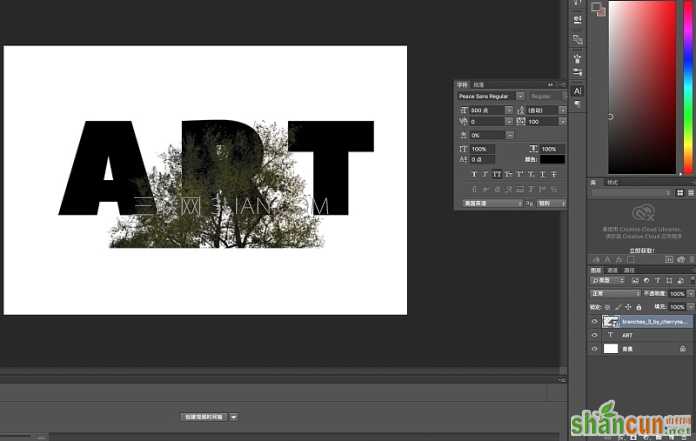
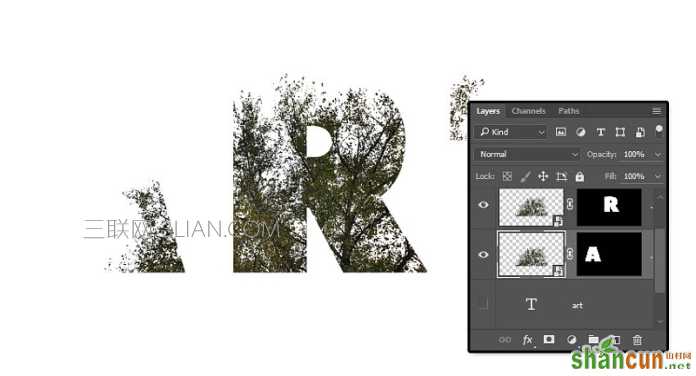
1、复制树枝图像图层一份。同时按Ctrl键 + 点击文字图层ART 缩略图像,创建选区。
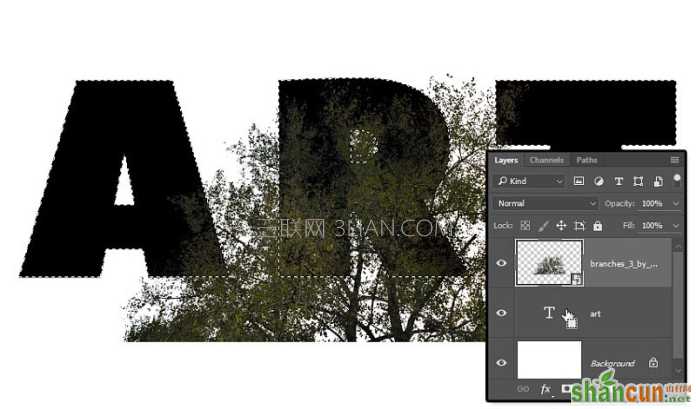
2、选择矩形选取工具, 点击 选项栏中“与选区交叉” 图标。点击、拖拽——框选 ART中第一个字母 A,释放鼠标。
3、现在,除了第一个字母A外,其余的都取消了框选。

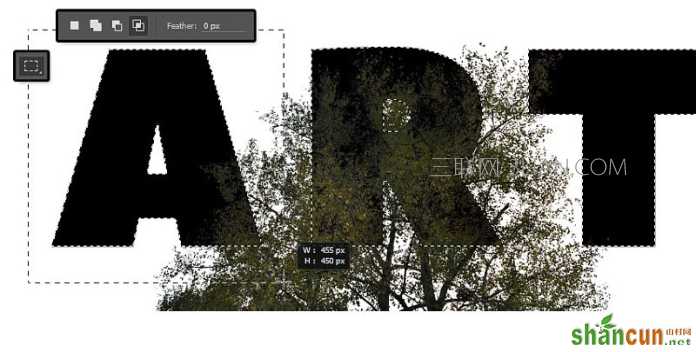
4、选择树枝图像图层,点击底部图层面板中“添加蒙版”图标。
5、Ctrl + J 复制树枝图像图层,然后对ART中,字母R、T重复步骤上面操作步骤。每个字母都有树枝图像的蒙版。
三、调整文字中树枝图像的位置
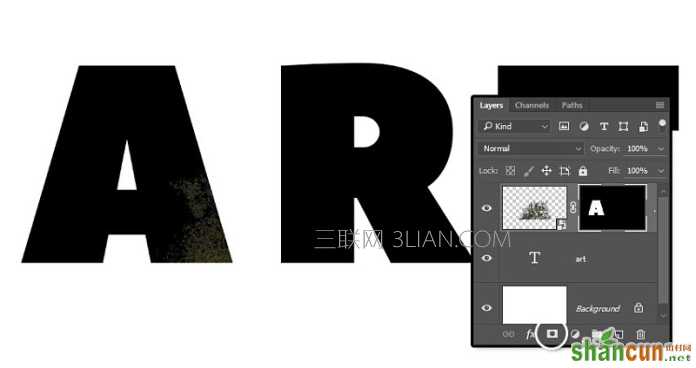
1、点击文字图层ART的眼睛图标,使其不可见。
2、点击图层和蒙版之间的链接图标,解除两者之间的关联。在蒙版中,你可以移动图像,进行调整。按Ctrl + T自由变换。移动、旋转,缩放……在字母中改变树枝图像,直到看起来是你喜欢的样子。点击 【回车】确定。
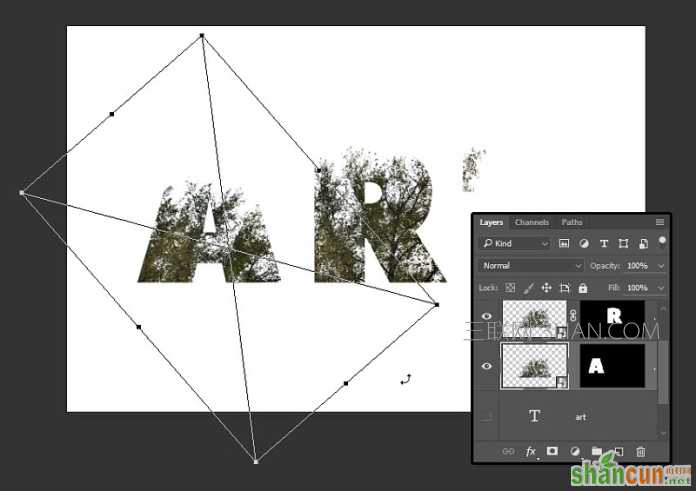
3、对字母R、T的蒙版图层,重复上面的操作。完成之后,不要忘了重新建立 【图像-蒙版】之间的链接。选择所有的树枝图层,Ctrl + G建立一个组,命名Text。
四、创建Text的渐变映射,并增加叠加纹理
1、点击底部图层面板中“创建新的填充或调整图层”图标,选择 渐变映射。
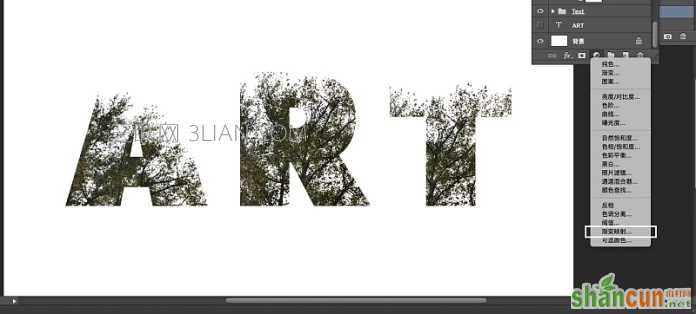
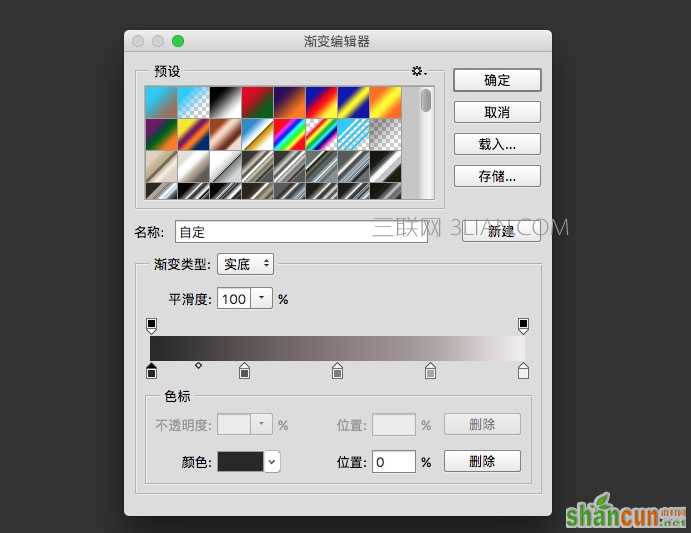
2、点击 渐变映射图标,设置渐变映射属性。点击渐变色条,进入渐变色编辑器。
颜色从左到右
色值-位置
#282828 - 0%
#5c5353 - 25%
#877a7a - 50%
#ada3a3 - 75%
#f1eded - 100%。
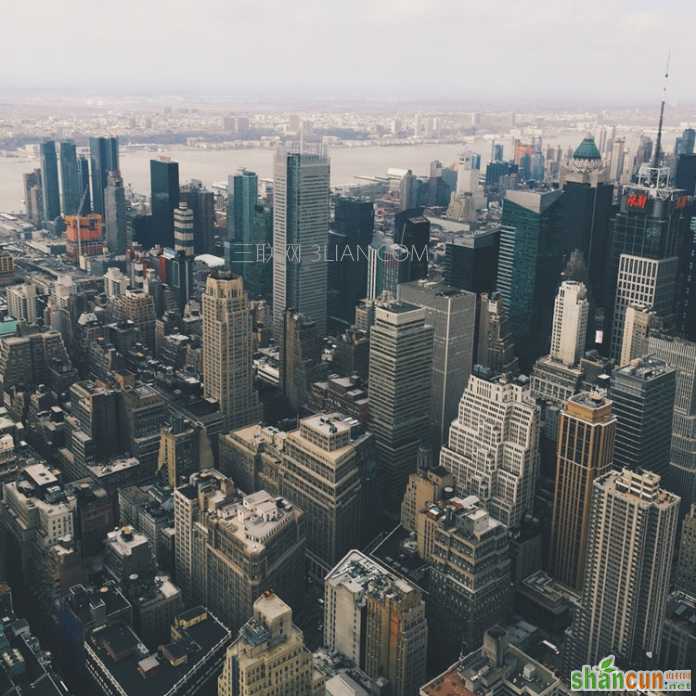
3、打开建筑图像,放在图层最上层。更改图层的混合模式:变亮;按Ctrl + 点击文字图层ART 略缩图,创建选区。点击 添加矢量蒙板图标,为 建筑图像创建蒙版。这就完成了双重曝光的效果。但是我们会增加一些图层的色彩调节,提高最终效果。
<点图片查看大图>

五、调整颜色
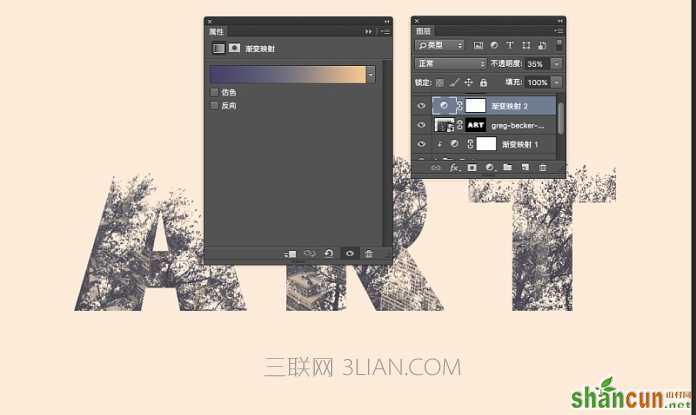
1、在所有图层顶部,增加渐变映射。设置:左#48406e,中#76747e,右#fbc690;渐变映射的图层透明度:35%。
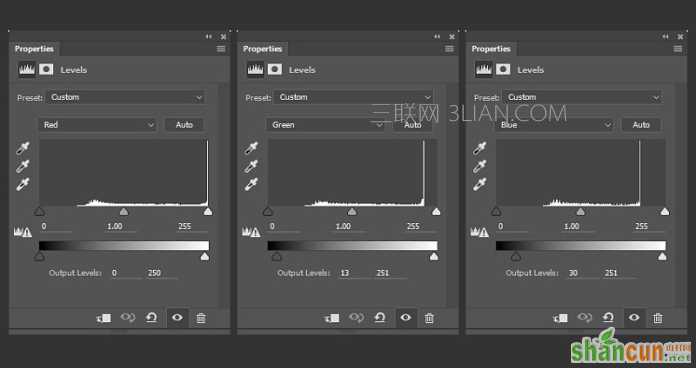
2、在所有图层之上,添加一个色阶调整层,依次设置为。
最终效果:


