
本教程主要用Photoshop绘制矢量风格的红灯笼,2010的春节要来了,我们挂个灯笼喜庆一下,让我们在新的一年有一个好心情,好计划.
先来看下效果图:

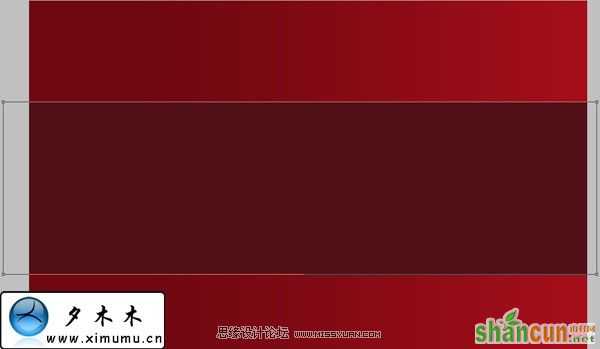
1.打开photoshop软件,按ctrl+N新建一个1920*1200的文档.新建一个图层,并用矩形工具画一个矩形做为背景,填充白色.
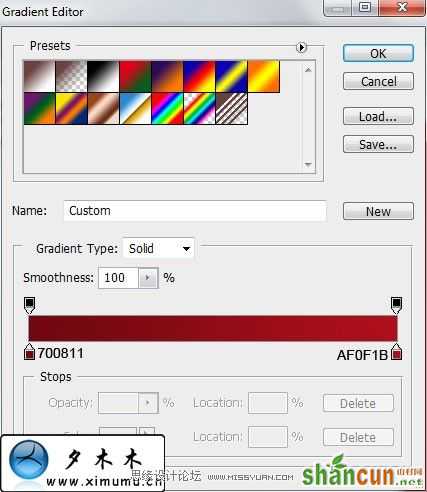
2.双击这个图层弹出图层样式,设置渐变.


3.新建一个图层,使用矢量矩形工具画一个如下图的矩形.位置如图所示.
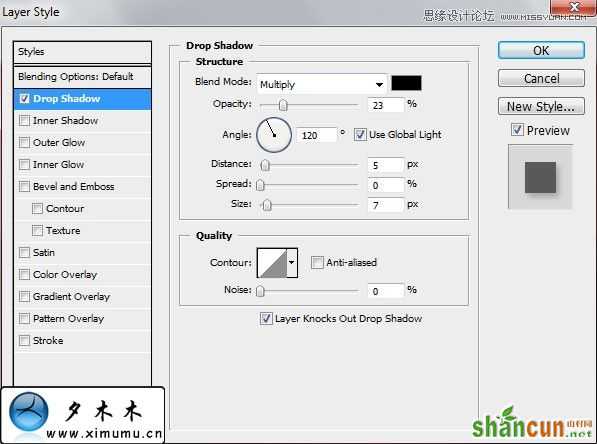
4.双击该图层,设置图层的样式.
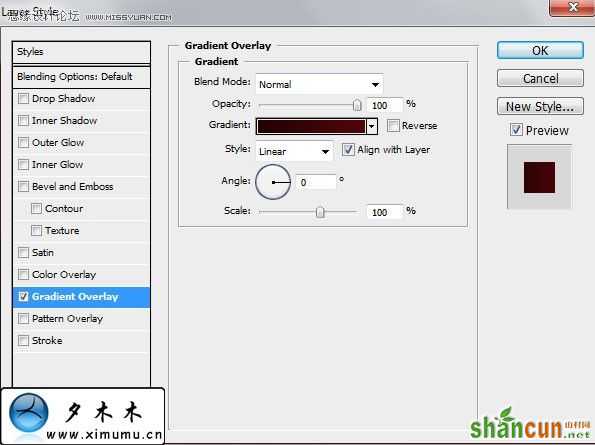
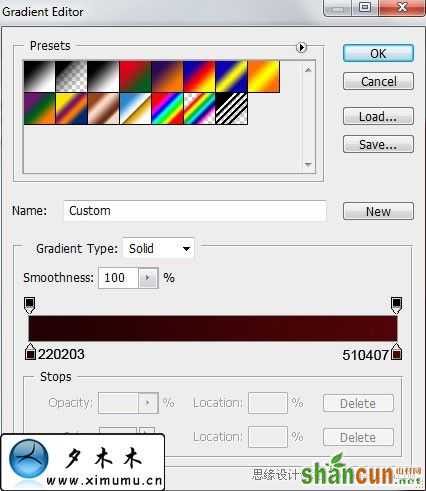
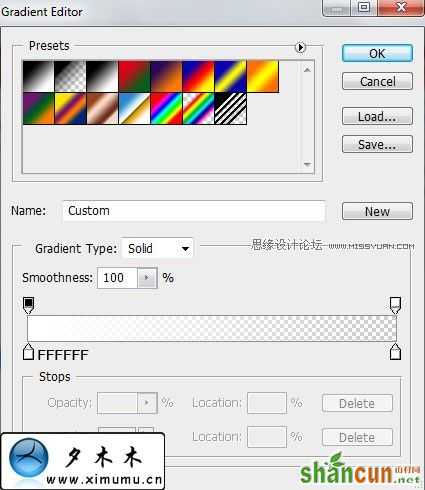
点击"Gradient"打开颜色编缉器,设置如下:

5.新建一个图层命名:灯笼.使用矢量椭圆工具,按住键盘上的shift,画出一个正圆.
6.好了,现在灯笼就要出现了,怎么做呢,当然是看下面的教程一步一步来做了.
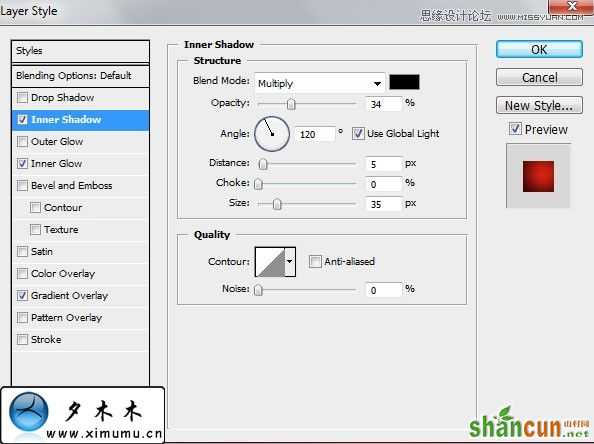
内阴影:
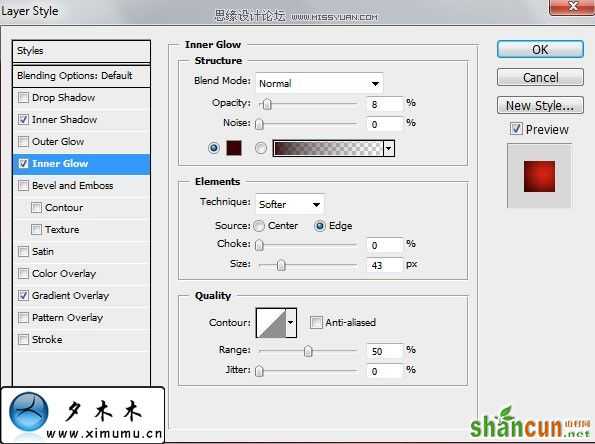
内发光:
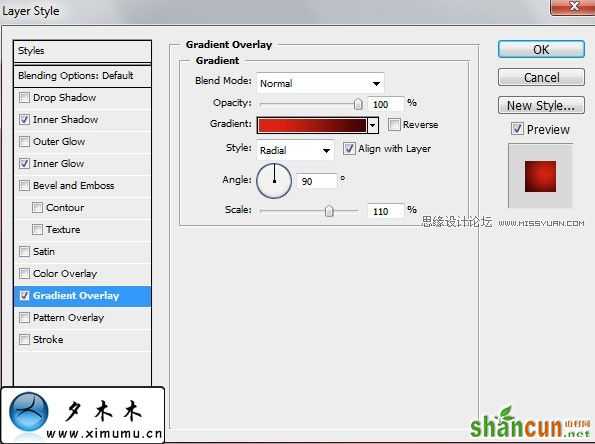
渐变叠加:
7.是不是感觉这个胖胖的东西,觉得怪怪的.那是当然了,我们继续做下去.
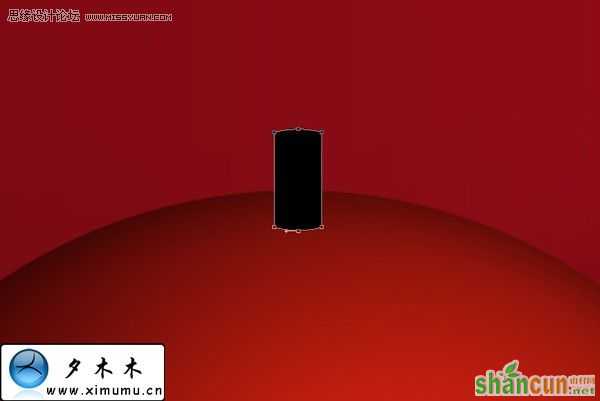
新建一个图层,使用矢量矩形画出一个小矩形.然后选择钢笔工具,调节一下这个矩形,看起来如图所示.
8.来给这个图层添加一个内发光,和渐变叠加.

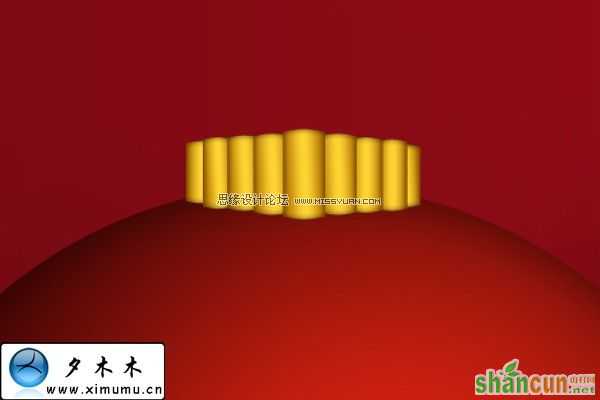
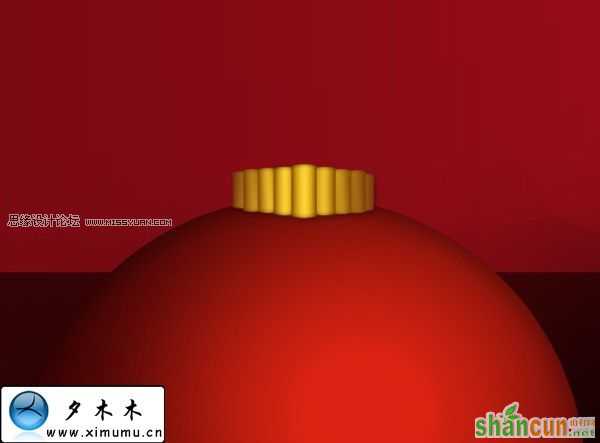
9.按住ctrl+J复制八个,并用自由变形工具,改变大小和位置.
10.按住shift键选择所有的灯笼组件的图层.然后再按ctrl+E合并这些图层,命名:灯笼.最近给这个图层添加一个阴影效果.
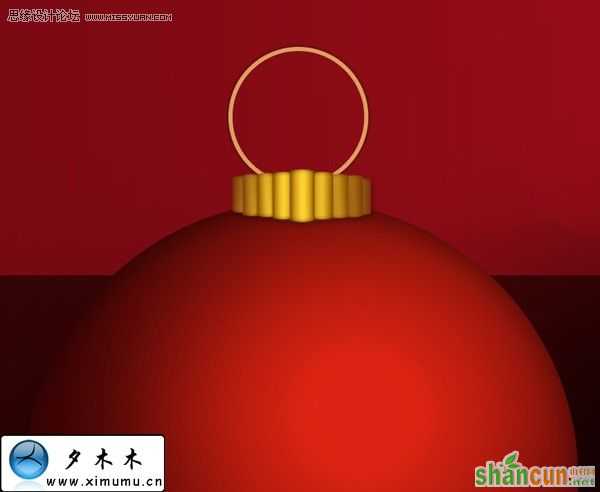
11.新建一个图层,我们来给灯笼做一个圆环.使用矢量椭圆工具画出一个小正圆.
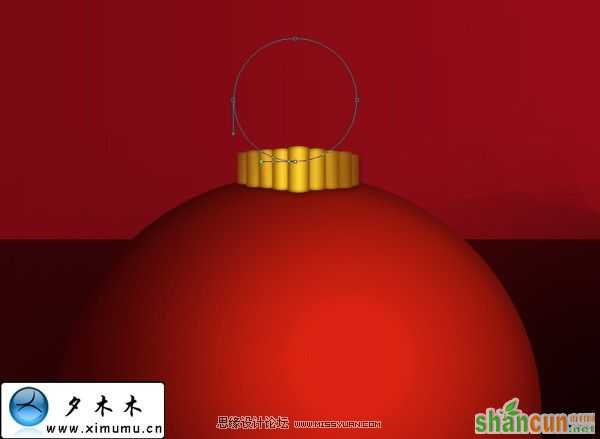
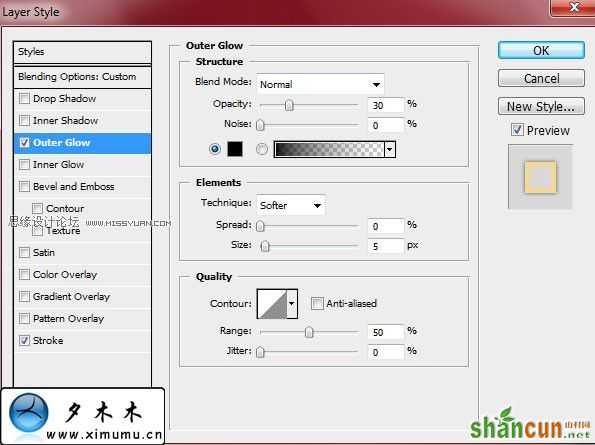
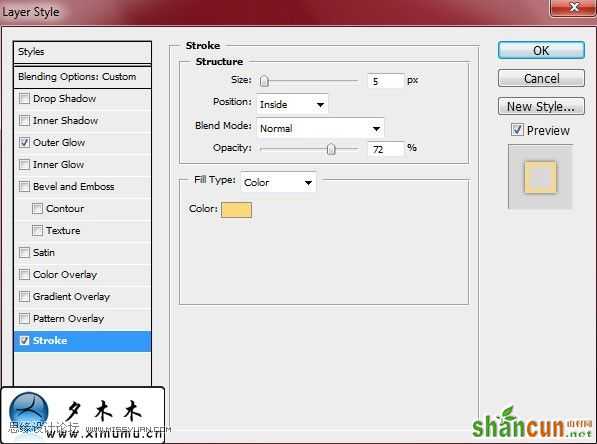
给这个小圆添加一个外发光和描边.
12.现在给这个灯笼添加一个高光.使用矢量椭圆工具,画三个圆.并设置如下:
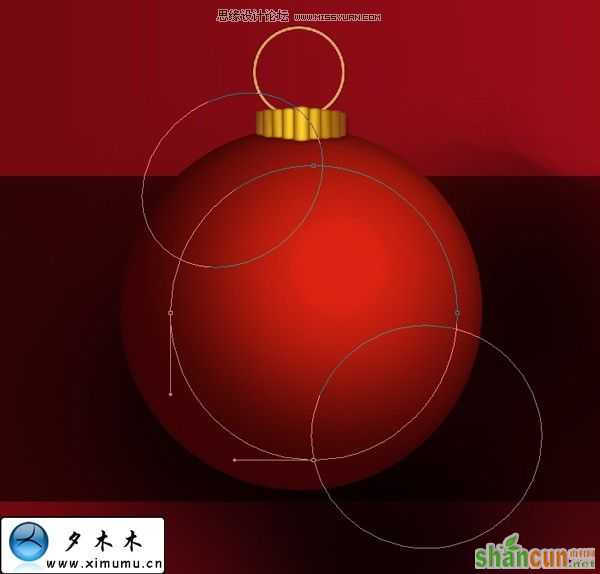
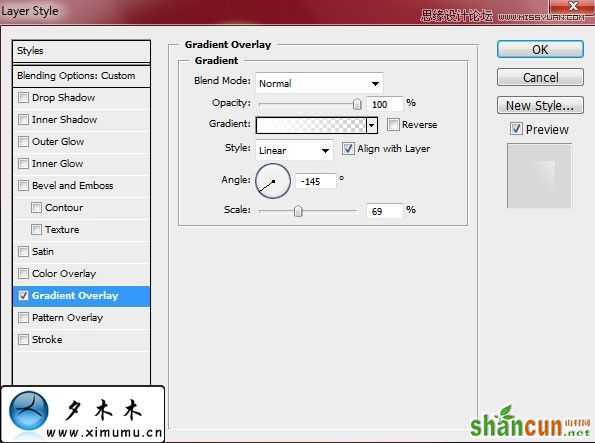
13.减去不要的部分,然后添加一个渐变叠加样式.

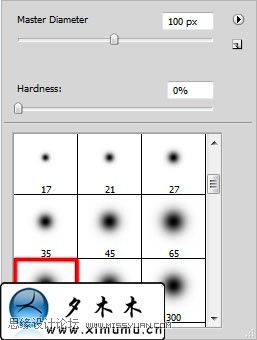
14.复制几个灯笼,使用移动工具,使它们的位置如图所示.再新建一个图层,选择画软边画笔,并设其不透明度为15%.为每个灯笼添加阴影.
最终的效果如下图:
注:更多精彩教程请关注山村photoshop教程栏目,山村PS群:311270890欢迎你的加入


