
卡通人物鼠绘过程相对简单一些,没有太多的细节刻画。不过卡通人物难点在于前期的人物塑造和设计。有了这些后期的基本上都是上色。
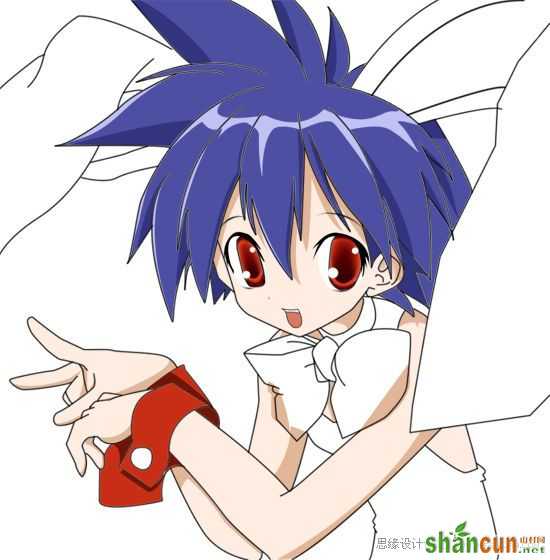
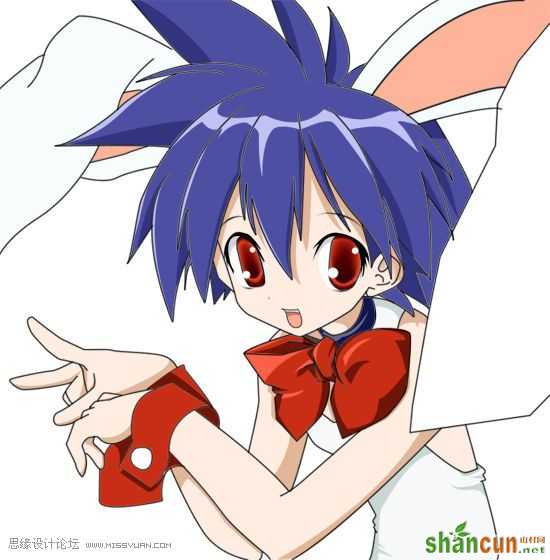
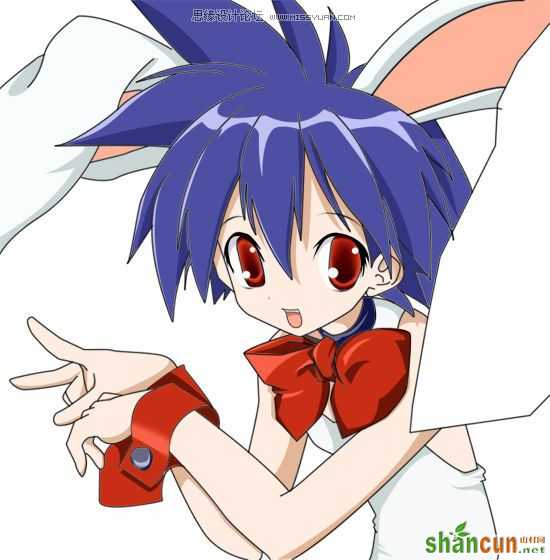
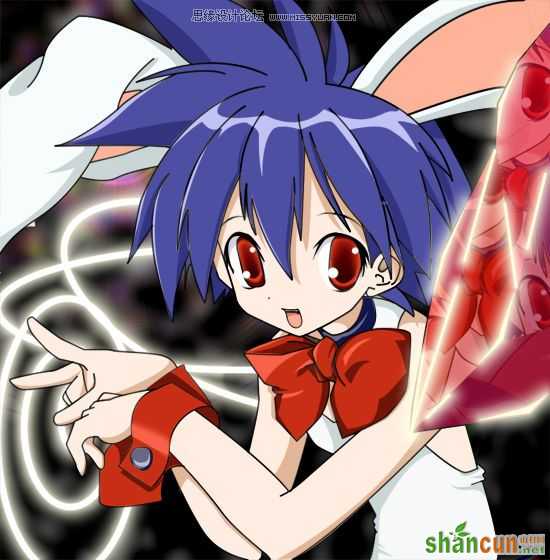
最终效果 nmousewheel="return bbimg(this)" onload="javascript:resizepic(this)" border="0"/>
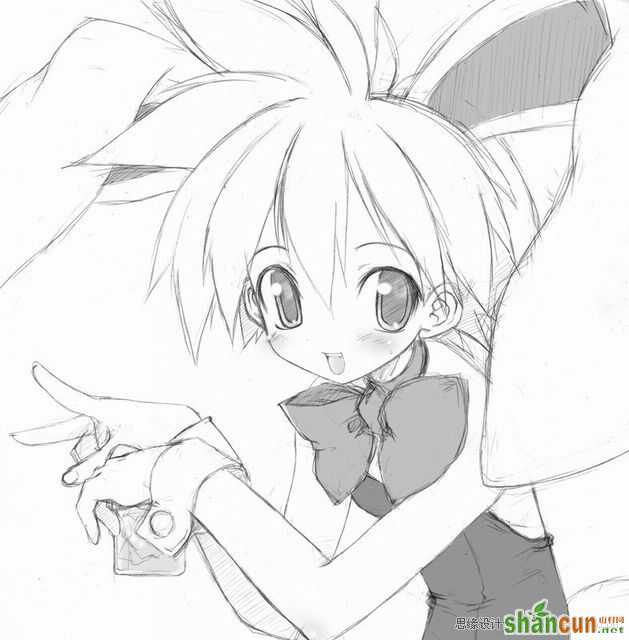
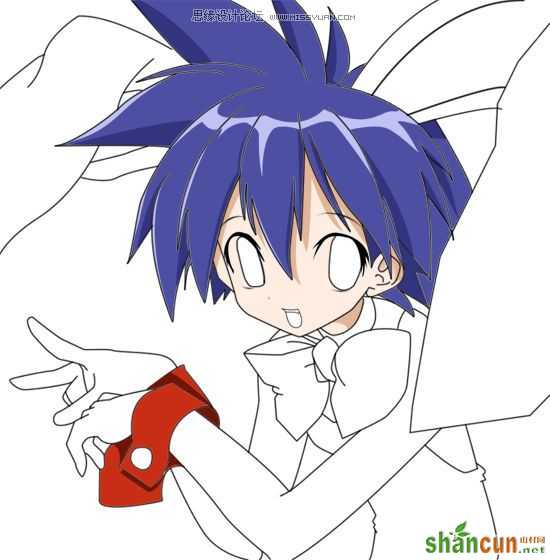
1、铅绘原稿。
 nmousewheel="return bbimg(this)" onload="javascript:resizepic(this)" border="0"/>
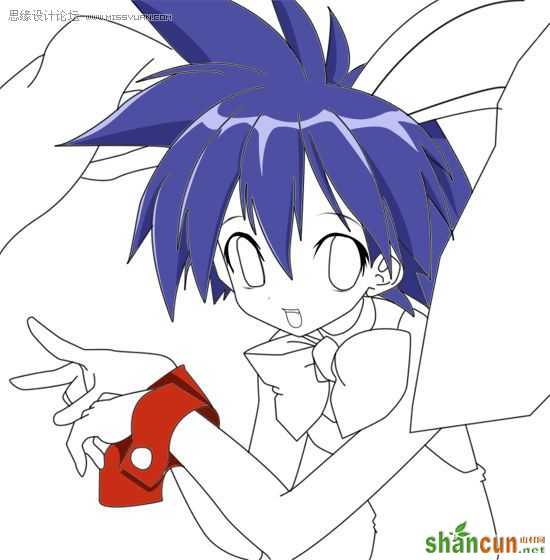
2、用路径工具勾线,这是很麻烦的。
 nmousewheel="return bbimg(this)" onload="javascript:resizepic(this)" border="0"/>
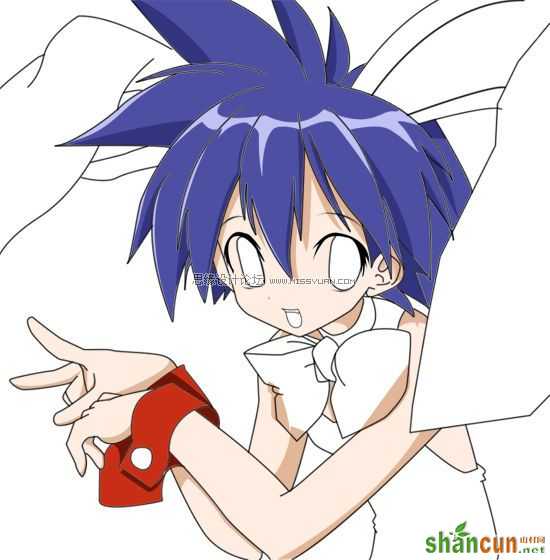
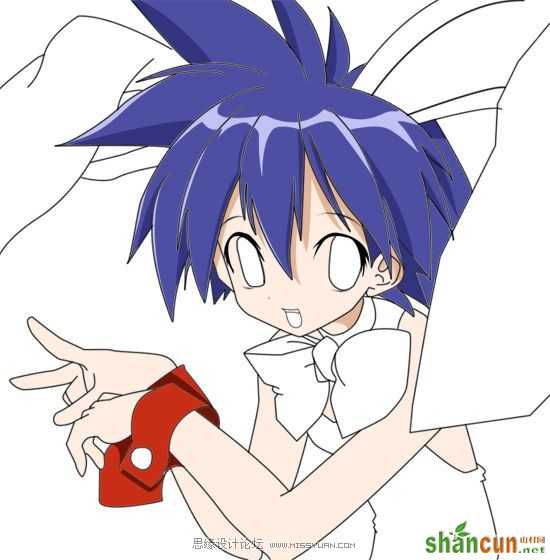
3、头发的基本色。
nmousewheel="return bbimg(this)" onload="javascript:resizepic(this)" border="0"/>
4、头发的阴影部分,我仍然用的路径工具。
 nmousewheel="return bbimg(this)" onload="javascript:resizepic(this)" border="0"/>
5、头发的高光部分,这部分的形状要和头发相吻合。
 nmousewheel="return bbimg(this)" onload="javascript:resizepic(this)" border="0"/>
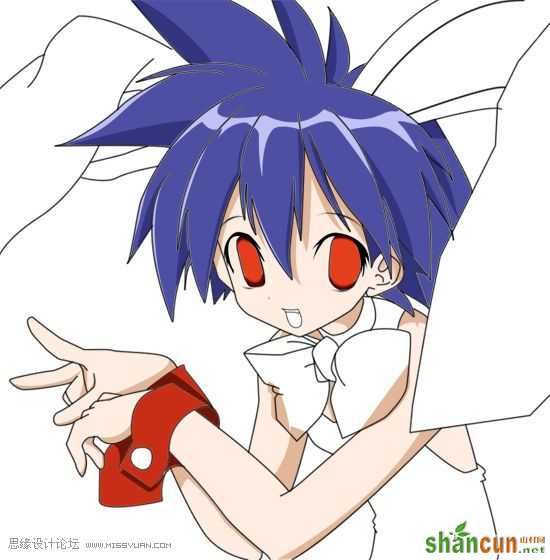
6、脸部颜色。
 nmousewheel="return bbimg(this)" onload="javascript:resizepic(this)" border="0"/>
7、头发在脸上形成的阴影。
 nmousewheel="return bbimg(this)" onload="javascript:resizepic(this)" border="0"/>
8、加上适当的阴影。
 nmousewheel="return bbimg(this)" onload="javascript:resizepic(this)" border="0"/>
9、加上适当的阴影。
nmousewheel="return bbimg(this)" onload="javascript:resizepic(this)" border="0"/>
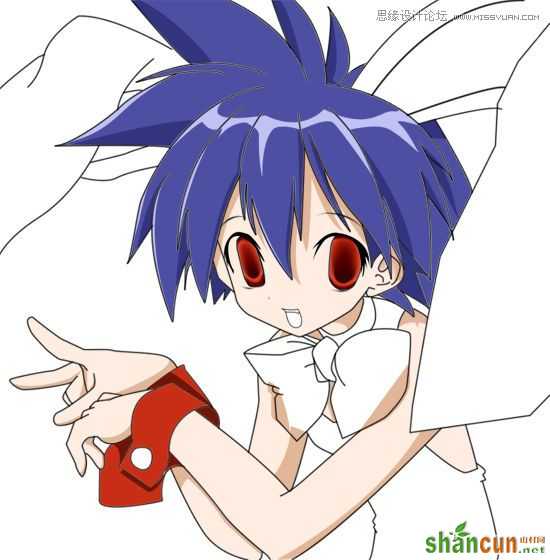
10、接下来是眼睛,3lian.com,将眼圈加深,再涂上颜色(红色)。
 nmousewheel="return bbimg(this)" onload="javascript:resizepic(this)" border="0"/>
11、这个用的是渐变工具。
nmousewheel="return bbimg(this)" onload="javascript:resizepic(this)" border="0"/>
12、点上眼睛的高光,大小要适合。
 nmousewheel="return bbimg(this)" onload="javascript:resizepic(this)" border="0"/>
13、眼白部分和眼皮在眼球上的阴影也不要忽略。
 nmousewheel="return bbimg(this)" onload="javascript:resizepic(this)" border="0"/>
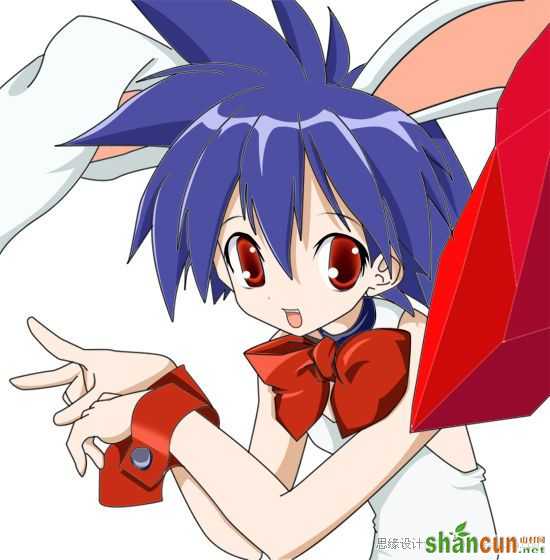
14、嘴巴。
 nmousewheel="return bbimg(this)" onload="javascript:resizepic(this)" border="0"/>
15、嘴巴里也会有受光的地方。
 nmousewheel="return bbimg(this)" onload="javascript:resizepic(this)" border="0"/>
16、衣服的大体色,(颜色有点浅)。
 nmousewheel="return bbimg(this)" onload="javascript:resizepic(this)" border="0"/>
17、衣服阴影。
 nmousewheel="return bbimg(this)" onload="javascript:resizepic(this)" border="0"/>
18、红色蝴蝶结。
 nmousewheel="return bbimg(this)" onload="javascript:resizepic(this)" border="0"/>
19、蝴蝶结阴影部分。
nmousewheel="return bbimg(this)" onload="javascript:resizepic(this)" border="0"/>
20、蝴蝶结的亮部。
nmousewheel="return bbimg(this)" onload="javascript:resizepic(this)" border="0"/>
21、脖子上的装饰圈。
 nmousewheel="return bbimg(this)" onload="javascript:resizepic(this)" border="0"/>
22、兔耳朵。
nmousewheel="return bbimg(this)" onload="javascript:resizepic(this)" border="0"/>
23、兔耳朵阴影。
 nmousewheel="return bbimg(this)" onload="javascript:resizepic(this)" border="0"/>
24、把袖口画完,一开始不小心把线稿图层和未画完的袖口图层合并了。
 nmousewheel="return bbimg(this)" onload="javascript:resizepic(this)" border="0"/>
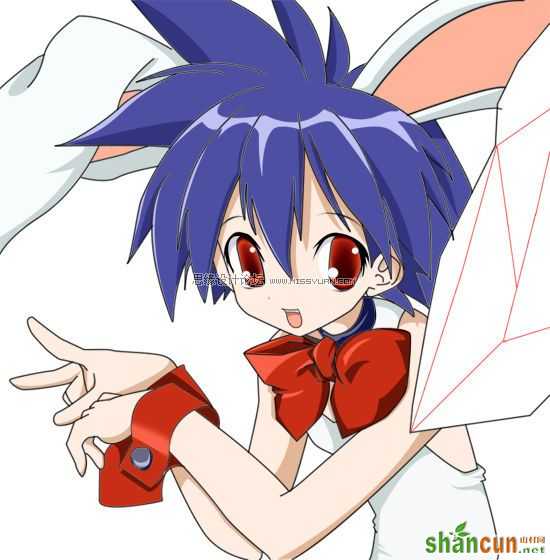
25、旁边的那片白的是啥呢,水晶啊。
 nmousewheel="return bbimg(this)" onload="javascript:resizepic(this)" border="0"/>
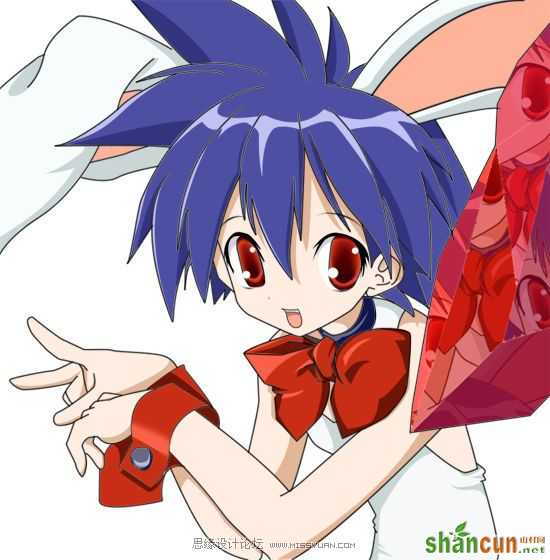
26、块面不同,颜色深度也不同,3lian.com,这个觉得看着舒服就可以了。
nmousewheel="return bbimg(this)" onload="javascript:resizepic(this)" border="0"/>
27、把几个人物上的地方按照水晶上不同块面的形状拷贝下来,再粘贴在水晶上,并调整不透明度,透明程度要把握适当, 水晶的透明感要表现出来。
 nmousewheel="return bbimg(this)" onload="javascript:resizepic(this)" border="0"/>
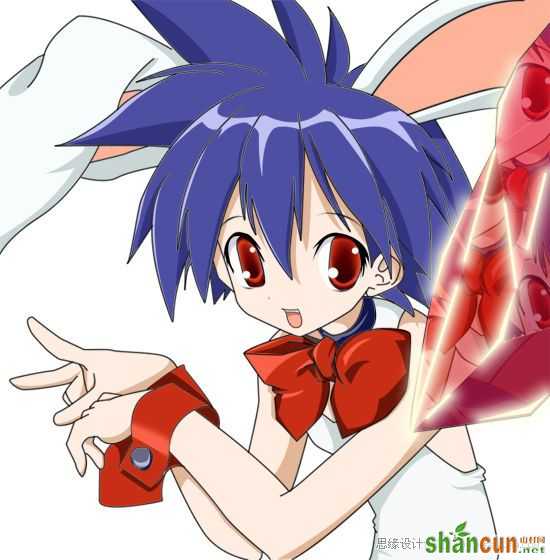
28、水晶上的高光部分,用亮色勾几条边后,把勾的边设置为"闪耀",我把闪的光设置为白色,闪耀面积和不透明度要适合。(有的PHOTOSHOP因版本不同,没有"闪耀"这项功能,我用的是CS2)。
 nmousewheel="return bbimg(this)" onload="javascript:resizepic(this)" border="0"/>
29、主体人物大致就这样凑合着完成了,背景嘛,我就随便乱画,还好。
 nmousewheel="return bbimg(this)" onload="javascript:resizepic(this)" border="0"/>


