
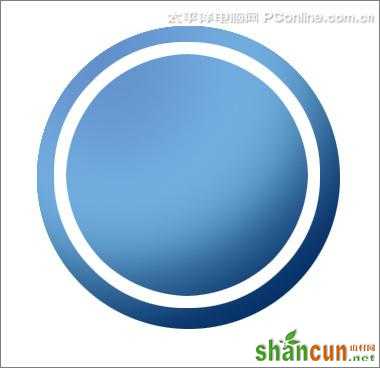
先看效果图:
 nmousewheel="return bbimg(this)" onload="javascript:resizepic(this)" border="0"/>
1、选择“文件/新建”菜单,打开”新建”或者Ctrl+N对话框 名称为:绘制大众汽车标志,宽度:为600像素, 高度:为600像素, “分辨率”为72 , “模式”为RGB颜色的文档,单击确定按钮,如图1所示。
 nmousewheel="return bbimg(this)" onload="javascript:resizepic(this)" border="0"/>
图1
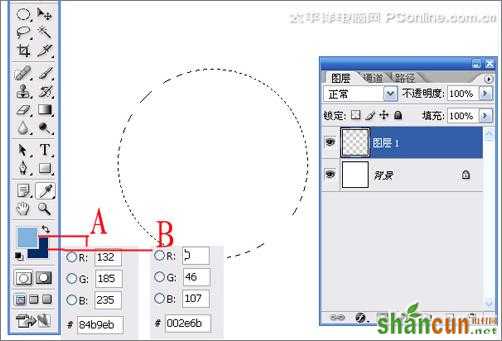
2、在图层控制面板击新建图层按钮,新建一个图层1,在工具箱中选择椭圆工具 ,在工作区中拖出一个椭圆选区,接着设置前景色,设置前景色的RGB值分别为132、185、235,设置背景色的RGB值分别为1、46、107,并按 快捷键Alt+Delete填充给图层1,然后按快捷键Ctrl+D取消选择状态,如图2所示。效果图如图3所示。
 nmousewheel="return bbimg(this)" onload="javascript:resizepic(this)" border="0"/>
图2
 nmousewheel="return bbimg(this)" onload="javascript:resizepic(this)" border="0"/>
图3
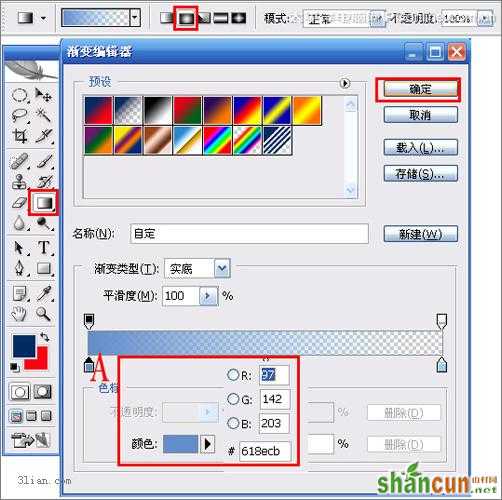
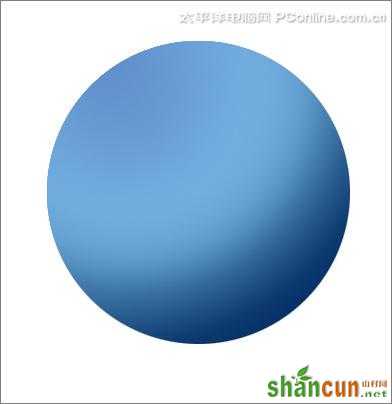
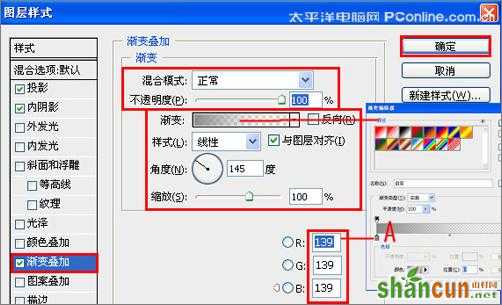
3、在图层控制面板击新建图层按钮,新建一个图层2,选择工具箱渐变工具(快捷键G),在工具选项栏中设置为径向渐变,然后点按可编辑渐变,弹出渐变编 辑器。设置前景色到透明,双击如图4中的A处,设置色彩RGB分别为97、142、203,单击确定按钮,如图4所示。效果图如图5所示。
 nmousewheel="return bbimg(this)" onload="javascript:resizepic(this)" border="0"/>
 nmousewheel="return bbimg(this)" onload="javascript:resizepic(this)" border="0"/>
图5
 nmousewheel="return bbimg(this)" onload="javascript:resizepic(this)" border="0"/>
图6
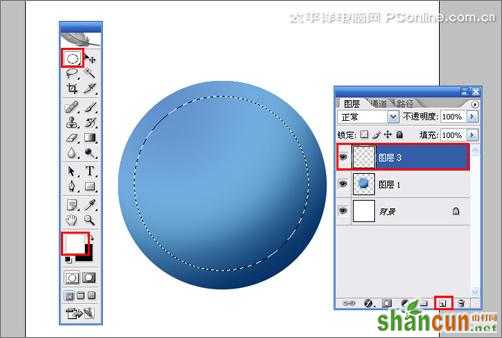
5、执行菜单:“编辑”/“描边”弹出描边对话框,设置描边宽度为12px,颜色为白色,如图7所示。效果图如图8所示。
 nmousewheel="return bbimg(this)" onload="javascript:resizepic(this)" border="0"/>
图7
 nmousewheel="return bbimg(this)" onload="javascript:resizepic(this)" border="0"/>
图8
 nmousewheel="return bbimg(this)" onload="javascript:resizepic(this)" border="0"/>
图9
 nmousewheel="return bbimg(this)" onload="javascript:resizepic(this)" border="0"/>
图10
 nmousewheel="return bbimg(this)" onload="javascript:resizepic(this)" border="0"/>
图11
 nmousewheel="return bbimg(this)" onload="javascript:resizepic(this)" border="0"/>
图12
 nmousewheel="return bbimg(this)" onload="javascript:resizepic(this)" border="0"/>
图13
 nmousewheel="return bbimg(this)" onload="javascript:resizepic(this)" border="0"/>
图14
 nmousewheel="return bbimg(this)" onload="javascript:resizepic(this)" border="0"/>
图15
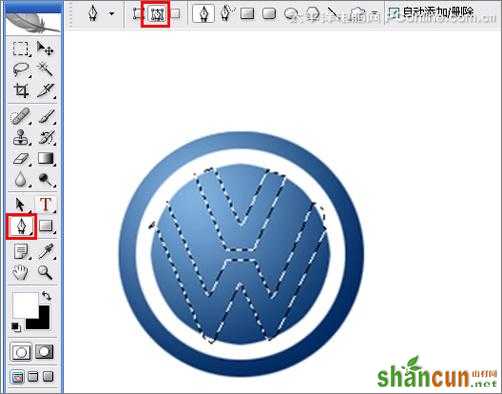
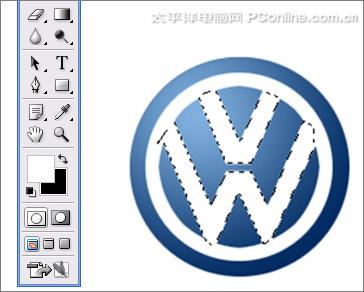
8、在图层面板上单击创建新图层按钮 ,新建一个图层6,再用钢笔工具,画出一个不规则的形状,在工具箱中选择设置前景色,设置前景色的颜色为白色,填充给图层6,按键盘快捷键 Ctrl+Enter转换为选区,接着按按键盘快捷键Alt+Delete填充,按键盘快捷键Ctrl+D取消选区,并设置图层混合模式为柔光,如图16 所示。效果图如图17所示。
 nmousewheel="return bbimg(this)" onload="javascript:resizepic(this)" border="0"/>
图16
 nmousewheel="return bbimg(this)" onload="javascript:resizepic(this)" border="0"/>
图17
9、经过调整后的效果,也是最终效果,如图18所示。
nmousewheel="return bbimg(this)" onload="javascript:resizepic(this)" border="0"/>
图18


