
在本PS教程中将为大家介绍使用Photoshop去制作一未切割文字的效果。这效果十分有趣哦!
 nmousewheel="return bbimg(this)" onload="javascript:resizepic(this)" border="0"/>
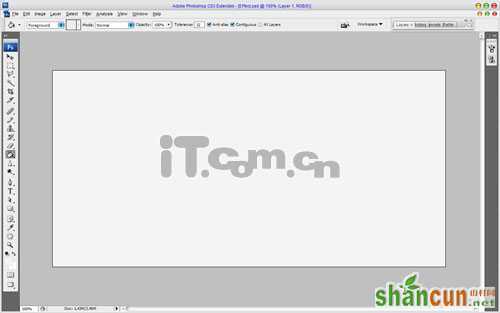
1、首先运行photoshop创建一个大小为1000*500像素的新文档,并填充颜色#f4f4f4,如图所示。
 nmousewheel="return bbimg(this)" onload="javascript:resizepic(this)" border="0"/>
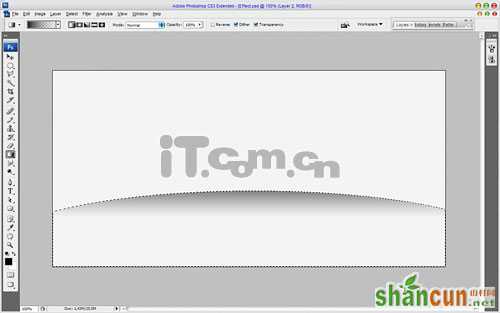
2、使用“矩形选框工具”在图片的下方创建一个矩形选区,接着选择“椭圆选框工具”在属性栏中单击“添加到选区”按钮,然后在矩形选区的上边添加一个弧形选区,效果如图所示。最后使用“渐变工具”,在选区中添加一个黑色到透明的渐变效果。
 nmousewheel="return bbimg(this)" onload="javascript:resizepic(this)" border="0"/>
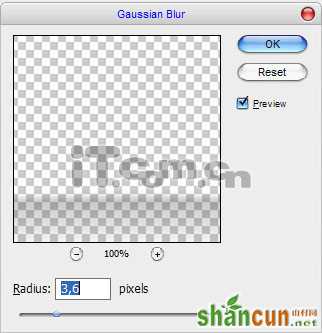
3、按下Ctrl+D取消选择,然后在菜单栏中选择“滤镜—模糊—高斯模糊”命令,设置如下图所示。
 nmousewheel="return bbimg(this)" onload="javascript:resizepic(this)" border="0"/>
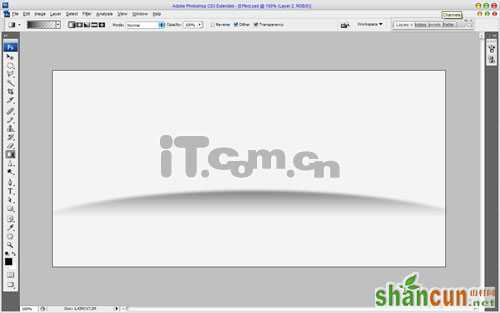
效果如图所示。
 nmousewheel="return bbimg(this)" onload="javascript:resizepic(this)" border="0"/>
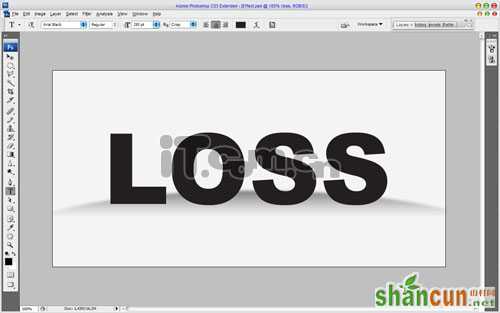
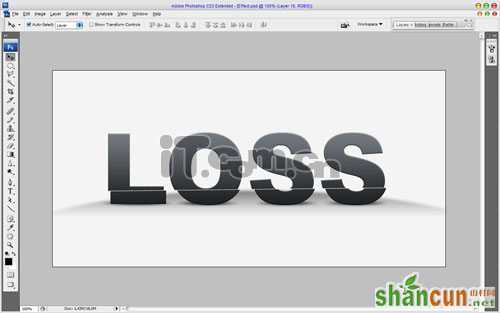
4、接下来使用“横排文字工具”在图片中输入文字“LOSS”,大家可以随意输入其它文字,如图所示。
 nmousewheel="return bbimg(this)" onload="javascript:resizepic(this)" border="0"/>
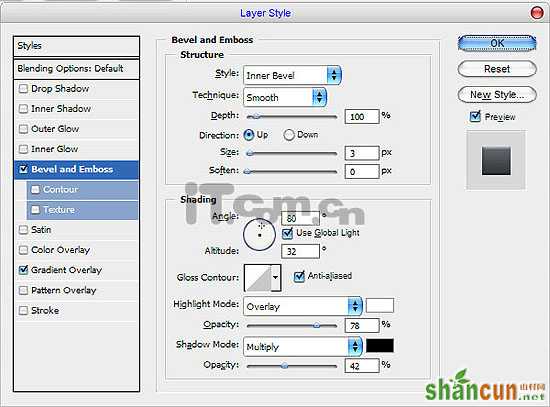
5、为文字图层添加“斜面浮雕”和“渐变叠加”的图层样式,设置如图所示。
 nmousewheel="return bbimg(this)" onload="javascript:resizepic(this)" border="0"/>
 nmousewheel="return bbimg(this)" onload="javascript:resizepic(this)" border="0"/>
效果如图所示。
 nmousewheel="return bbimg(this)" onload="javascript:resizepic(this)" border="0"/>
6、在文字图层的下方创建一个新图层,然后单击文字图层,按下Ctrl+E向下合并图层,把文字和图层样式的效果合并到新图层中。
接着我们要为文字添加一些阴影。在文图的层下方创建一个新图层,使用“椭圆选框工具”创建一个小的椭圆选区并填充黑色,按下Ctrl+D取消选择,再按下Ctrl+F执行一次高斯模糊,效果如图所示。
 nmousewheel="return bbimg(this)" onload="javascript:resizepic(this)" border="0"/>
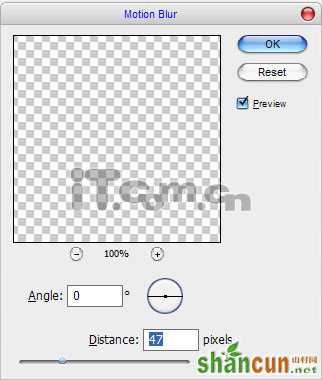
选择“滤镜—模糊—运动模糊”,设置如图所示。
 nmousewheel="return bbimg(this)" onload="javascript:resizepic(this)" border="0"/>
效果如图所示。
 nmousewheel="return bbimg(this)" onload="javascript:resizepic(this)" border="0"/>
7、为各个文母都添加阴影,如图所示。
 nmousewheel="return bbimg(this)" onload="javascript:resizepic(this)" border="0"/>
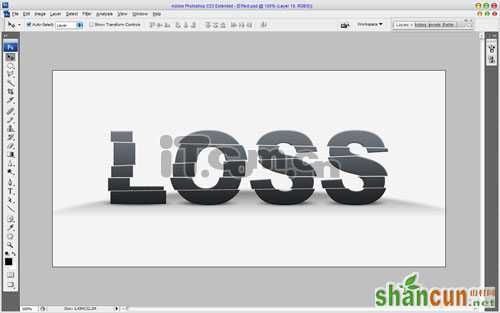
8、选择文字图层,使用“多边形套索工具”创建如下图所示的多边形选区。
 nmousewheel="return bbimg(this)" onload="javascript:resizepic(this)" border="0"/>
9、按下Ctrl+Shift+J剪切选区的内容,然后使用“移动工具”调整位置,3lian素材,效果如图所示。
 nmousewheel="return bbimg(this)" onload="javascript:resizepic(this)" border="0"/>
10、使用相同的方法,制作出多次剪切的效果,如图所示。
 nmousewheel="return bbimg(this)" onload="javascript:resizepic(this)" border="0"/>
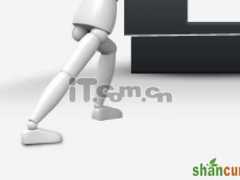
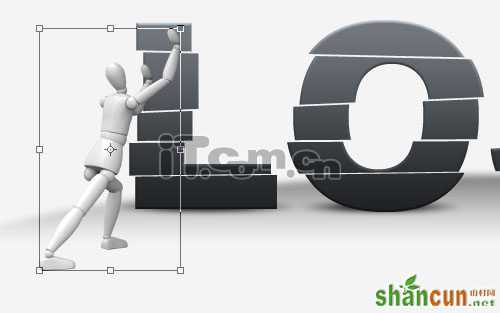
11、在网上找带一个人偶的素材,复制到图层中,并调整其大小和位置,如图所示。
 nmousewheel="return bbimg(this)" onload="javascript:resizepic(this)" border="0"/>
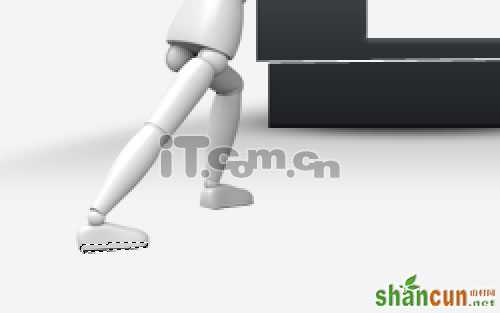
12、参考文字添加阴影的方法,在人偶的脚下添加一些阴影,如图所示。
 nmousewheel="return bbimg(this)" onload="javascript:resizepic(this)" border="0"/>
nmousewheel="return bbimg(this)" onload="javascript:resizepic(this)" border="0"/>
13、使用“涂抹工具”(刷:10px,模式:普通,强度:33%),涂抹阴影,使阴影更加自然,如图所示。
 nmousewheel="return bbimg(this)" onload="javascript:resizepic(this)" border="0"/>
14、制作另一只脚的阴影,如图所示。
 nmousewheel="return bbimg(this)" onload="javascript:resizepic(this)" border="0"/>
最终效果如图所示。
nmousewheel="return bbimg(this)" onload="javascript:resizepic(this)" border="0"/>


