
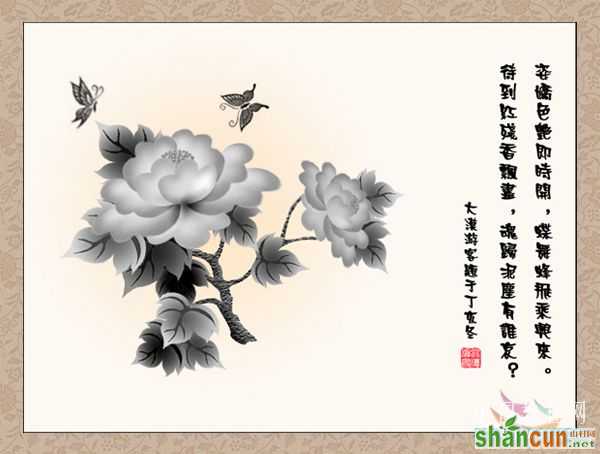
最终效果(水墨版)
 nmousewheel="return bbimg(this)" onload="javascript:resizepic(this)" border="0"/>
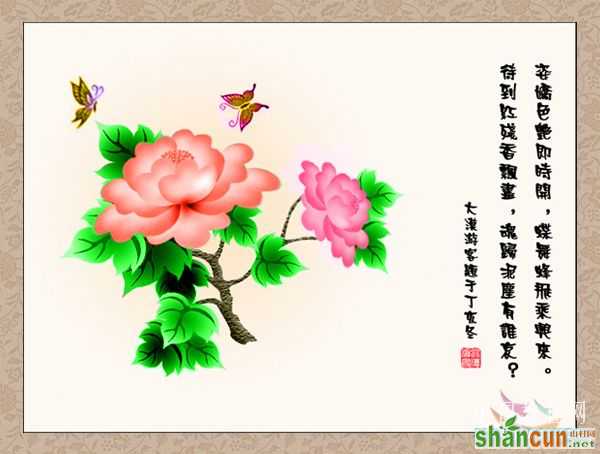
彩色版
 nmousewheel="return bbimg(this)" onload="javascript:resizepic(this)" border="0"/>
教程开始
1 新建700*530,分辨率96白色画布一个。
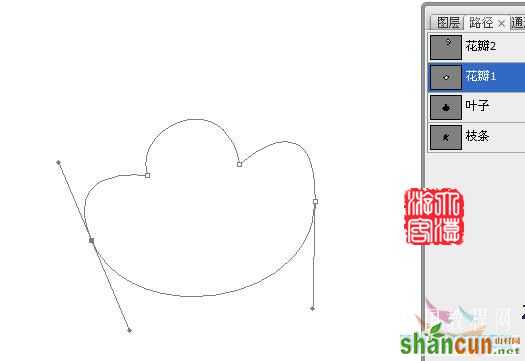
2 打开路径面板,再新建三个路径,共四个,分别命名为花瓣1 花瓣2 叶子 枝条
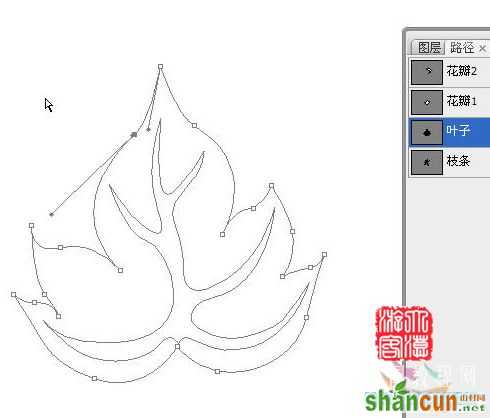
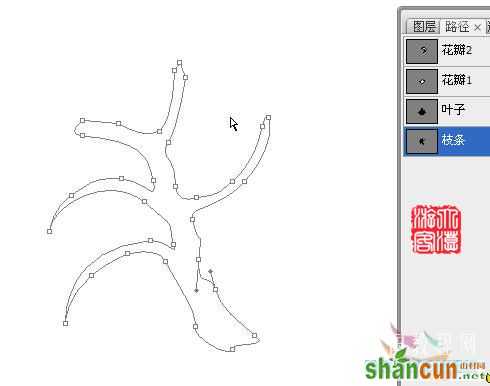
3 用钢笔工具分别画出如图一/二/三/四的路径
 nmousewheel="return bbimg(this)" onload="javascript:resizepic(this)" border="0"/>
 nmousewheel="return bbimg(this)" onload="javascript:resizepic(this)" border="0"/>
 nmousewheel="return bbimg(this)" onload="javascript:resizepic(this)" border="0"/>
 nmousewheel="return bbimg(this)" onload="javascript:resizepic(this)" border="0"/>
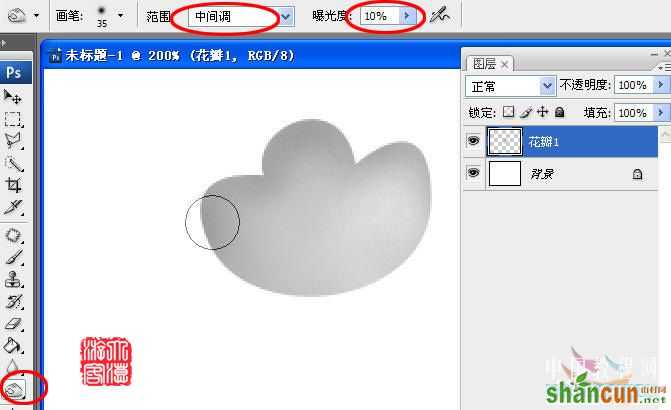
4 点击花瓣1路径,回到图层面板新建一层名花瓣1,按Ctrl+Enter,把路径转为选区,填充浅灰#C8C8C8,用加深/减淡工具涂抹出高光和阴影如图五
 nmousewheel="return bbimg(this)" onload="javascript:resizepic(this)" border="0"/>
5 复制排列变形如图六
nmousewheel="return bbimg(this)" onload="javascript:resizepic(this)" border="0"/>
 nmousewheel="return bbimg(this)" onload="javascript:resizepic(this)" border="0"/>
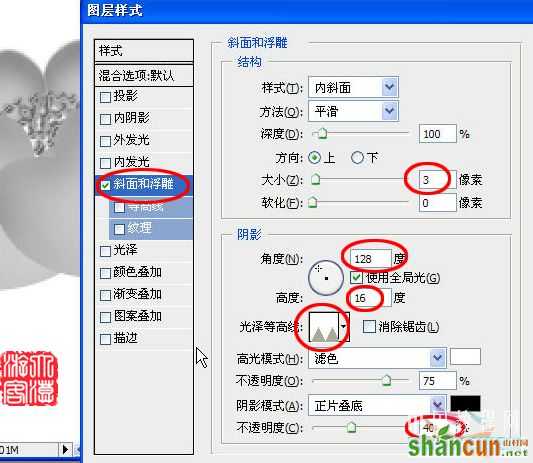
7 执行斜面浮雕如图八
 nmousewheel="return bbimg(this)" onload="javascript:resizepic(this)" border="0"/>
参数设置如图九
nmousewheel="return bbimg(this)" onload="javascript:resizepic(this)" border="0"/>
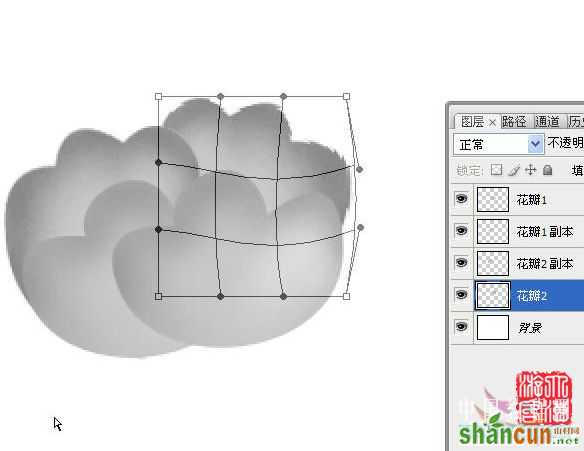
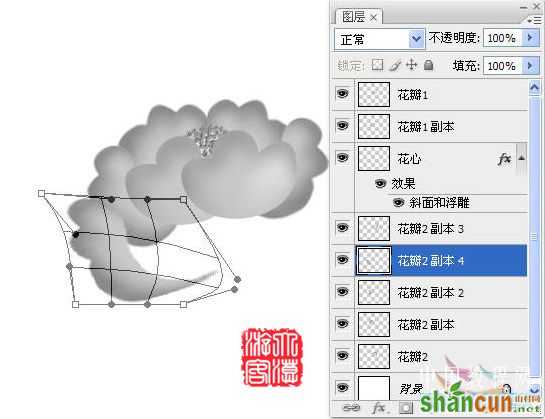
8 新建一层名花瓣2用花瓣1的方法做出花瓣2,复制排列变形如图十
 nmousewheel="return bbimg(this)" onload="javascript:resizepic(this)" border="0"/>
9 仔细调整各花瓣的形状,角度,图层位置后关闭背景层,合并全部花瓣改名花1如图十一
 nmousewheel="return bbimg(this)" onload="javascript:resizepic(this)" border="0"/>
10 视情况作一下透视调整。如图十二
 nmousewheel="return bbimg(this)" onload="javascript:resizepic(this)" border="0"/>
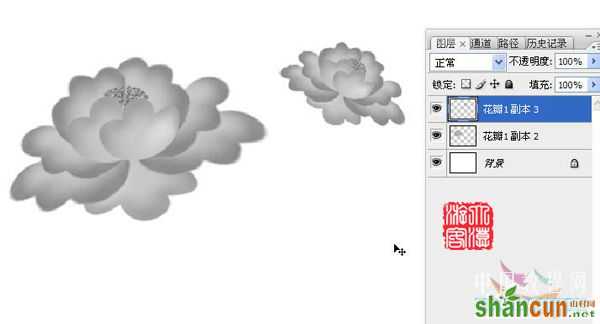
11 复制花1层名花2,缩小后移动到右上面。如图十三。
 nmousewheel="return bbimg(this)" onload="javascript:resizepic(this)" border="0"/>
12 新建一层名叶子,3lian素材,打开路径面板点叶子路径如图十四
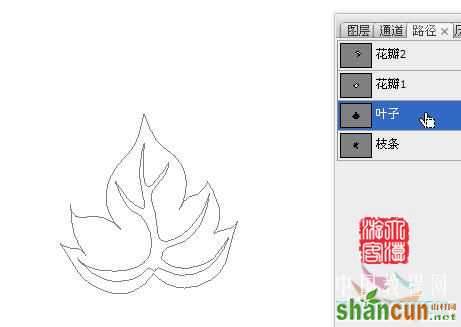 nmousewheel="return bbimg(this)" onload="javascript:resizepic(this)" border="0"/>
13 回到图层面板,按Ctrl+Enter转换成选区后,作径向渐变填充如图十五
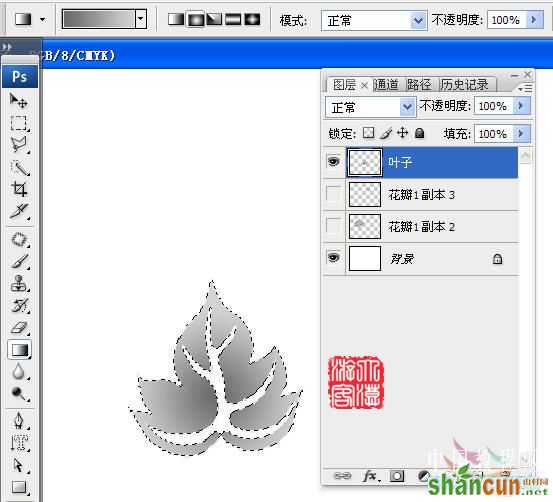 nmousewheel="return bbimg(this)" onload="javascript:resizepic(this)" border="0"/>
14 Ctrl+D取消选区。再次调入叶子路径,用路径选择工具(黑箭头)选中叶子路径的边沿后按Delete删除(图十六)。
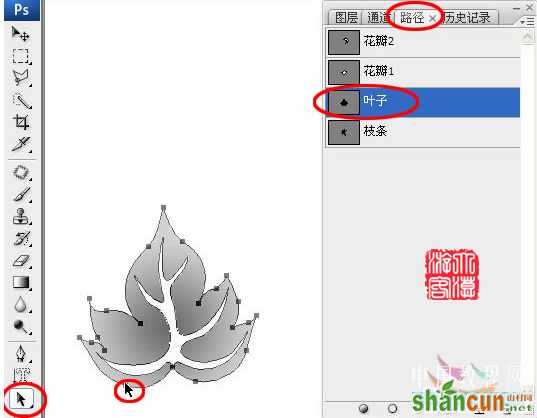 nmousewheel="return bbimg(this)" onload="javascript:resizepic(this)" border="0"/>
留下中间部分按Ctrl+Enter转换成选区后进行深灰填充如图十七。
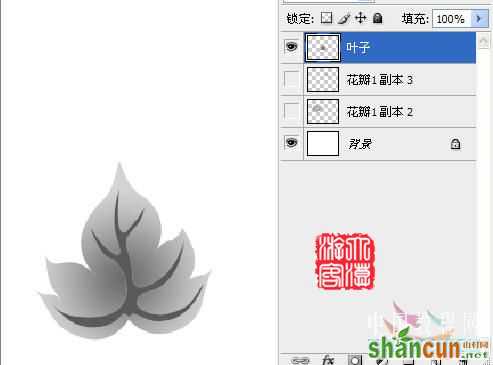 nmousewheel="return bbimg(this)" onload="javascript:resizepic(this)" border="0"/>
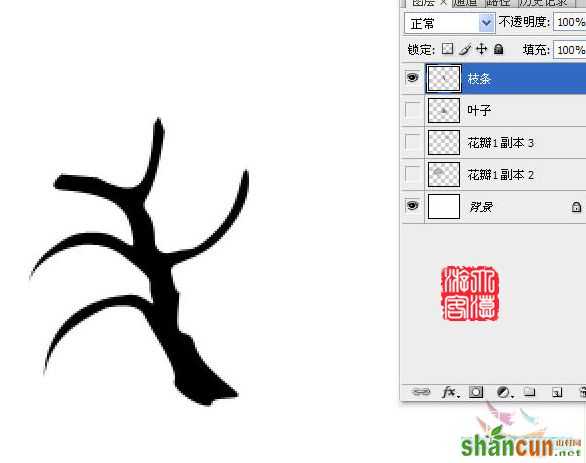
15 如前法新建一枝条层,进行黑色填充如图十八
nmousewheel="return bbimg(this)" onload="javascript:resizepic(this)" border="0"/>
16 执行滤镜/素描/便条纸如图十九。
 nmousewheel="return bbimg(this)" onload="javascript:resizepic(this)" border="0"/>
17 反相/色阶,加强一下对比度。再用加深/减淡工具涂抹出立体效果。
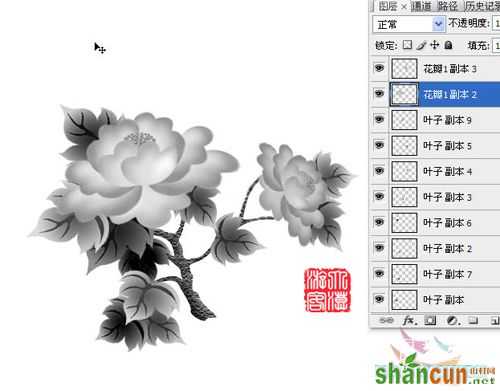
18 至此花朵,叶子,枝条都做好了,下面进行复制/移动排列组合,再用色阶对叶子调整,做出高光和阴影效果。如图二十。
nmousewheel="return bbimg(this)" onload="javascript:resizepic(this)" border="0"/>
19 用蝴蝶画笔画两只蝴蝶,就算完成了。
如果你愿意,当然可进行上色处理,也可在最初做花瓣枝叶时就做成彩色的。
nmousewheel="return bbimg(this)" onload="javascript:resizepic(this)" border="0"/>


