
教程介绍金属质感物体的制作方法。这类物体制作的时候需要非常细心,金属物体本身非常光滑,有较强的反光效果,高光部分的刻画非常重要,制作的时候一定要把握好。
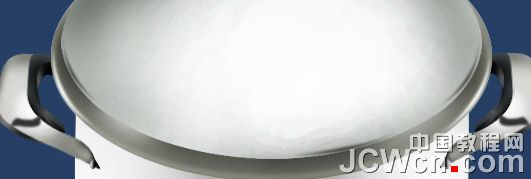
最终效果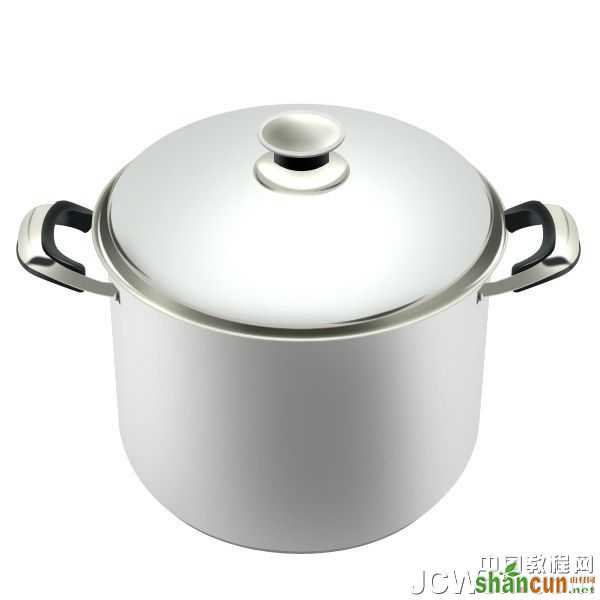 nmousewheel="return bbimg(this)" onload="javascript:resizepic(this)" border="0"/>
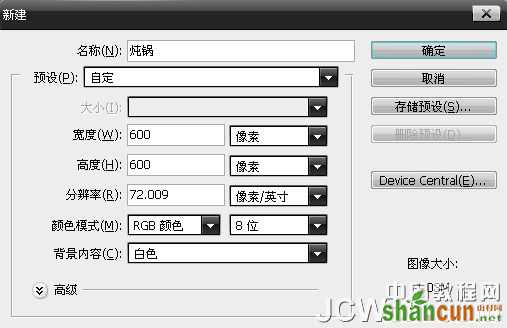
1、老规矩,新建一个600*600的文件;
 nmousewheel="return bbimg(this)" onload="javascript:resizepic(this)" border="0"/>
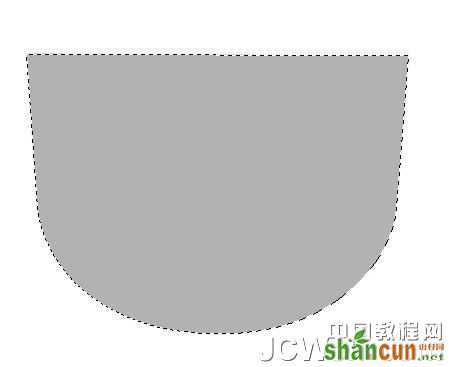
2、用钢笔工具勾出如图的形状,并用#b2b2b0填充;
 nmousewheel="return bbimg(this)" onload="javascript:resizepic(this)" border="0"/>
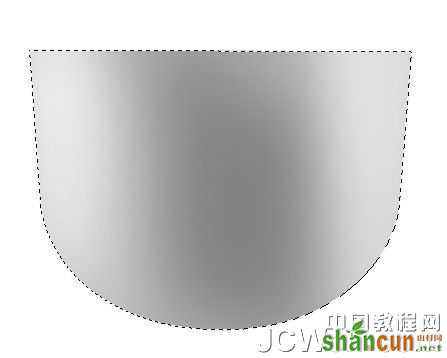
3、用加深减淡工具,进行局部调整;
 nmousewheel="return bbimg(this)" onload="javascript:resizepic(this)" border="0"/>
4、新建2层,画出如图的椭圆,并用#8a8c81 和 #c8cdc9分别填充;
 nmousewheel="return bbimg(this)" onload="javascript:resizepic(this)" border="0"/>
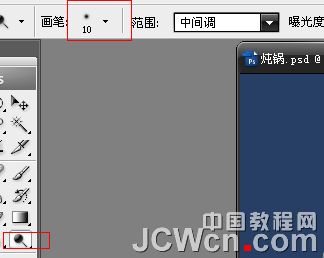
5、设置减淡工具;
 nmousewheel="return bbimg(this)" onload="javascript:resizepic(this)" border="0"/>
6、载入下面一层的选区,并缩小2像素;
 nmousewheel="return bbimg(this)" onload="javascript:resizepic(this)" border="0"/>
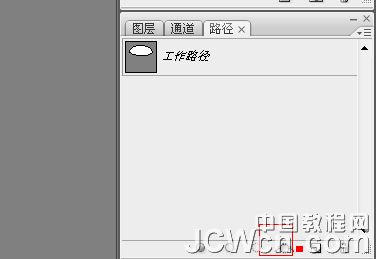
7、点击路径面板,载入路径;
 nmousewheel="return bbimg(this)" onload="javascript:resizepic(this)" border="0"/>
8、描边路径,注意这里要选择(减淡);
 nmousewheel="return bbimg(this)" onload="javascript:resizepic(this)" border="0"/>
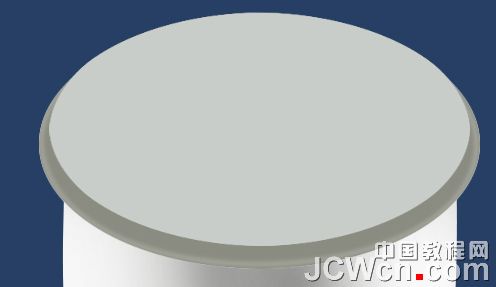
9、效果如图;
 nmousewheel="return bbimg(this)" onload="javascript:resizepic(this)" border="0"/>
10、载入选区,用加深减淡工具进行局部调整;
nmousewheel="return bbimg(this)" onload="javascript:resizepic(this)" border="0"/>
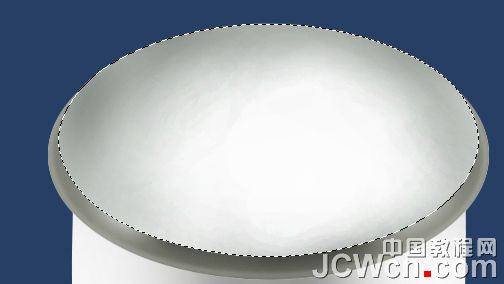
11、载入上面一层的选区,用加深减淡工具进行局部调整,这里不需按照我的进行,可以自由发挥;
 nmousewheel="return bbimg(this)" onload="javascript:resizepic(this)" border="0"/>
12、新建一层,用钢笔工具勾出如图形状并用#888981填充;
 nmousewheel="return bbimg(this)" onload="javascript:resizepic(this)" border="0"/>
13、进行用加深减淡工具调整; nmousewheel="return bbimg(this)" onload="javascript:resizepic(this)" border="0"/>
14、稍微变形下; nmousewheel="return bbimg(this)" onload="javascript:resizepic(this)" border="0"/>
15、在下方新建一层,勾出形状并用#000100填充;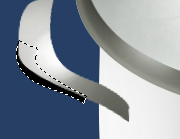 nmousewheel="return bbimg(this)" onload="javascript:resizepic(this)" border="0"/>
16、进行加深减淡调整;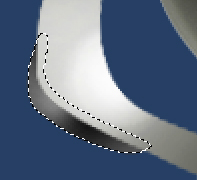 nmousewheel="return bbimg(this)" onload="javascript:resizepic(this)" border="0"/>
17、新建一层,勾出形状并用#4a5255填充; nmousewheel="return bbimg(this)" onload="javascript:resizepic(this)" border="0"/>
18、一样用加深简单工具调整; nmousewheel="return bbimg(this)" onload="javascript:resizepic(this)" border="0"/>
19、新建一层,用钢笔工具勾出如图形状;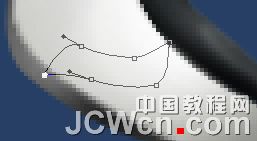 nmousewheel="return bbimg(this)" onload="javascript:resizepic(this)" border="0"/>
20、转化为选区,并羽化一像素后用#323232填充; nmousewheel="return bbimg(this)" onload="javascript:resizepic(this)" border="0"/>
21、新建一层,用椭圆选框工具画出如图的形状,并用#3d3f3e填充,在用加深减淡工具调整;
 nmousewheel="return bbimg(this)" onload="javascript:resizepic(this)" border="0"/>
22、效果如图: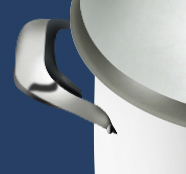 nmousewheel="return bbimg(this)" onload="javascript:resizepic(this)" border="0"/>
23、新建一层,继续用钢笔工具勾出如果选区并用#18191b填充;
 nmousewheel="return bbimg(this)" onload="javascript:resizepic(this)" border="0"/>
24、用加深减淡工具调整;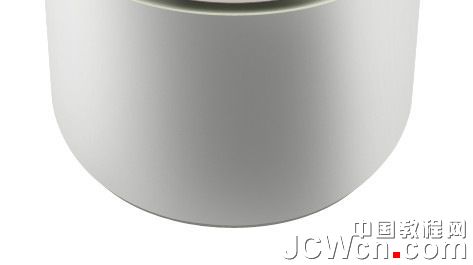 nmousewheel="return bbimg(this)" onload="javascript:resizepic(this)" border="0"/>
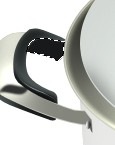
25、把刚刚做的左耳朵这些加入一个组,复制一次放置在右边;
 nmousewheel="return bbimg(this)" onload="javascript:resizepic(this)" border="0"/>
26、新建一层,用钢笔工具画出如图,并描边;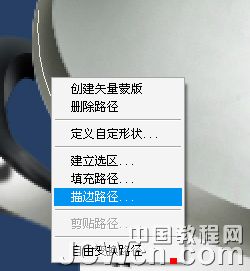 nmousewheel="return bbimg(this)" onload="javascript:resizepic(this)" border="0"/>
27、选择模拟压力,画笔大小是4PX; nmousewheel="return bbimg(this)" onload="javascript:resizepic(this)" border="0"/>
28、效果如图;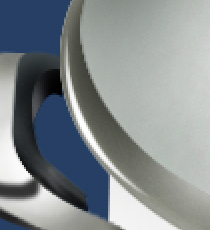 nmousewheel="return bbimg(this)" onload="javascript:resizepic(this)" border="0"/>
29、同样的方法制作其他部分;
 nmousewheel="return bbimg(this)" onload="javascript:resizepic(this)" border="0"/>
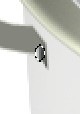
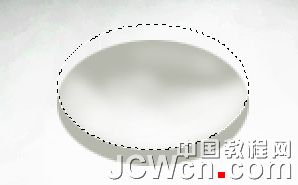
30、新建一层,做盖子上的东西,用椭圆选取工具画出如图形状并用#b6b8ad填充;
 nmousewheel="return bbimg(this)" onload="javascript:resizepic(this)" border="0"/>
31、把选区向上移动几像素,用加深减淡工具进行调整;
 nmousewheel="return bbimg(this)" onload="javascript:resizepic(this)" border="0"/>
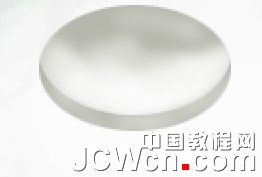
32、效果如图;
 nmousewheel="return bbimg(this)" onload="javascript:resizepic(this)" border="0"/>
33、新建一层,用钢笔工具勾出如图形状,并用#0a0c0b填充;nmousewheel="return bbimg(this)" onload="javascript:resizepic(this)" border="0"/>
34、这里我们继续用加深减淡工具; nmousewheel="return bbimg(this)" onload="javascript:resizepic(this)" border="0"/>
35、新建一层,画出另外一个椭圆选区并用#b7b9ae填充;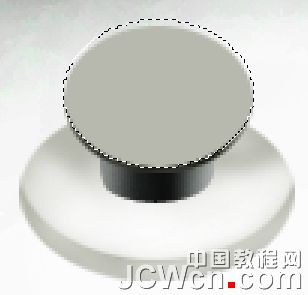 nmousewheel="return bbimg(this)" onload="javascript:resizepic(this)" border="0"/>
36、把选区向上移动2像素,反选,用加深工具进行涂抹;nmousewheel="return bbimg(this)" onload="javascript:resizepic(this)" border="0"/>
37、载入上面的选区,并收缩3-5像素;nmousewheel="return bbimg(this)" onload="javascript:resizepic(this)" border="0"/>
38、用加深减淡工具进行涂抹(效果自由发挥);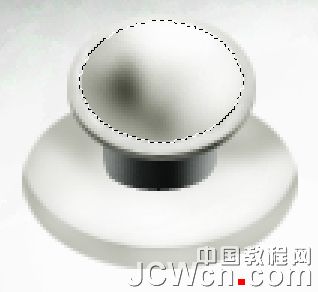 nmousewheel="return bbimg(this)" onload="javascript:resizepic(this)" border="0"/>
39、得到效果;nmousewheel="return bbimg(this)" onload="javascript:resizepic(this)" border="0"/>
40、给底部加个边边,在底部下面新建一层哦,不要加在同一层上哦;nmousewheel="return bbimg(this)" onload="javascript:resizepic(this)" border="0"/>
41、最后修改调整下局部完成最终效果;nmousewheel="return bbimg(this)" onload="javascript:resizepic(this)" border="0"/>


