
最终效果图 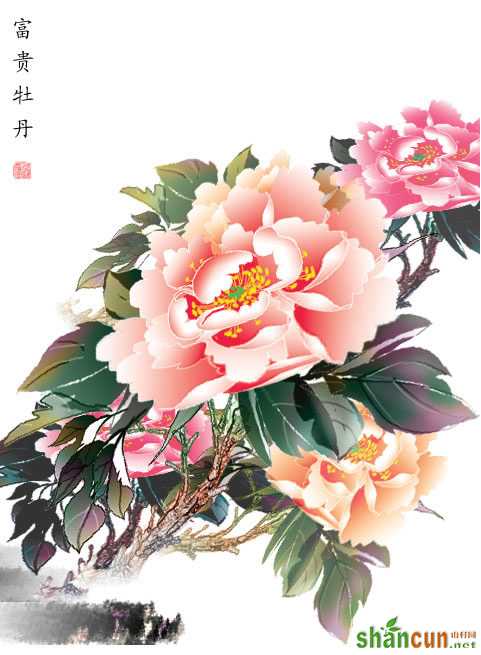 nmousewheel="return bbimg(this)" onload="javascript:resizepic(this)" border="0"/>
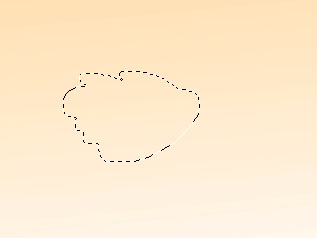
1.用套索工具画花瓣,一定要画出花瓣的共性形态,以便下一步复制变形。
 nmousewheel="return bbimg(this)" onload="javascript:resizepic(this)" border="0"/>
2.填充白色,目的是为下一步复制防止透明而垫底。
 nmousewheel="return bbimg(this)" onload="javascript:resizepic(this)" border="0"/>
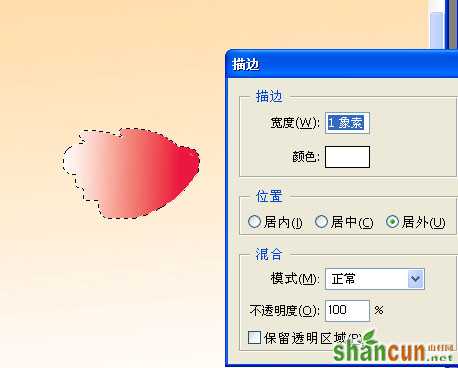
3.在用渐变工具填充红色。注意花瓣的色阶过渡,以及受光面。
 nmousewheel="return bbimg(this)" onload="javascript:resizepic(this)" border="0"/>
4.用白色描边,描边像素为1。
 nmousewheel="return bbimg(this)" onload="javascript:resizepic(this)" border="0"/>
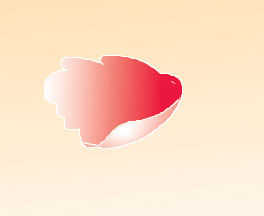
5.再用套索工具画一点花瓣的卷起部分。
nmousewheel="return bbimg(this)" onload="javascript:resizepic(this)" border="0"/>
6.同样填充白色,渐变填充红色,也用白色描边。
 nmousewheel="return bbimg(this)" onload="javascript:resizepic(this)" border="0"/>
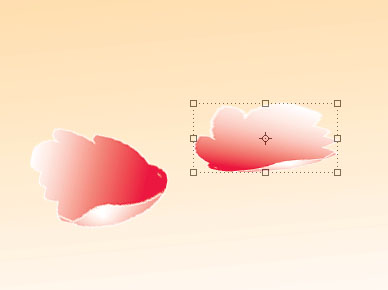
7.花瓣画好以后,按自己的思路复制,移动,变形。
 nmousewheel="return bbimg(this)" onload="javascript:resizepic(this)" border="0"/>
8.不断复制和变形,安排好每一花瓣的位置,大小,注意透视关系。
 nmousewheel="return bbimg(this)" onload="javascript:resizepic(this)" border="0"/>
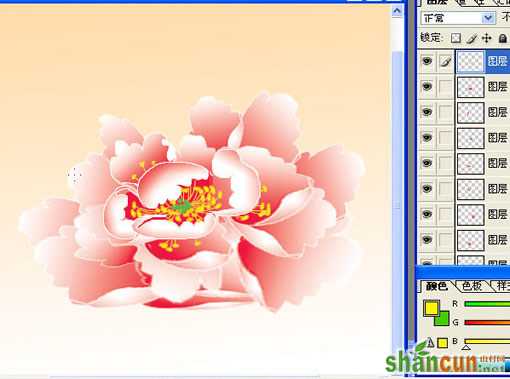
9.整体花朵出来后,用制作花瓣的方法,补充一些卷起的花瓣。
 nmousewheel="return bbimg(this)" onload="javascript:resizepic(this)" border="0"/>
10.点缀花芯。
 nmousewheel="return bbimg(this)" onload="javascript:resizepic(this)" border="0"/>
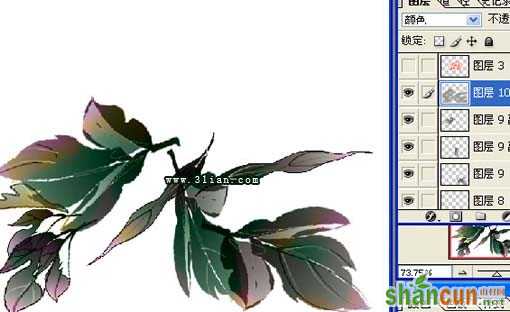
11.用同样的方法绘制花叶,3lian素材,安排妥当。
 nmousewheel="return bbimg(this)" onload="javascript:resizepic(this)" border="0"/>
12.在混合模式下,选“着色”,给花叶上色。
 nmousewheel="return bbimg(this)" onload="javascript:resizepic(this)" border="0"/>
13.好了,打开花的眼睛,看看效果。
 nmousewheel="return bbimg(this)" onload="javascript:resizepic(this)" border="0"/>
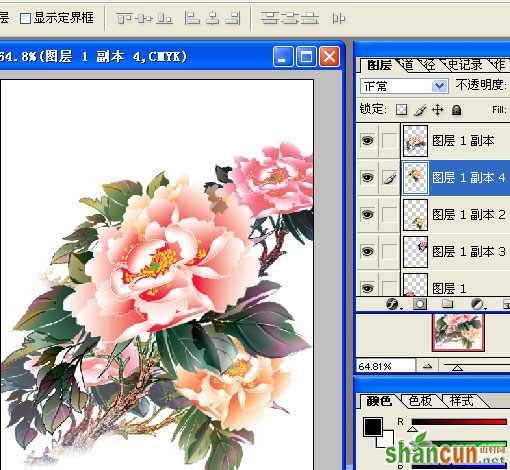
14.用制作花瓣的方法,复制已经完成的牡丹花,可以多得几朵。并进行色阶调整。一直到满意为止。这样,一幅工笔
笔国画牡丹图就出来了。还有就是画枝干:用画笔画好枝干后,在虑镜里面进行查找边缘处理。ok!
 nmousewheel="return bbimg(this)" onload="javascript:resizepic(this)" border="0"/>


