
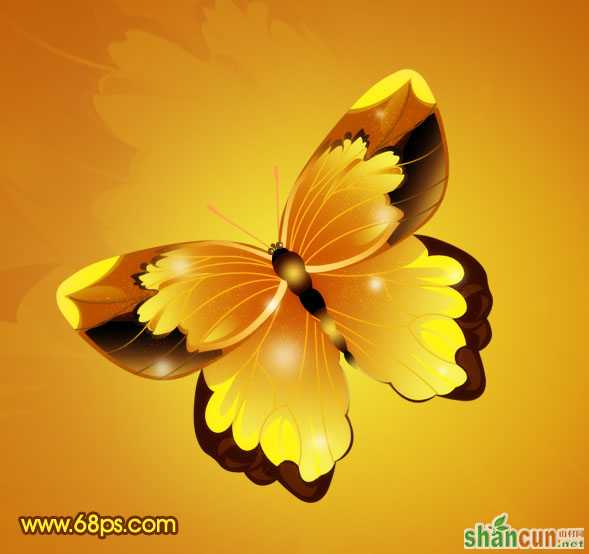
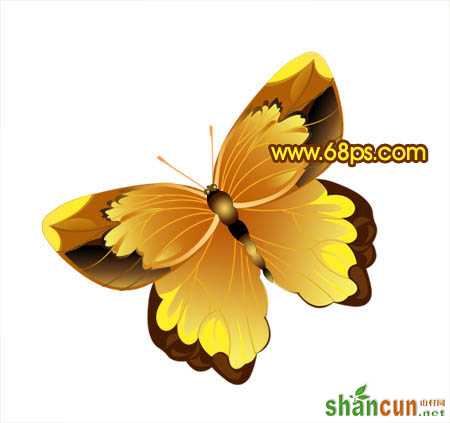
蝴蝶的制作就是在锻炼钢笔工具。因为蝴蝶的构成色彩非常简单,都是一些实色或渐变色。只要我们能够熟练的掌握钢笔工具,并能快速勾出任何圆滑的不规则路径,就可以很快做出来。
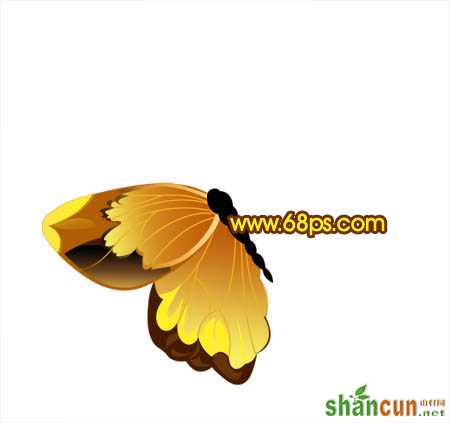
最终效果
 nmousewheel="return bbimg(this)" onload="javascript:resizepic(this)" border="0"/>
1、新建一个800 * 800 像素的文件,背景选择白色。新建一个图层命名为“翅膀1”,用钢笔勾出下图所示的选区并填充颜色:#451C00。
 nmousewheel="return bbimg(this)" onload="javascript:resizepic(this)" border="0"/>
<图1>
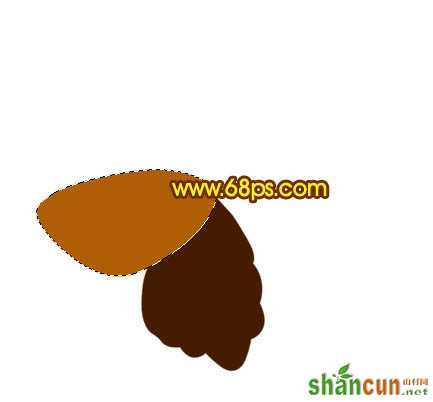
2、新建一个图层命名为“翅膀2”,用钢笔勾出上面翅膀的路径,转为选区后填充颜色:#AF5E05。
 nmousewheel="return bbimg(this)" onload="javascript:resizepic(this)" border="0"/>
<图2>
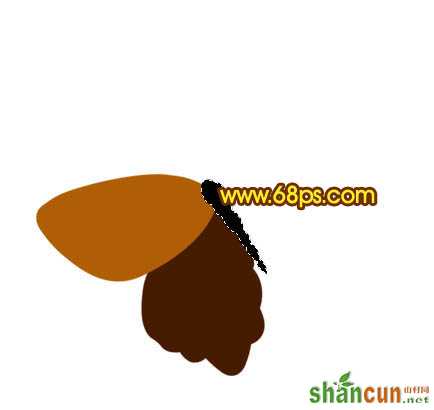
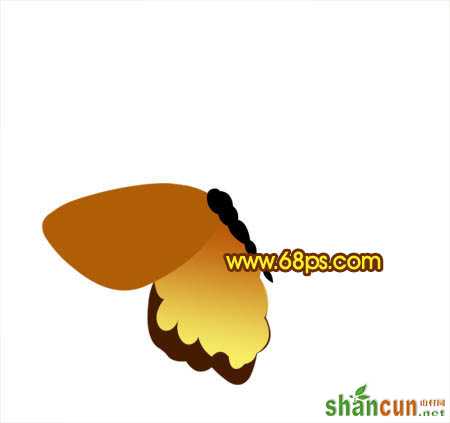
3、新建一个图层命名为“躯干”,用钢笔勾出上面翅膀的路径,转为选区后填充黑色,效果如下图。
 nmousewheel="return bbimg(this)" onload="javascript:resizepic(this)" border="0"/>
<图3>
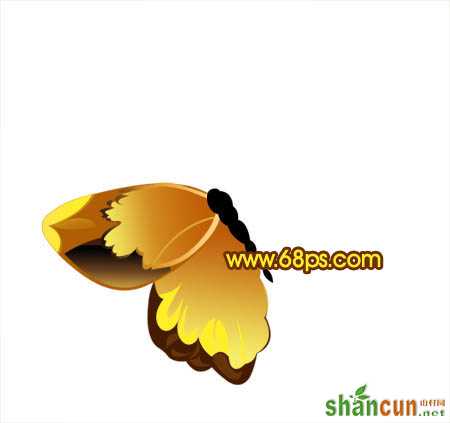
4、回到“翅膀1”图层,锁定图层后,把前景颜色设置为:#D1C147,选择画笔工具把翅膀的右上角涂上高光,效果如下图。
 nmousewheel="return bbimg(this)" onload="javascript:resizepic(this)" border="0"/>
<图4>
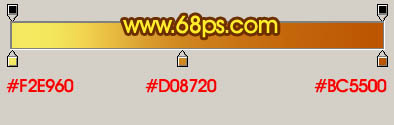
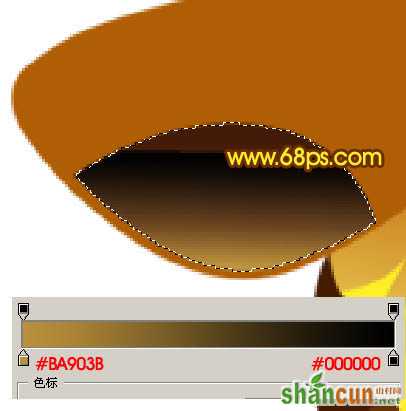
5、新建一个图层,用钢笔勾出下图所示的选区,选择渐变工具,颜色设置如图6,拉出图7所示的线性渐变色。
 nmousewheel="return bbimg(this)" onload="javascript:resizepic(this)" border="0"/>
<图5>
 nmousewheel="return bbimg(this)" onload="javascript:resizepic(this)" border="0"/>
<图6>
 nmousewheel="return bbimg(this)" onload="javascript:resizepic(this)" border="0"/>
<图7>
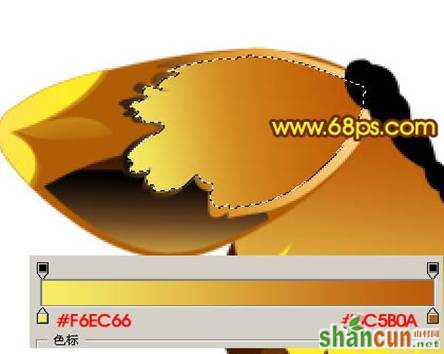
6、用钢笔勾出边缘部分的高光部分,新建一个图层填充颜色:#FFEE28。
nmousewheel="return bbimg(this)" onload="javascript:resizepic(this)" border="0"/>
<图8>
7、新建一个图层,用钢笔勾出边缘部分的高光选区,填充颜色:#653409。
nmousewheel="return bbimg(this)" onload="javascript:resizepic(this)" border="0"/>
<图9>
8、回到“翅膀2”图层,新建一个图层,用钢笔勾出下图所示的选区,拉上渐变色,效果如下图。
 nmousewheel="return bbimg(this)" onload="javascript:resizepic(this)" border="0"/>
<图10>
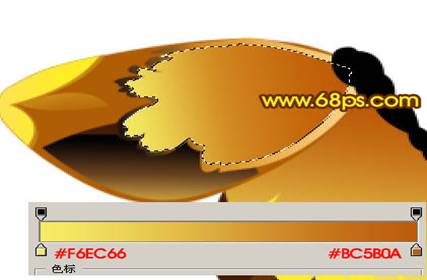
9、新建一个图层,用钢笔勾出边角部分的高光选区,填充颜色:#FAE045。
 nmousewheel="return bbimg(this)" onload="javascript:resizepic(this)" border="0"/>
<图11>10、新建一个图层,用钢笔勾下图所示的选区,并拉上底部所示的线性渐变色。
 nmousewheel="return bbimg(this)" onload="javascript:resizepic(this)" border="0"/>
<图12>
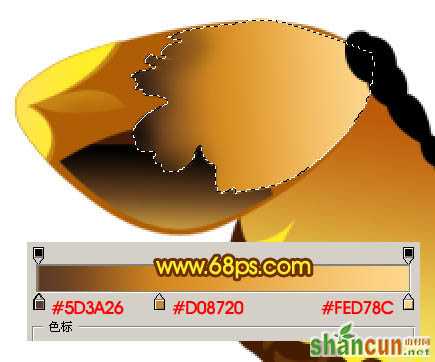
11、新建一个图层,用钢笔勾出下图所示的选区,并拉上渐变色,效果如下图。
 nmousewheel="return bbimg(this)" onload="javascript:resizepic(this)" border="0"/>
<图13>
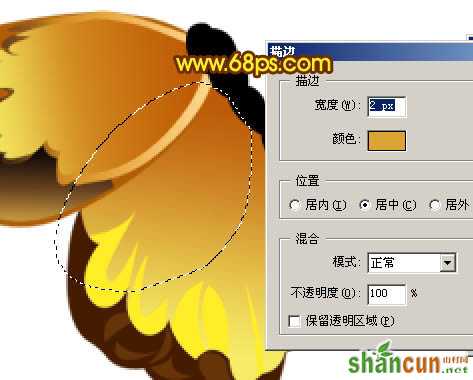
12、新建一个图层,用钢笔勾出下图所示的选区,转为选区选择菜单:编辑 > 描边,参数设置如下图右。
 nmousewheel="return bbimg(this)" onload="javascript:resizepic(this)" border="0"/>
<图14>
13、用套索选取多出的部分并删除,3lian素材,效果如下图。
 nmousewheel="return bbimg(this)" onload="javascript:resizepic(this)" border="0"/>
<图15>
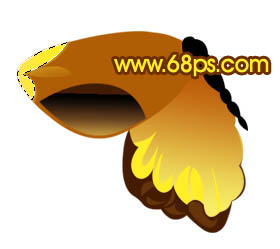
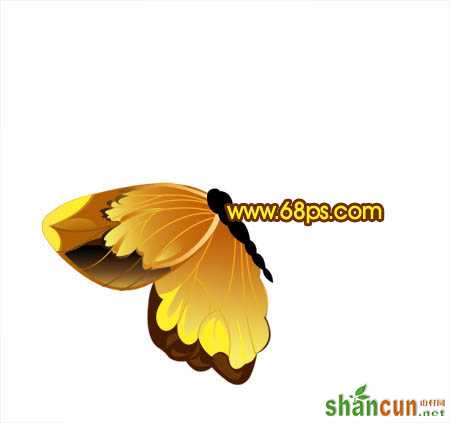
14、同样的方法制作其它的纹路,效果如下图。
nmousewheel="return bbimg(this)" onload="javascript:resizepic(this)" border="0"/>
<图16>
15、新建一个图层,用钢笔勾出翅膀纹路边的高光和暗调区域并拉上渐变色,效果如下图。
 nmousewheel="return bbimg(this)" onload="javascript:resizepic(this)" border="0"/>
<图17>
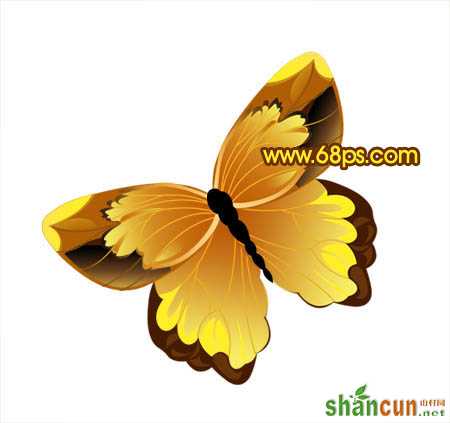
16、右边部分的翅膀直接复制左右的即可,效果如下图。
 nmousewheel="return bbimg(this)" onload="javascript:resizepic(this)" border="0"/>
<图18>
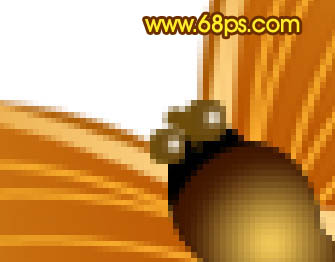
17、回到“躯干”图层,锁定图层。把前景颜色设置为:#F2C85A,用画笔涂出躯干的高光,效果如下图。
 nmousewheel="return bbimg(this)" onload="javascript:resizepic(this)" border="0"/>
<图19>
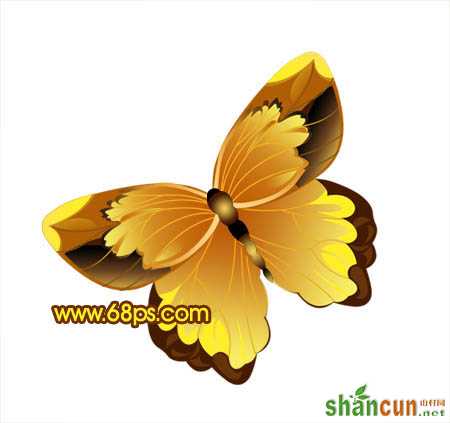
18、新建一个图层,画上眼睛和触角,效果如图20,21。
 nmousewheel="return bbimg(this)" onload="javascript:resizepic(this)" border="0"/>
<图20>
 nmousewheel="return bbimg(this)" onload="javascript:resizepic(this)" border="0"/>
<图21>
19、最后用画笔点上一些光斑,再加上背景颜色,完成最终效果。
nmousewheel="return bbimg(this)" onload="javascript:resizepic(this)" border="0"/>
<图22>


