
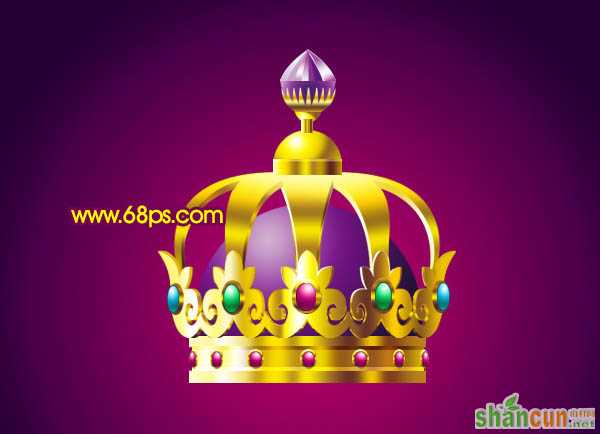
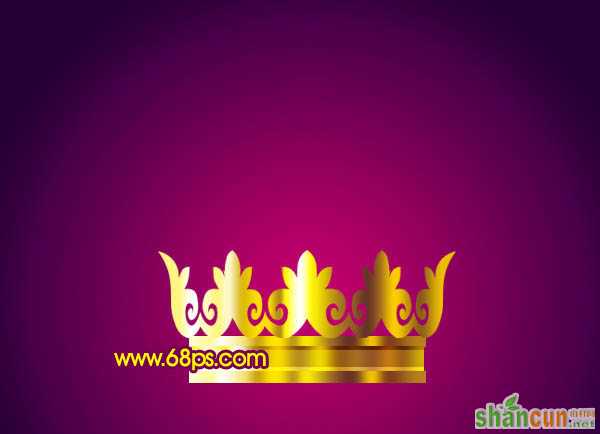
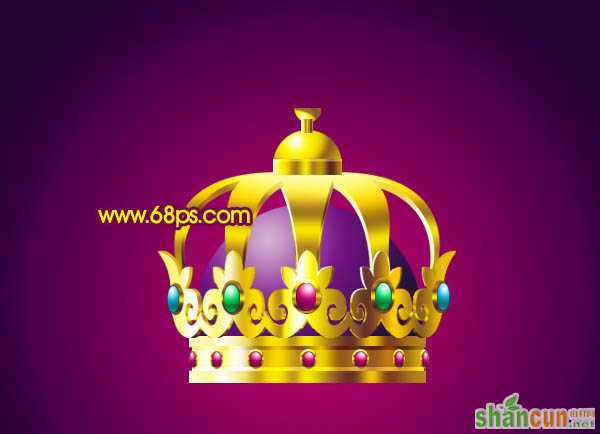
Photoshop制作精美华丽的金色宝石皇冠,效果结构有点复杂,由很多小的元素构成。制作的时候需要非常细心。尤其在制作花纹部分的时候,勾取路径很重要,弧度要自然两头的花纹要对称,如果不能一次勾好可以分开来勾。
最终效果
 nmousewheel="return bbimg(this)" onload="javascript:resizepic(this)" border="0"/>
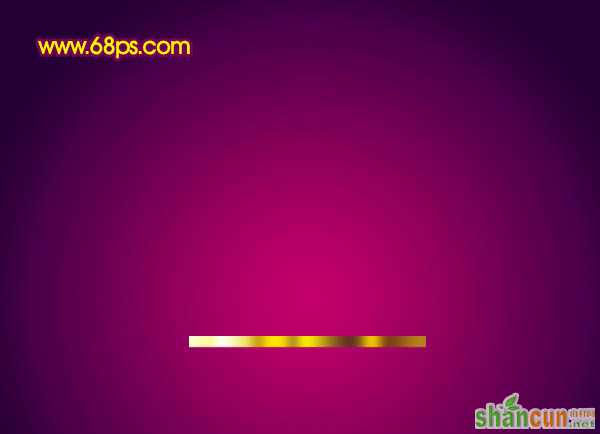
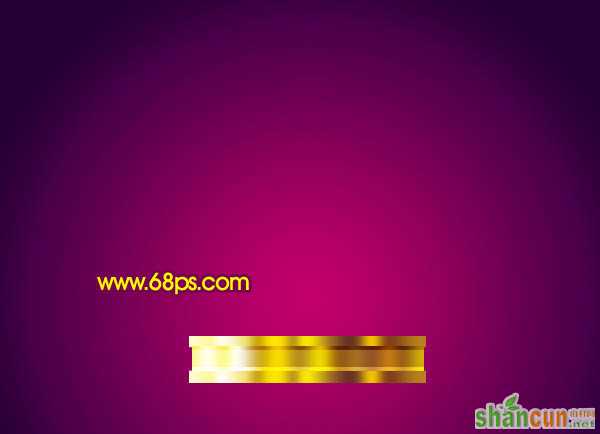
1、新建一个800 * 600像素的文件,选择渐变工具,颜色设置如图1,拉出图2所示的径向渐变色作为背景。
 nmousewheel="return bbimg(this)" onload="javascript:resizepic(this)" border="0"/>
<图1>
 nmousewheel="return bbimg(this)" onload="javascript:resizepic(this)" border="0"/>
<图2>
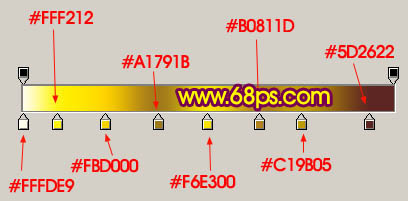
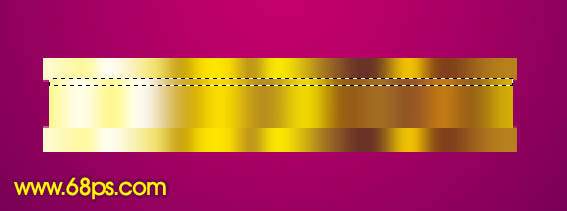
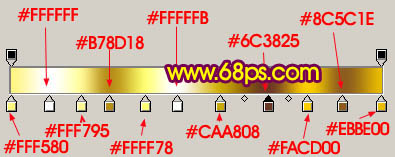
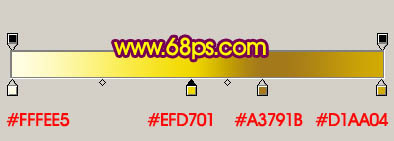
2、新建一个一个图层,用矩形选框工具拉出图3所示的矩形选区,选择渐变工具,颜色设置如图4,拉出图5所示的线性渐变色。
 nmousewheel="return bbimg(this)" onload="javascript:resizepic(this)" border="0"/>
<图3>
 nmousewheel="return bbimg(this)" onload="javascript:resizepic(this)" border="0"/>
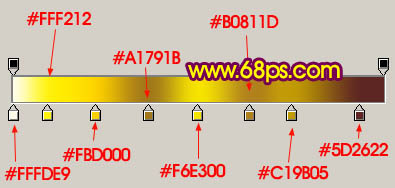
<图4>
 nmousewheel="return bbimg(this)" onload="javascript:resizepic(this)" border="0"/>
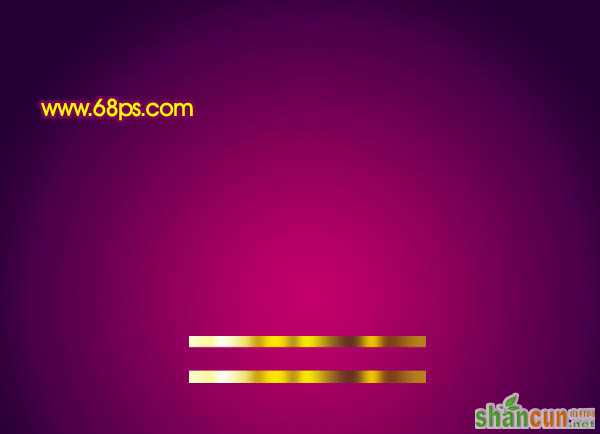
<图5>
3、把当前图层复制一层,适当把图形移下来,效果如下图。
 nmousewheel="return bbimg(this)" onload="javascript:resizepic(this)" border="0"/>
<图6>
4、新建一个图层,用矩形选框工具拉出下图所示的选区,拉上同样的渐变色。
 nmousewheel="return bbimg(this)" onload="javascript:resizepic(this)" border="0"/>
<图7>
5、用矩形选框款选图8所示的选区,按Ctrl + M 适当调暗一点,同样选区底部一点选区,适当调亮一点,效果如图9。
 nmousewheel="return bbimg(this)" onload="javascript:resizepic(this)" border="0"/>
<图8>
 nmousewheel="return bbimg(this)" onload="javascript:resizepic(this)" border="0"/>
<图9>
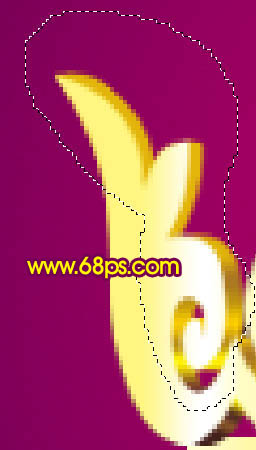
6、新建一个图层,用钢笔勾出图10所示的选区(这一步比较费时,如果不能一次性勾出选区,分开勾也可以),选择渐变工具,颜色设置如图11,拉出图12所示的线性渐变。
nmousewheel="return bbimg(this)" onload="javascript:resizepic(this)" border="0"/>
<图10>
 nmousewheel="return bbimg(this)" onload="javascript:resizepic(this)" border="0"/>
<图11>
 nmousewheel="return bbimg(this)" onload="javascript:resizepic(this)" border="0"/>
<图12>
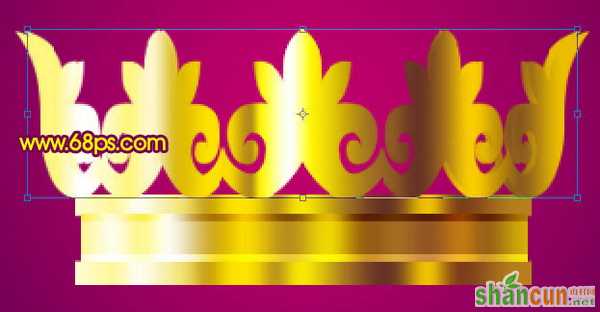
7、把当前图层复制一层,移到原图层的下面,按Ctrl + T 适当拉窄一点,如图13。
 nmousewheel="return bbimg(this)" onload="javascript:resizepic(this)" border="0"/>
<图13>
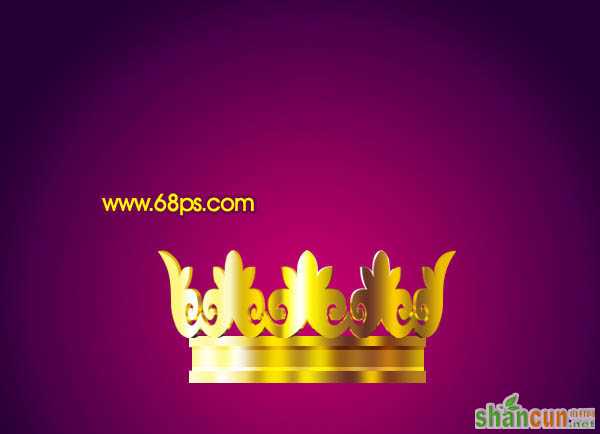
8、锁定图层后把错位的部分分别拉上渐变色,如图14,15。
 nmousewheel="return bbimg(this)" onload="javascript:resizepic(this)" border="0"/>
<图14>
 nmousewheel="return bbimg(this)" onload="javascript:resizepic(this)" border="0"/>
<图15>
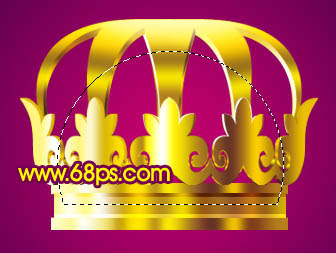
9、在背景图层上面新建一个图层,用钢笔勾出图16所示的选区,拉上图17所示的线性渐变。
 nmousewheel="return bbimg(this)" onload="javascript:resizepic(this)" border="0"/>
<图16>
nmousewheel="return bbimg(this)" onload="javascript:resizepic(this)" border="0"/>
<图17>
10、边角部分用钢笔工具勾出选区后再拉上渐变色,效果如下图。
 nmousewheel="return bbimg(this)" onload="javascript:resizepic(this)" border="0"/>
<图18>
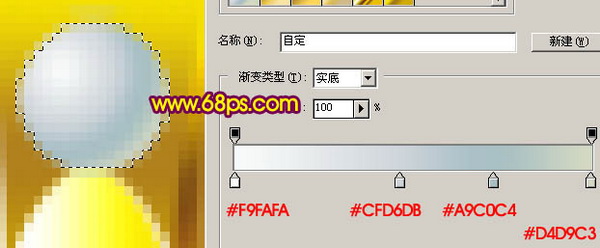
11、在背景图层上面新建一个图层,用椭圆选框工具拉一个正圆选区,如图19,3lian素材,拉上图20所示的径向渐变,确定后把底部不要的部分删除,效果如图21。
 nmousewheel="return bbimg(this)" onload="javascript:resizepic(this)" border="0"/>
<图19>
 nmousewheel="return bbimg(this)" onload="javascript:resizepic(this)" border="0"/>
<图20>
 nmousewheel="return bbimg(this)" onload="javascript:resizepic(this)" border="0"/>
<图21>
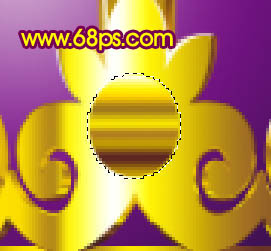
12、在图层的最上面新建一个图层,用椭圆选框工具拉一个小的椭圆选区如图22,拉上图23所示的线性渐变。
 nmousewheel="return bbimg(this)" onload="javascript:resizepic(this)" border="0"/>
<图22>
 nmousewheel="return bbimg(this)" onload="javascript:resizepic(this)" border="0"/>
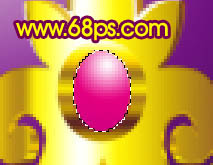
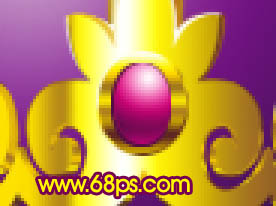
<图23>13、再新建一个图层,用椭圆选框工具拉一个较小的椭圆选区,拉上渐变后用加深工具涂出暗部,如图24。
 nmousewheel="return bbimg(this)" onload="javascript:resizepic(this)" border="0"/>
<图24>
14、同样的方法制作出其它宝石部分,效果如下图。
 nmousewheel="return bbimg(this)" onload="javascript:resizepic(this)" border="0"/>
<图25>
15、新建一个图层,用椭圆选框工具拉一个正圆选区,拉上图26所示的径向渐变,然后删除多余部分,效果如图28。
 nmousewheel="return bbimg(this)" onload="javascript:resizepic(this)" border="0"/>
<图26>
nmousewheel="return bbimg(this)" onload="javascript:resizepic(this)" border="0"/>
<图27>
nmousewheel="return bbimg(this)" onload="javascript:resizepic(this)" border="0"/>
<图28>
16、同样的方法制作顶部的其它部分,如图29 - 31。
 nmousewheel="return bbimg(this)" onload="javascript:resizepic(this)" border="0"/>
<图29>
 nmousewheel="return bbimg(this)" onload="javascript:resizepic(this)" border="0"/>
<图30>
nmousewheel="return bbimg(this)" onload="javascript:resizepic(this)" border="0"/>
<图31>
17、新建一个图层,用椭圆选框工具拉一个较小的正圆选区并拉上渐变色,如图32,然后复制适当排好位置,如图33,再加上投影效果如图34。
 nmousewheel="return bbimg(this)" onload="javascript:resizepic(this)" border="0"/>
<图32>
 nmousewheel="return bbimg(this)" onload="javascript:resizepic(this)" border="0"/>
<图33>
 nmousewheel="return bbimg(this)" onload="javascript:resizepic(this)" border="0"/>
<图34>
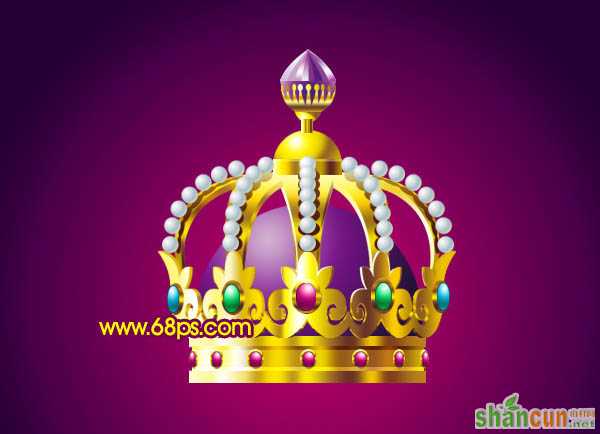
18、最后调整下细节,完成最终效果。
nmousewheel="return bbimg(this)" onload="javascript:resizepic(this)" border="0"/>
<图35>


