
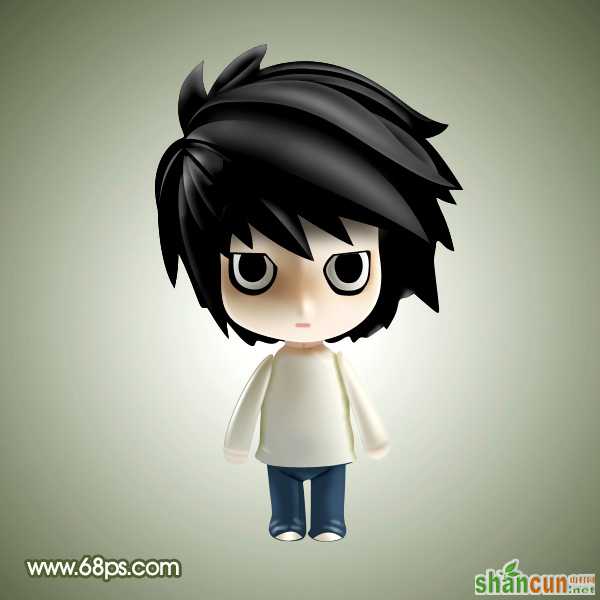
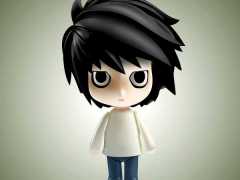
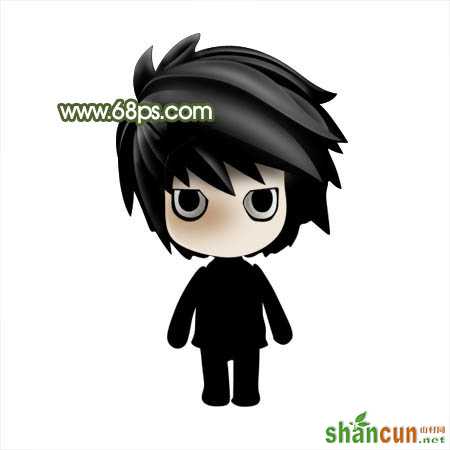
效果图看上去有点3D的效果,不过人物部分非常简单,用PS也很容易做出来。制作的时候,高光部分的制作非常重要,需要用高光来渲染物体的质感。质感越好,人物的立体感就越强。
最终效果
 nmousewheel="return bbimg(this)" onload="javascript:resizepic(this)" border="0"/>
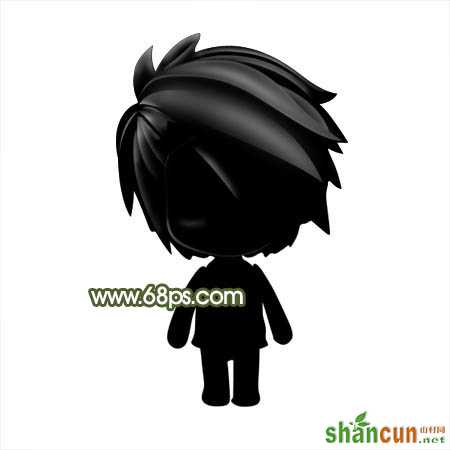
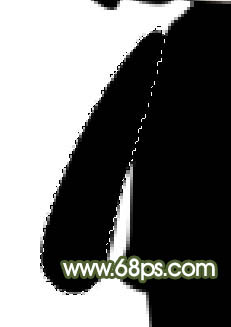
1、新建一个600 * 600像素的文件,背景填充白色,新建一个图层,命名为“主轮廓”。然后用钢笔勾出人物的轮廓路径,转为选区后填充黑色,效果如下图。
 nmousewheel="return bbimg(this)" onload="javascript:resizepic(this)" border="0"/>
<图1>
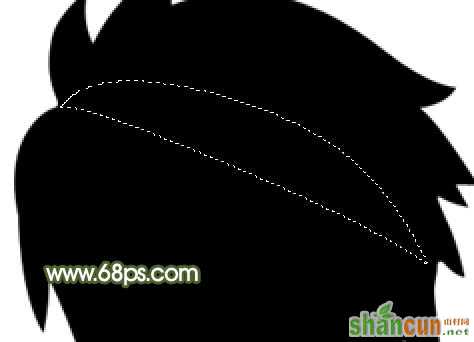
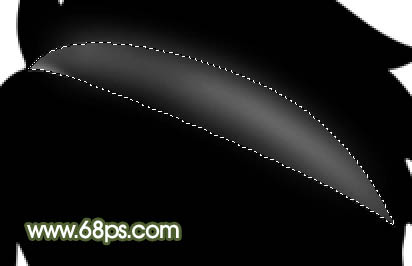
2、现在从头部开始制作,先开始制作头发部分。新建一个图层,用钢笔勾出图2所示的选区,填充黑色,然后用白色画笔稍微涂上高光部分,效果如图3。
 nmousewheel="return bbimg(this)" onload="javascript:resizepic(this)" border="0"/>
<图2>
 nmousewheel="return bbimg(this)" onload="javascript:resizepic(this)" border="0"/>
<图3>
3、新建一个图层,用钢笔勾出图4所示的选区,并涂上高光,效果如下图。
 nmousewheel="return bbimg(this)" onload="javascript:resizepic(this)" border="0"/>
<图4>
4、同样的方法制作其它的头发部分,效果如下图。
 nmousewheel="return bbimg(this)" onload="javascript:resizepic(this)" border="0"/>
<图5>
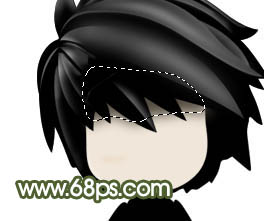
5、在“主轮廓”图层上面新建一个图层,用钢笔勾出脸部的选区,填充颜色:#F0E6DA,效果如下图。
 nmousewheel="return bbimg(this)" onload="javascript:resizepic(this)" border="0"/>
<图6>
6、新建一个图层,把顶部额头部分用黑色画笔涂上阴影,效果如下图。
 nmousewheel="return bbimg(this)" onload="javascript:resizepic(this)" border="0"/>
<图7>
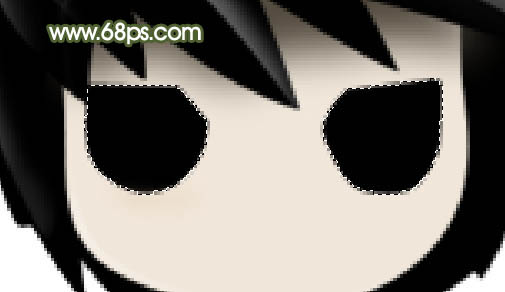
7、新建一个图层,用钢笔勾出眼睛部分的选区,填充黑色如图8,然后做出眼白和眼珠,效果如图9。
 nmousewheel="return bbimg(this)" onload="javascript:resizepic(this)" border="0"/>
<图8>
 nmousewheel="return bbimg(this)" onload="javascript:resizepic(this)" border="0"/>
<图9>
8、在眼睛图层下面新建一个图层,把前景颜色设置为:#BC9D7E,选择画笔工具,画笔透明度设置为:5%,然后涂出脸部的阴影部分,如图10。
 nmousewheel="return bbimg(this)" onload="javascript:resizepic(this)" border="0"/>
<图10>
9、再用深一点的颜色刻画,鼻子部分需要用钢笔勾出选区后再刻画,效果如下图。
 nmousewheel="return bbimg(this)" onload="javascript:resizepic(this)" border="0"/>
<图11>
10、新建一个图层,用画笔加上脸部其它部分的暗调,如下图。
 nmousewheel="return bbimg(this)" onload="javascript:resizepic(this)" border="0"/>
<图12>
11、新建一个图层,用钢笔勾出下图所示的选区,按Ctrl + Alt + D羽化2个像素后填充颜色:#F6EADE,制作鼻子的高光部分,左边阴影用同样的方法制作,然后加上嘴巴,脸部大致完成的效果如图14。
 nmousewheel="return bbimg(this)" onload="javascript:resizepic(this)" border="0"/>
<图13>
 nmousewheel="return bbimg(this)" onload="javascript:resizepic(this)" border="0"/>
<图14>
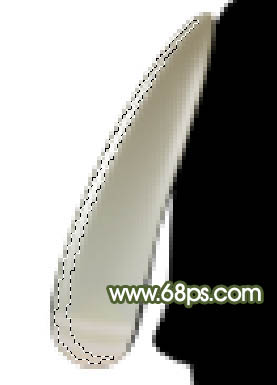
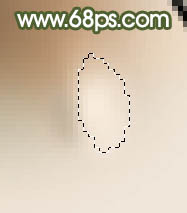
12、新建一个图层,用钢笔勾出手臂部分的选区,拉上图16所示的线性渐变,效果如图17。
nmousewheel="return bbimg(this)" onload="javascript:resizepic(this)" border="0"/>
<图15>
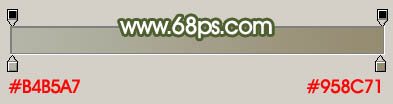 nmousewheel="return bbimg(this)" onload="javascript:resizepic(this)" border="0"/>
<图16>
nmousewheel="return bbimg(this)" onload="javascript:resizepic(this)" border="0"/>
<图17>
13、用画笔涂上高光部分,效果如图18,3lian素材,另一只手臂的制作方法相同,效果如图19。
nmousewheel="return bbimg(this)" onload="javascript:resizepic(this)" border="0"/>
<图18>
 nmousewheel="return bbimg(this)" onload="javascript:resizepic(this)" border="0"/>
<图19>
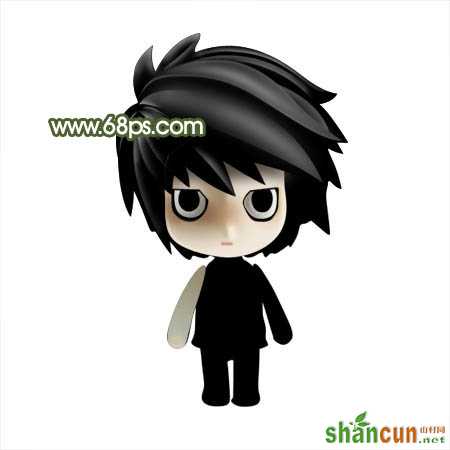
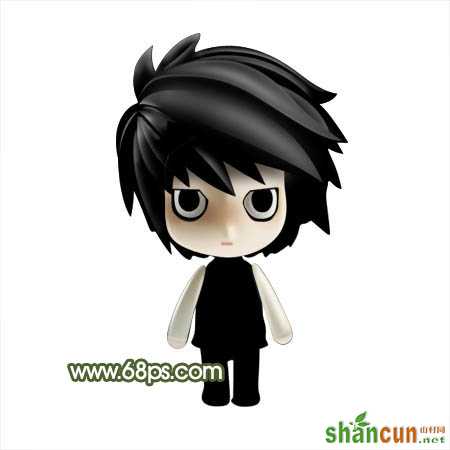
14、衣服部分的制作方法同上,效果如下图。
 nmousewheel="return bbimg(this)" onload="javascript:resizepic(this)" border="0"/>
<图20>
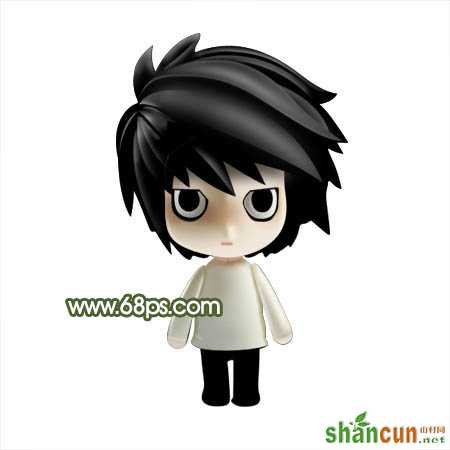
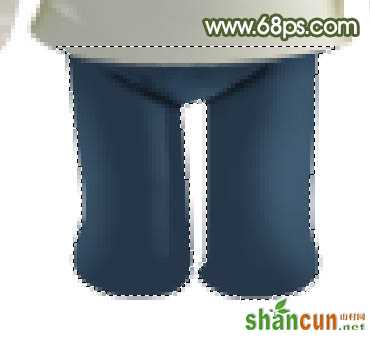
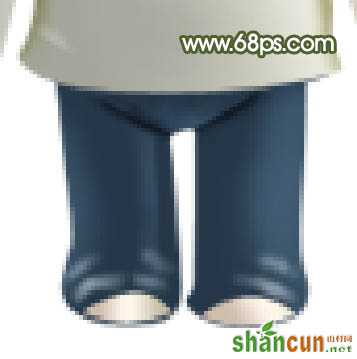
15、在衣服图层下面新建一个图层,用钢笔勾出图21所示的选区,转为选区后填充颜色:#253849,然后用加深,减淡工具调成暗部和高光,如图21,22。
 nmousewheel="return bbimg(this)" onload="javascript:resizepic(this)" border="0"/>
<图21>
 nmousewheel="return bbimg(this)" onload="javascript:resizepic(this)" border="0"/>
<图22>
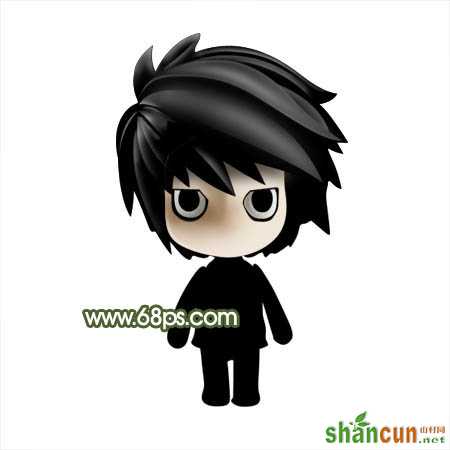
16、最后调整下细节,再加上背景,完成最终效果。
nmousewheel="return bbimg(this)" onload="javascript:resizepic(this)" border="0"/>
<图23>


