
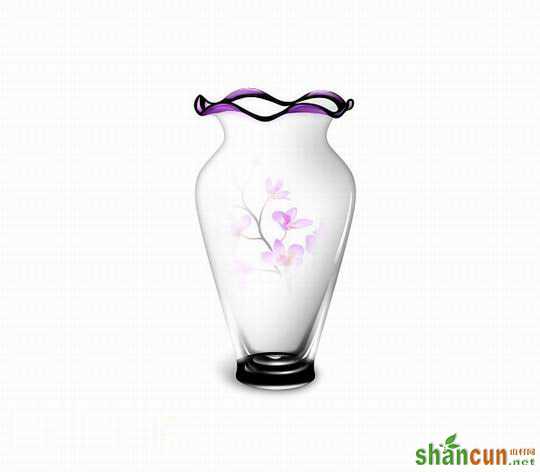
由于玻璃瓶是透明的,只有在边缘及底部才有一些阴影和高光。因此制作的时候重点是把边缘部分的暗调和高光渲染好,如果把握好的话很快就可以做出来。
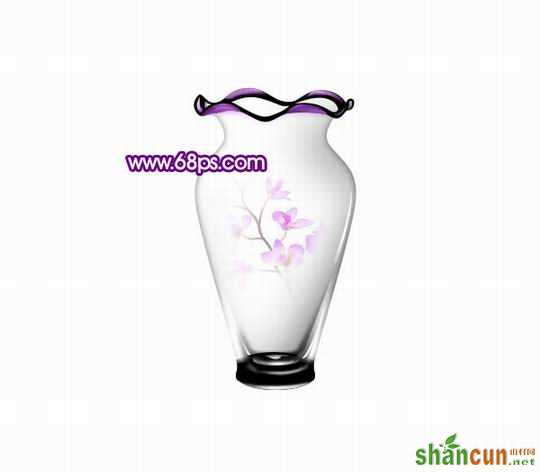
最终效果
 nmousewheel="return bbimg(this)" onload="javascript:resizepic(this)" border="0"/>
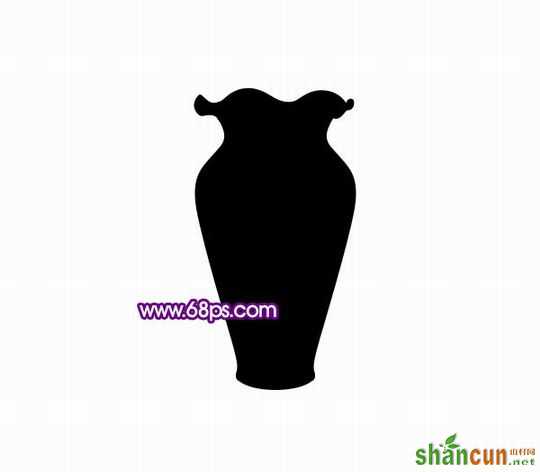
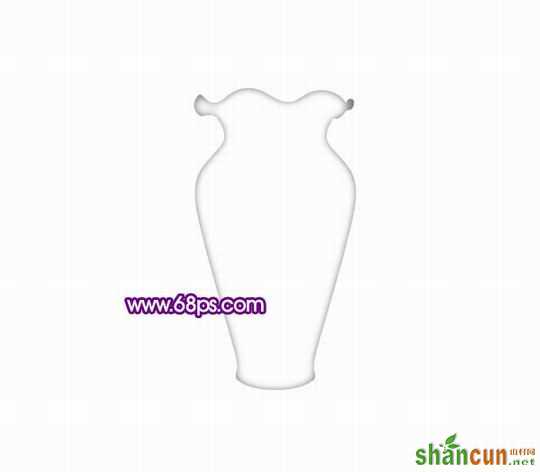
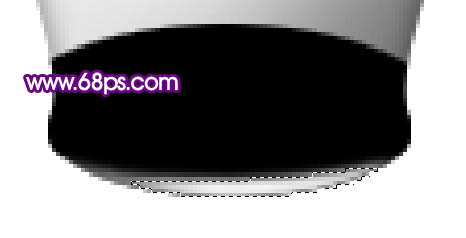
1、新建一个600 * 600像素的文件,背景选择白色。新建一个图层,命名为“整体轮廓”,用钢笔工具勾出瓶子的轮廓,转为选区后填充白色,保持选区,新建一个图层填充黑色,填充颜色后不要取消选区。效果如下图。
 nmousewheel="return bbimg(this)" onload="javascript:resizepic(this)" border="0"/>
图1
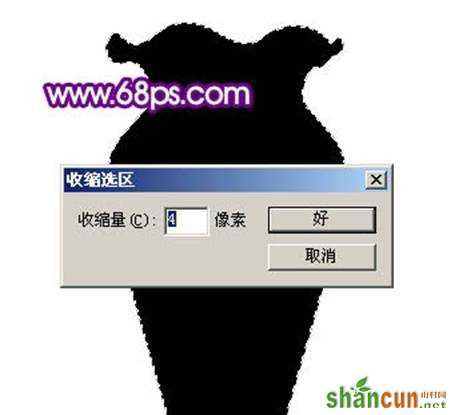
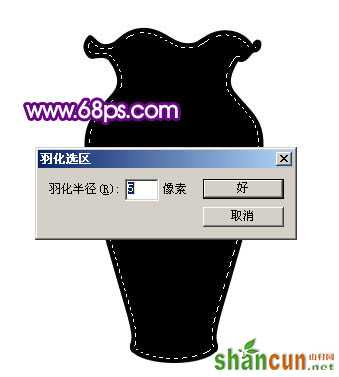
2、保持选区,选择菜单:选择 > 修改 > 收缩,数值为4,确定后按Ctrl + Alt + D 羽化5个像素,然后按Delete 两次,效果如图4。
 nmousewheel="return bbimg(this)" onload="javascript:resizepic(this)" border="0"/>
图2
 nmousewheel="return bbimg(this)" onload="javascript:resizepic(this)" border="0"/>
图3
 nmousewheel="return bbimg(this)" onload="javascript:resizepic(this)" border="0"/>
图4
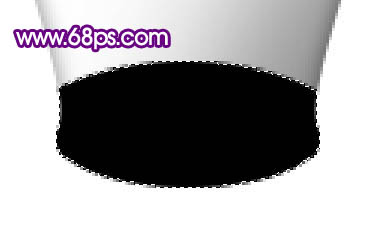
3、调出“整体轮廓”图层选区,新建一个图层,把前景颜色设置为黑色。选择画笔工具,画笔不透明度设为:5%,把瓶子的右边部分涂上阴影,效果如下图。
 nmousewheel="return bbimg(this)" onload="javascript:resizepic(this)" border="0"/>
图5
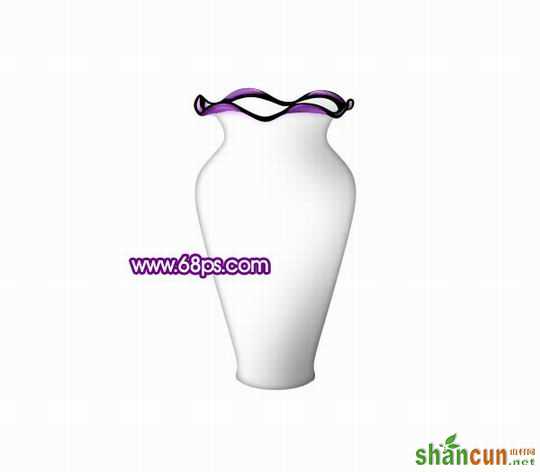
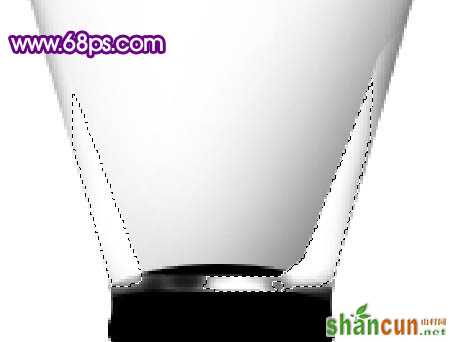
4、新建一个图层,用钢笔工具勾出瓶沿部分选区,填充黑色。效果如下图。
 nmousewheel="return bbimg(this)" onload="javascript:resizepic(this)" border="0"/>
图6
5、新建一个图层,用钢笔工具勾出下图所示的选区,用紫色画笔涂上紫色的高光部分,如图7。
 nmousewheel="return bbimg(this)" onload="javascript:resizepic(this)" border="0"/>
图7
6、同样的方法制作其它的紫色高光部分,效果如图8,9。
nmousewheel="return bbimg(this)" onload="javascript:resizepic(this)" border="0"/>
图8
 nmousewheel="return bbimg(this)" onload="javascript:resizepic(this)" border="0"/>
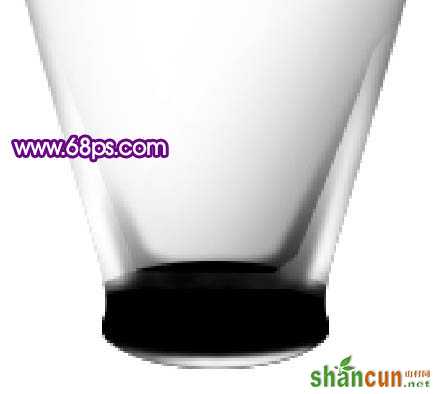
图97、新建一个图层,用钢笔工具勾出下图所示的选区,填充黑色。
 nmousewheel="return bbimg(this)" onload="javascript:resizepic(this)" border="0"/>
图10
8、新建一个图层,用钢笔勾出图11所示的弧度选区,按Ctrl + Alt + D 羽化1个像素后填充白色。
 nmousewheel="return bbimg(this)" onload="javascript:resizepic(this)" border="0"/>
图11
9、新建一个图层,用钢笔勾出瓶子底部高光部分选区,填充白色。取消选区后加上图层蒙版,用黑色画笔把高光顶部柔和处理。
 nmousewheel="return bbimg(this)" onload="javascript:resizepic(this)" border="0"/>
图12
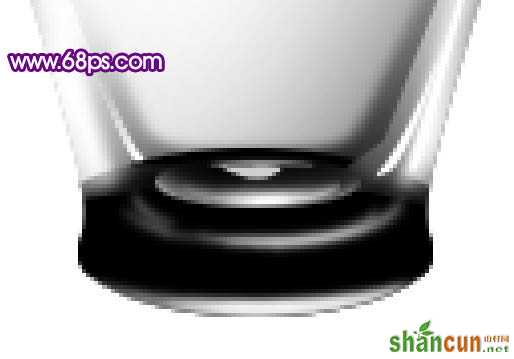
10、新建一个图层,用黑色画笔突出底部的暗调部分,效果如下图。
 nmousewheel="return bbimg(this)" onload="javascript:resizepic(this)" border="0"/>
图13
11、新建一个图层,同样的方法制作出底部的其它高光部分,效果如下图。
nmousewheel="return bbimg(this)" onload="javascript:resizepic(this)" border="0"/>
图14
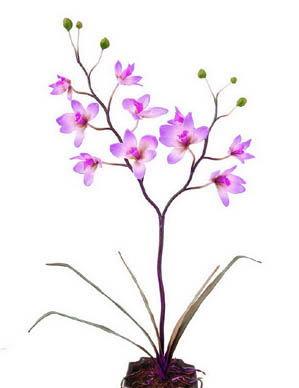
12、打开下图所示的兰花素材,拖进来。图层混合模式改为“正片叠底”,图层不透明度改为:45%,加上图层蒙版,只保留中间部分,其它部分用黑色画笔擦掉,效果如图16。
 nmousewheel="return bbimg(this)" onload="javascript:resizepic(this)" border="0"/>
图15
 nmousewheel="return bbimg(this)" onload="javascript:resizepic(this)" border="0"/>
图16
13、在背景图层上面新建一个图层,简单的给瓶子加上阴影,效果如下图。
 nmousewheel="return bbimg(this)" onload="javascript:resizepic(this)" border="0"/>
图17
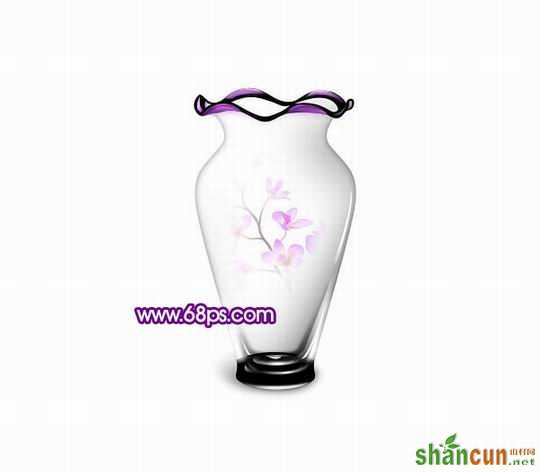
14、新建一个图层,按Ctrl + Alt + Shift + E 盖印图层,执行:滤镜 > 模糊 > 高斯模糊,数值为5,确定后把图层混合模式改为“柔光”,图层不透明度改为:30%,效果如下图。
 nmousewheel="return bbimg(this)" onload="javascript:resizepic(this)" border="0"/>
图18
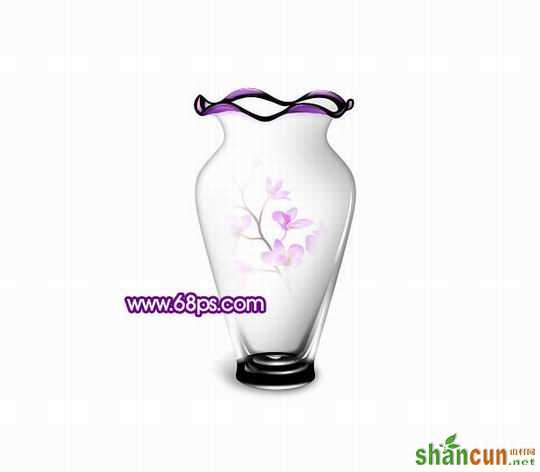
15、最后整体调整下细节,完成最终效果。
nmousewheel="return bbimg(this)" onload="javascript:resizepic(this)" border="0"/>
图19


