
介绍用PhotoShop绘制金属质感苹果的apple icloud图标,主要就是用图层样式来实现,挺简单的,你也来学习一下吧!
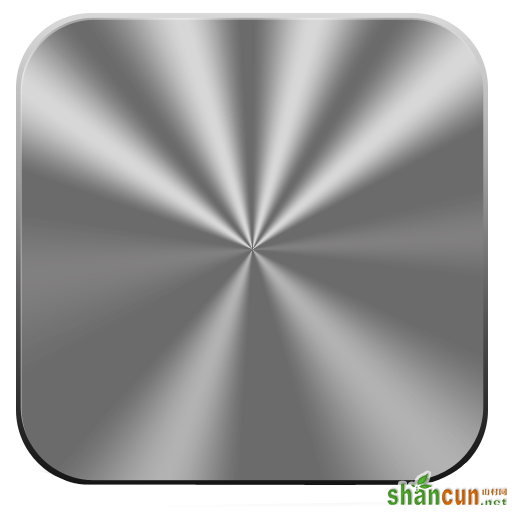
先看效果图:

新建512px X 512px 文件
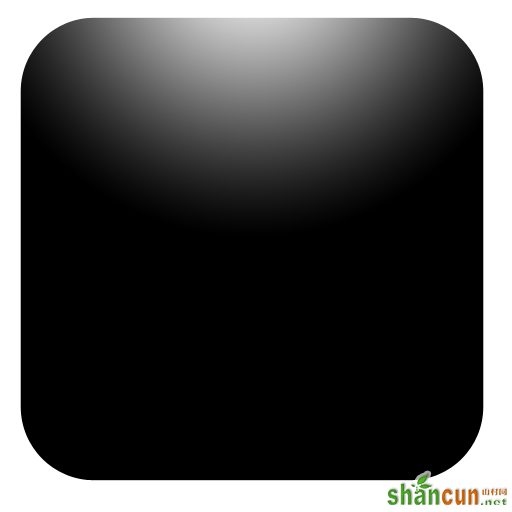
用圆角矩形工具 画圆角100px的 470x470px 的框 填充由白到黑渐变 如图

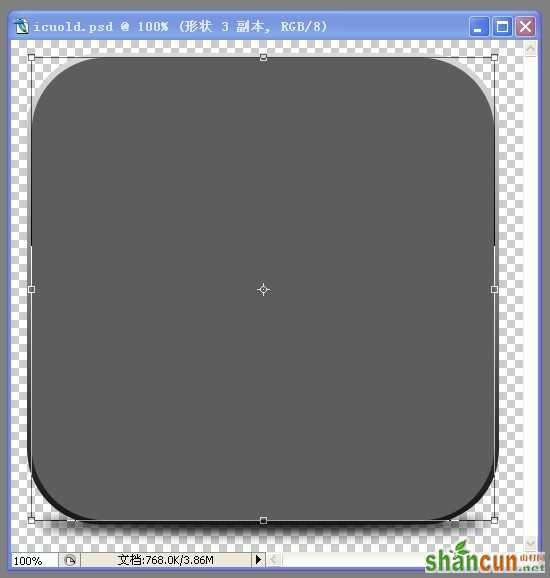
ctrl+j 复制图层 ctrl+t 将 宽、高缩小为98%如图 填充色#5d5d5d
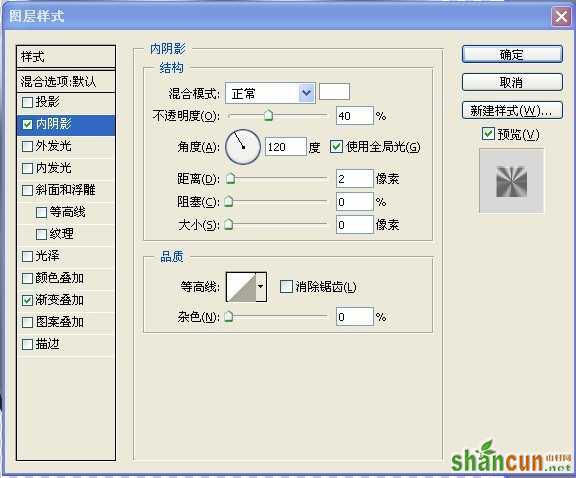
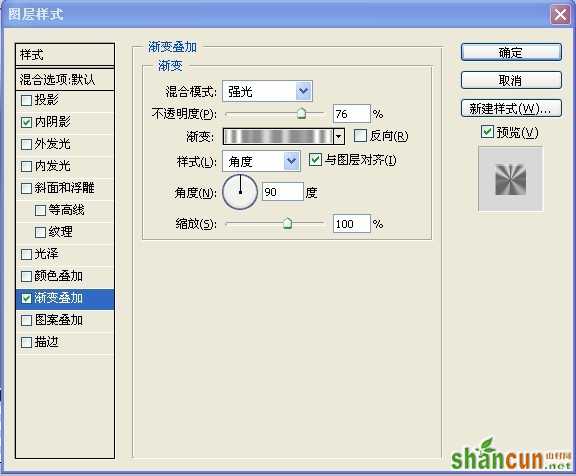
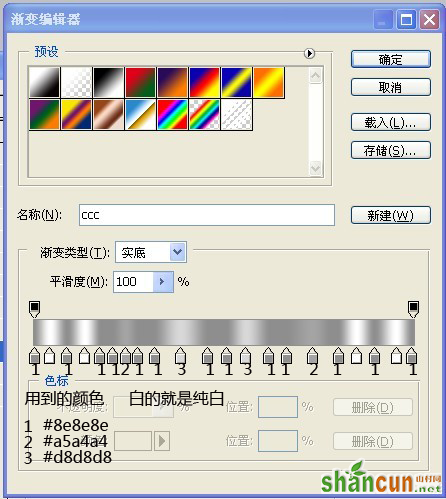
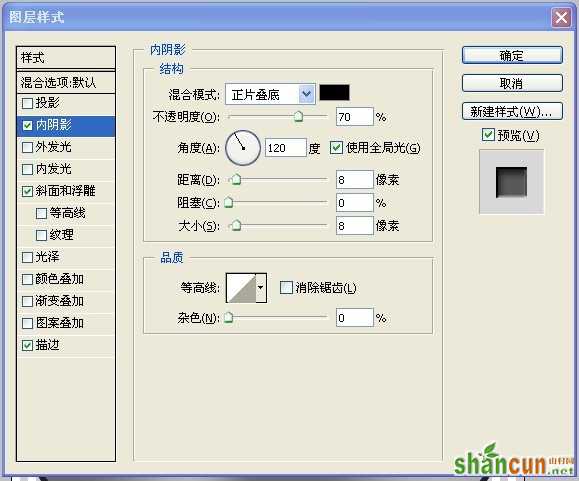
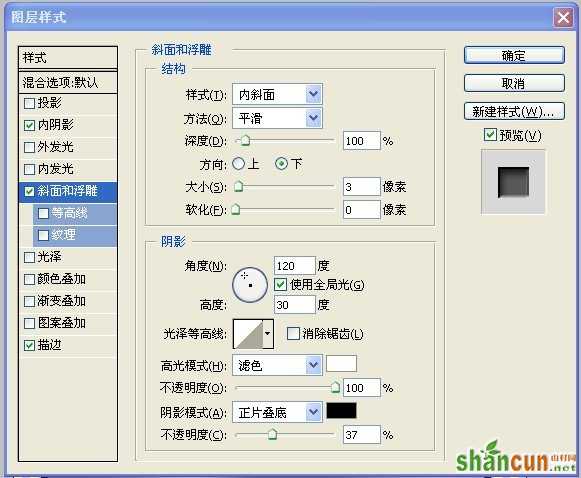
设置该图层混合模式 内阴影 渐变叠加
结果如图:
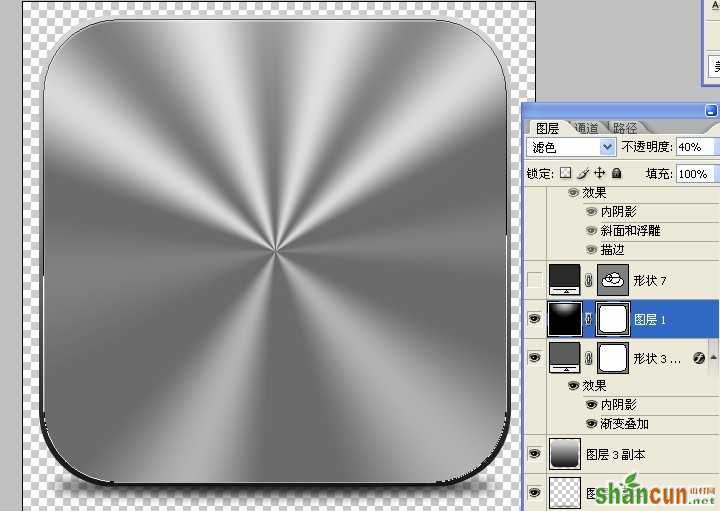
新建个渐变图层在它上方(我直ctrl+接点底层框做出选取 新建图层 直接渐变,还有其他方法)
设置模式为 滤色 40%透明后如图 (让上半部分光影更自然)
然后用 圆角矩形工具 和椭圆工具 在路径为+ 的状态下画云形状 颜色#2a2a2a


对云 层 模式设置

结果如图 (不小心吧下面的阴影也弄上来了)
对云 层ctri+j 变换大小ctrl+t为 原来的 89 % 颜色为5d5d5d

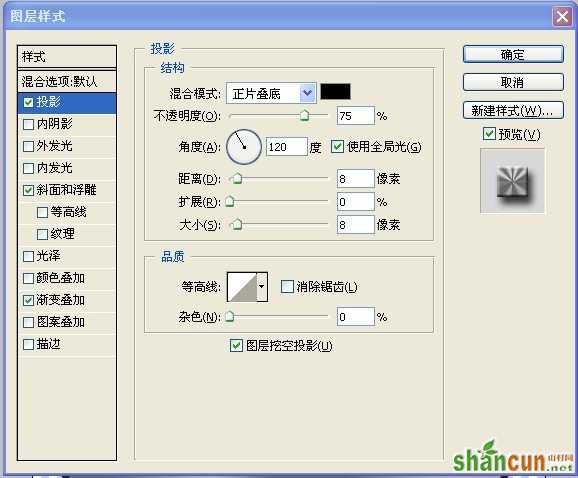
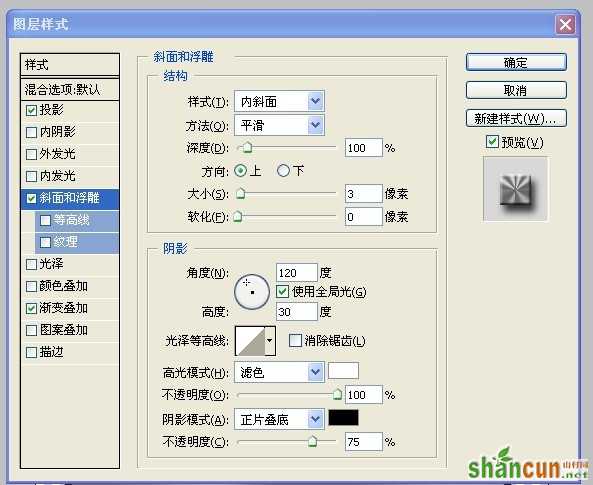
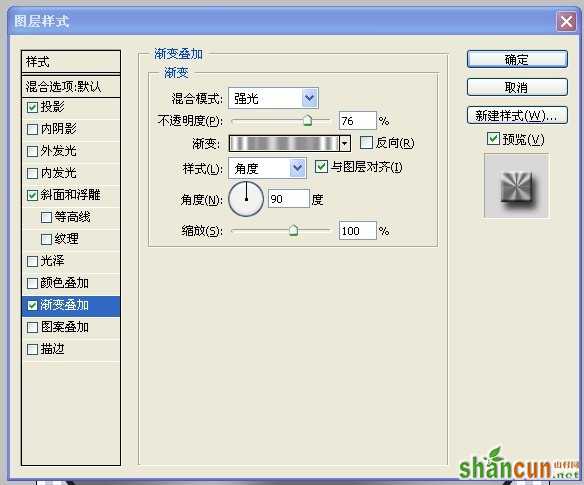
对该层 进程模式设置 投影 浮雕 渐变叠加用 之前一样的 所在第一次的时候要新建 渐变叠加好第2次用

最后结果

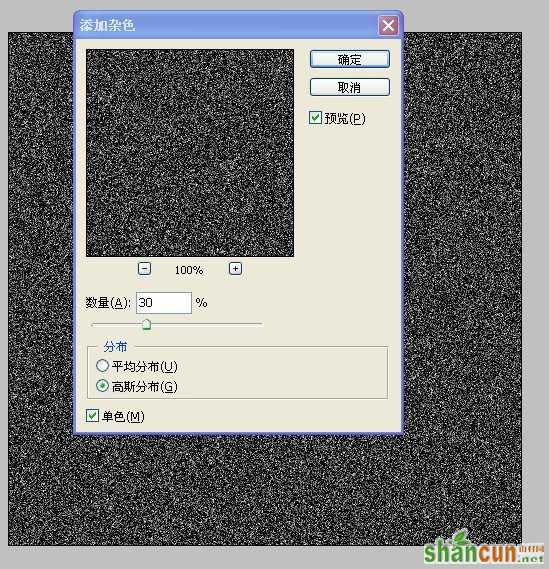
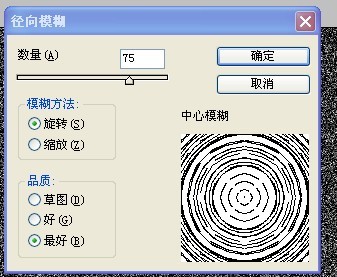
最后加上金属 质感 新建图层 颜色 2d2d2d 杂质 径向模糊
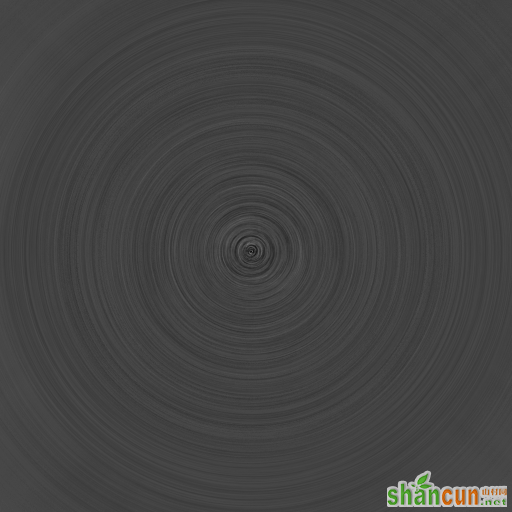
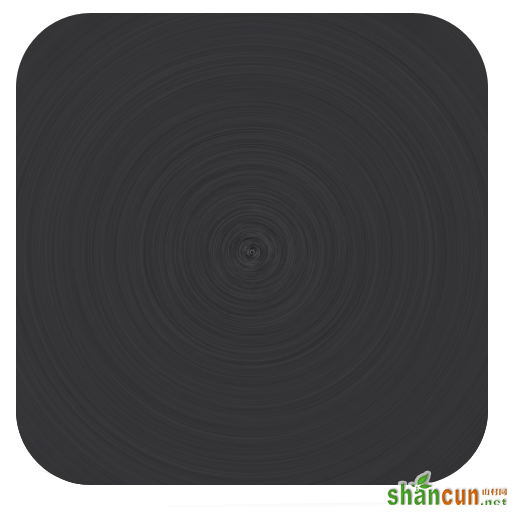

最后将图层 模式为滤色 最后加上影子就是最后结果


