
教程介绍礼盒正品效果的制作方法。正面相对来说看到的立体面较少,只有正面与顶部的一个立体面。重点是正面的质感刻画,需要把金属质感表现出来。
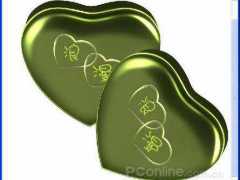
最终效果

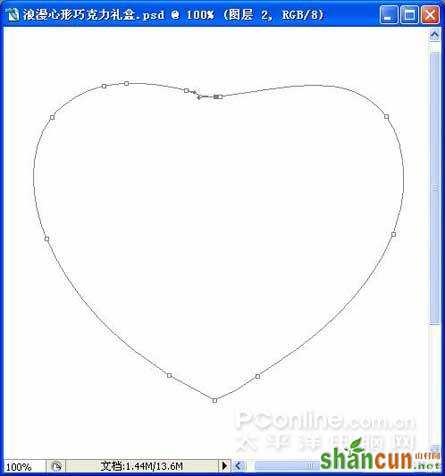
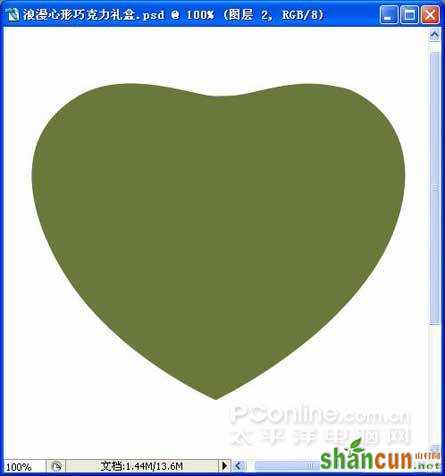
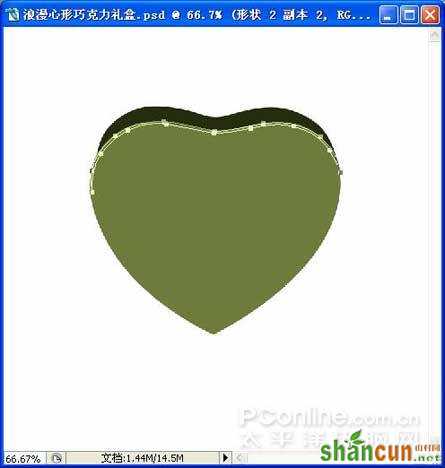
1、新建一个800*600 的文件,设前景色为绿色,用钢笔工具绘制出心的轮廓,转换为选区,填充颜色。
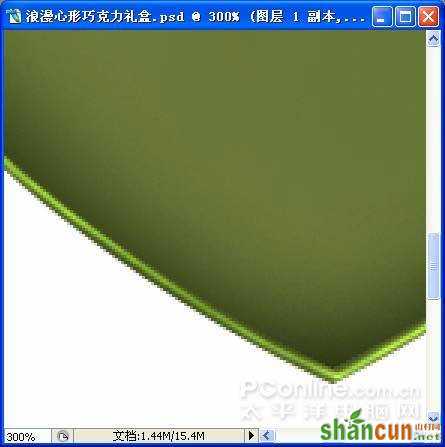
2、获得如下效果。
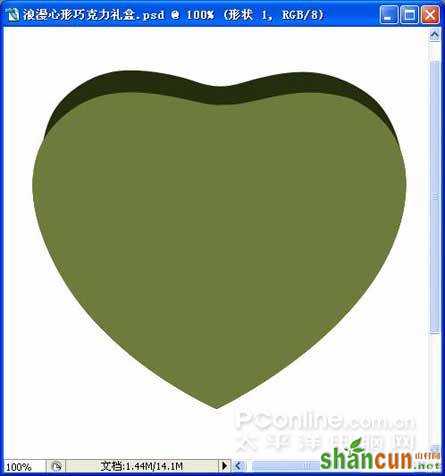
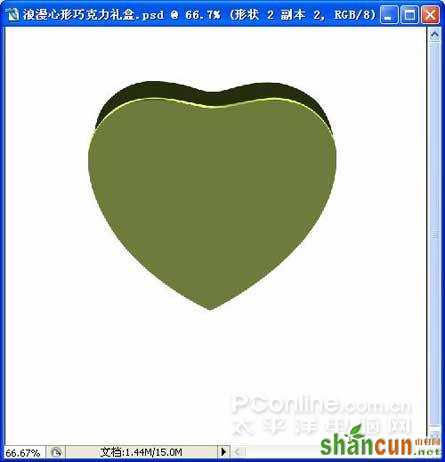
3、设前景色为深绿色,用钢笔工具绘制出礼盒边的轮廓,转换为选区,填充颜色。
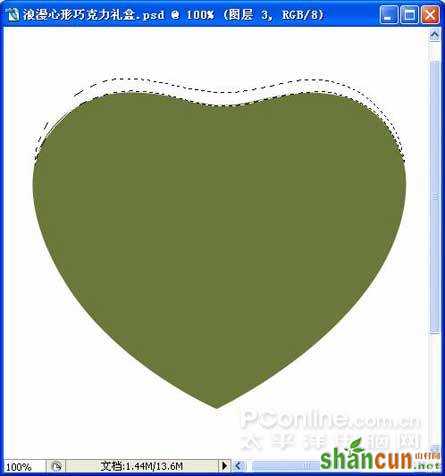
4、获得如下效果。
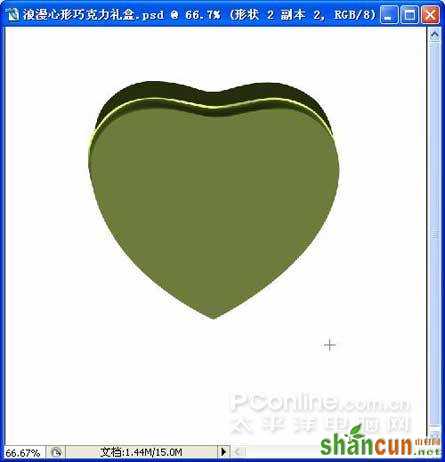
5、在心的上面绘制路径,转换选区。使用减淡工具,在属性栏里设置高光,暴光度为30%,把选区内提亮。
6、获得如下效果。
7、在高光的下面绘制路径,转换选区,羽化半径—2,使用加深工具,在属性栏里设置中间调,暴光度为50%,把选区内的颜色加深。
8、在心的上面绘制路径,转换选区。羽化半径—6,使用减淡工具,在属性栏里设置高光,暴光度为30%,把选区内提亮。
9、在高光的下面绘制路径,转换选区,羽化半径—10,使用加深工具,在属性栏里设置中间调,暴光度为50%,把选区内的颜色加深。
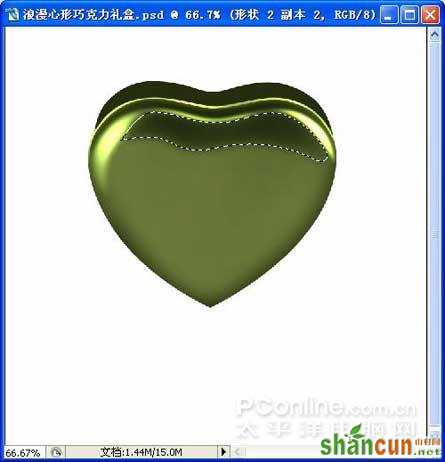
10、把心形载入选区,单击选择—修改—收缩—4,反选选区。使用加深工具,在属性栏里设置中间调,暴光度为30%,把选区内的颜色加深。
11、后用减淡工具,在属性栏里设置高光,暴光度为100%,把选区内的颜色减淡,(画笔大小要设的小于加深的宽度)。
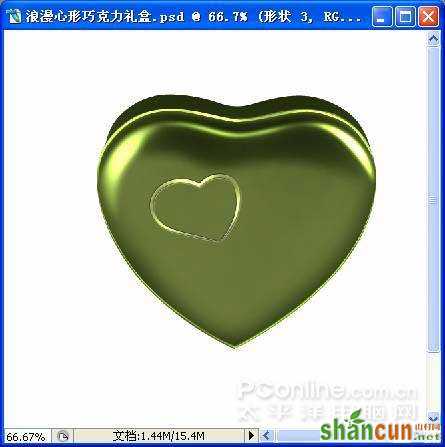
12、在心的上面绘制一个小的镂空心形路径,转换选区。填充绿色颜色。

13、使用减淡工具,在属性栏里设置高光,暴光度为100%,绘出三个高光点。
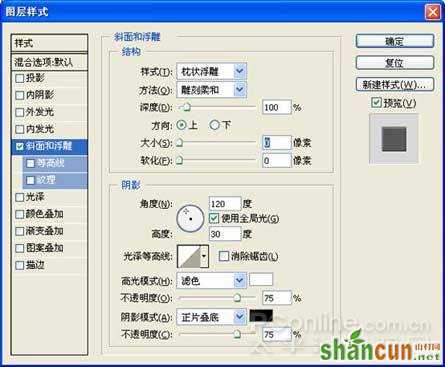
14、单击图层样式,设置如图。
15、复制一个镂空的心,调整好位置。前景色设置如。
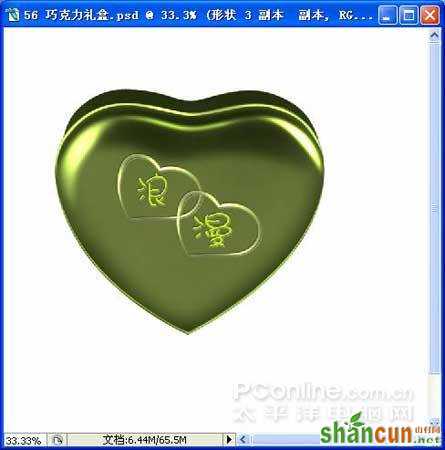
16、用文字工具写上合适的字体,键入文字。在图层样式中 设置如下。

17、获得如下效果。
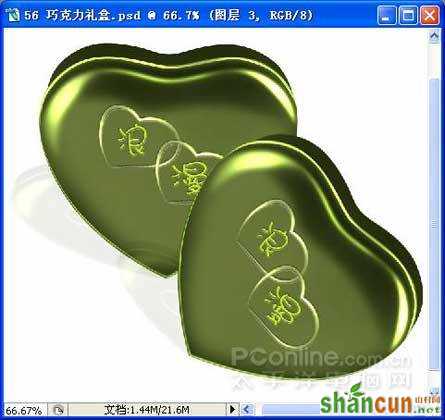
18、关闭背景层的眼睛,合并可见图层,再复制一个礼盒,调整好位置。
19、再复制两个礼盒,把不透明度设到10%,作为礼盒的倒影,调整好位置。
20、到这里礼盒就做好了,换上你喜欢的背景图片就完成了。


