
教程前半部分的制作很多教程都有提到过,作者再在之前的基础上继续深化,加入了其它滤镜效果,从而使效果图更加美观。
最终效果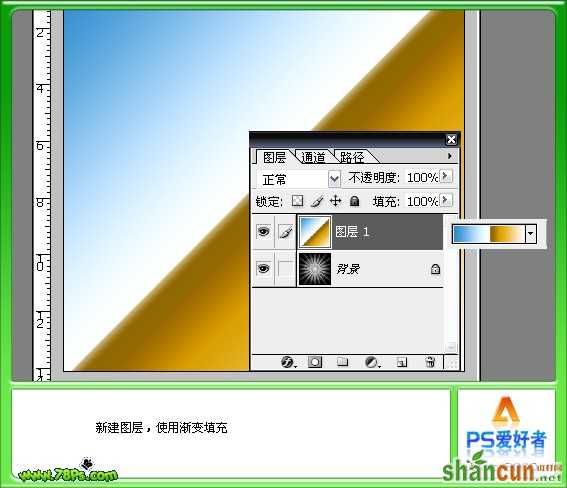 nmousewheel="return bbimg(this)" onload="javascript:resizepic(this)" border="0"/>
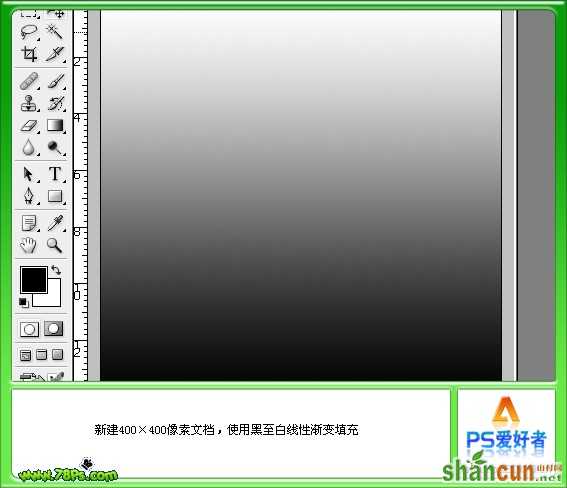
1、新建一个400 * 400像素文件,选择渐变工具,颜色设置为黑白渐变,然后由上至下拉出下图所示线性渐变。
 nmousewheel="return bbimg(this)" onload="javascript:resizepic(this)" border="0"/>
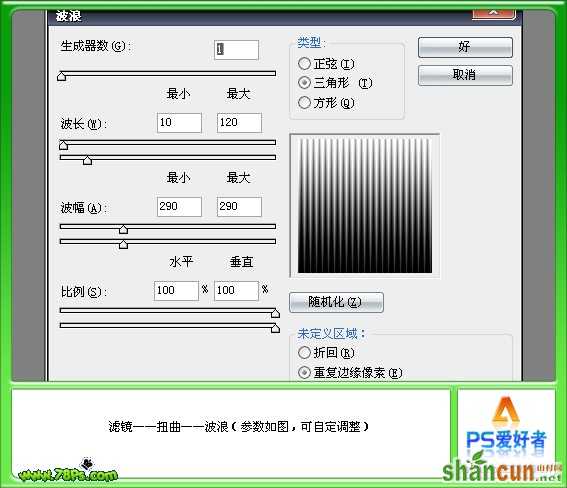
2、执行:滤镜 > 扭曲 > 波浪,参数设置如下图。
 nmousewheel="return bbimg(this)" onload="javascript:resizepic(this)" border="0"/>
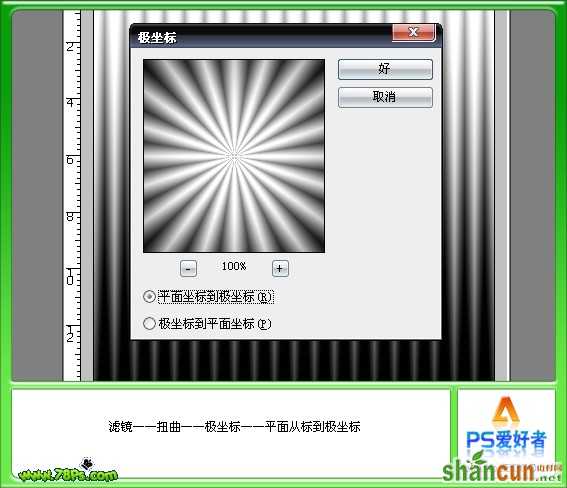
3、执行:滤镜 > 扭曲 > 极坐标,选择平面坐标到极坐标,如下图。
 nmousewheel="return bbimg(this)" onload="javascript:resizepic(this)" border="0"/>
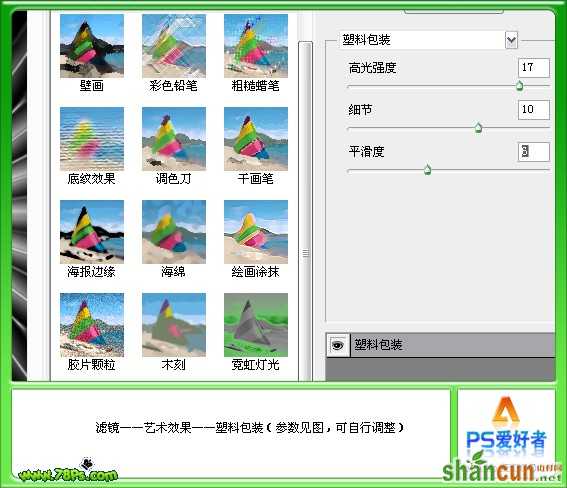
4、执行:滤镜 > 艺术效果 > 塑料包装,参数设置如下图。
 nmousewheel="return bbimg(this)" onload="javascript:resizepic(this)" border="0"/>
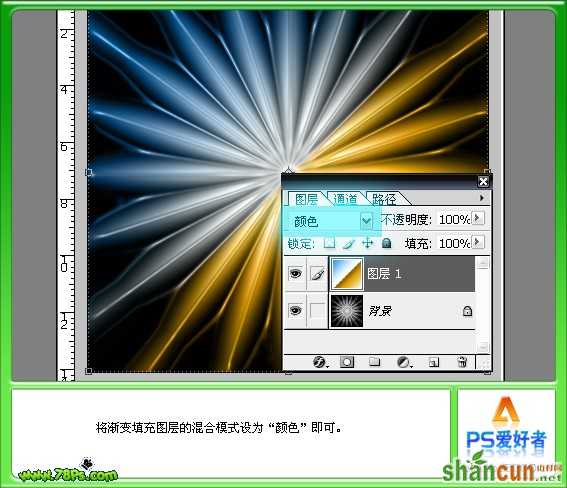
5、新建一个图层,用渐变工具拉出自己喜欢的渐变色。
nmousewheel="return bbimg(this)" onload="javascript:resizepic(this)" border="0"/>
6、把渐变色图层混合模式改为“颜色”,3lian.com,玩策划那个最终效果。
 nmousewheel="return bbimg(this)" onload="javascript:resizepic(this)" border="0"/>


