
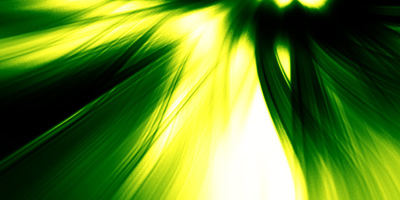
先看两个完成效果。
 nmousewheel="return bbimg(this)" onload="javascript:resizepic(this)" border="0"/>
 nmousewheel="return bbimg(this)" onload="javascript:resizepic(this)" border="0"/>
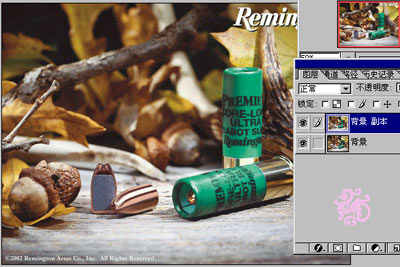
1、选择色彩比较丰富的图片,在PS中打开,复制背景层。
 nmousewheel="return bbimg(this)" onload="javascript:resizepic(this)" border="0"/>
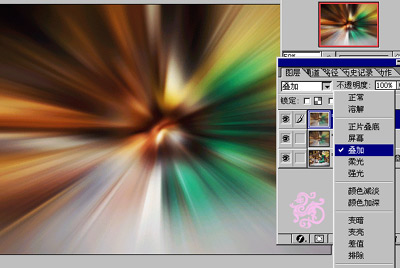
2、滤镜-模糊-径向模糊3次。
 nmousewheel="return bbimg(this)" onload="javascript:resizepic(this)" border="0"/>
3、复制背景副本,模式改为叠加。
 nmousewheel="return bbimg(this)" onload="javascript:resizepic(this)" border="0"/>
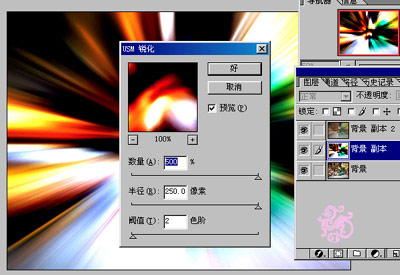
4、把背景副本执行滤镜-锐化-USM锐化。
 nmousewheel="return bbimg(this)" onload="javascript:resizepic(this)" border="0"/>
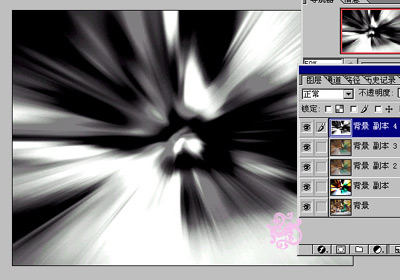
5、把背景副本再复制一层,去色(CTRL+SHIFT+U)。
 nmousewheel="return bbimg(this)" onload="javascript:resizepic(this)" border="0"/>
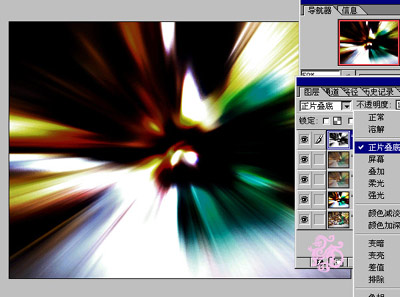
6、图层模式改为正片叠底
 nmousewheel="return bbimg(this)" onload="javascript:resizepic(this)" border="0"/>
7、用旋转扭曲滤镜。
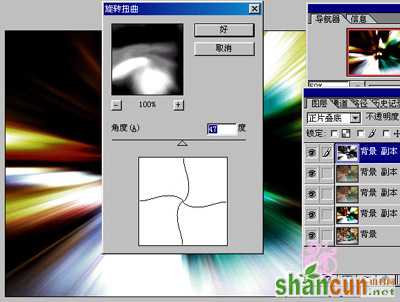 nmousewheel="return bbimg(this)" onload="javascript:resizepic(this)" border="0"/>
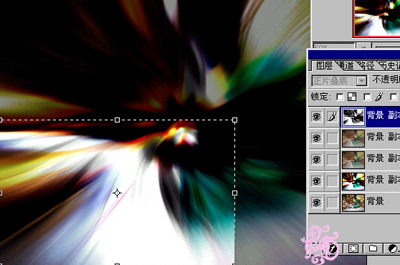
8、好了,切下一块就大功告成啦!
 nmousewheel="return bbimg(this)" onload="javascript:resizepic(this)" border="0"/>
当然,3lian.com,切下来之后你可以调节以下饱和度(ctrl+U)。
 nmousewheel="return bbimg(this)" onload="javascript:resizepic(this)" border="0"/>
 nmousewheel="return bbimg(this)" onload="javascript:resizepic(this)" border="0"/>


