
原图
 nmousewheel="return bbimg(this)" onload="javascript:resizepic(this)" border="0"/>
最终效果
 nmousewheel="return bbimg(this)" onload="javascript:resizepic(this)" border="0"/>
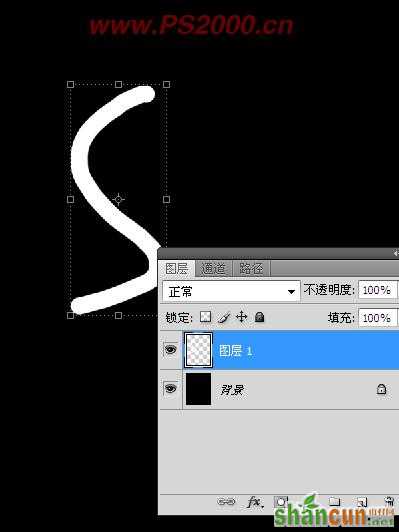
1、新建文档500 * 650 像素,背景填充黑色。新建图层,随意绘制一条白色线条。
 nmousewheel="return bbimg(this)" onload="javascript:resizepic(this)" border="0"/>
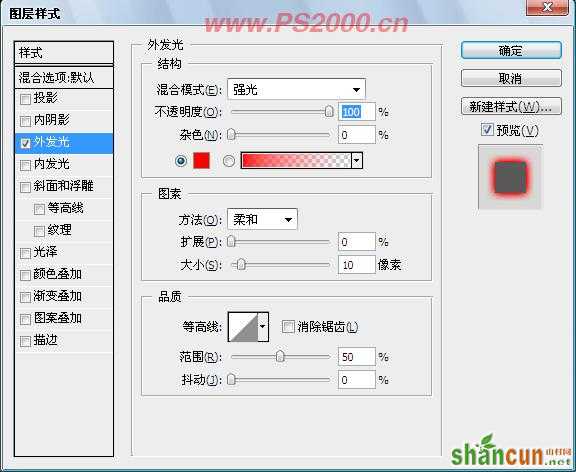
2、为线条图层添加外发光图层样式。
nmousewheel="return bbimg(this)" onload="javascript:resizepic(this)" border="0"/>
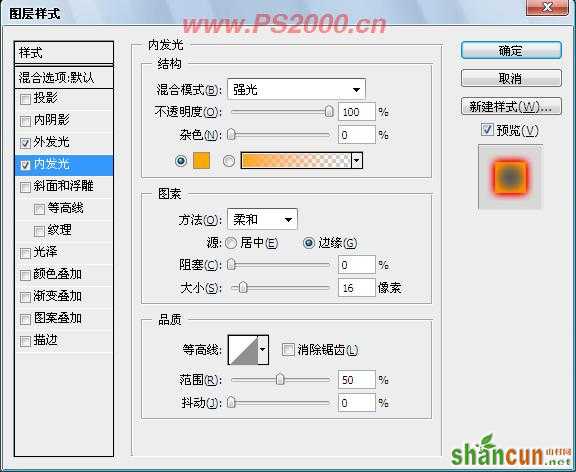
3、添加内发光样式。
 nmousewheel="return bbimg(this)" onload="javascript:resizepic(this)" border="0"/>
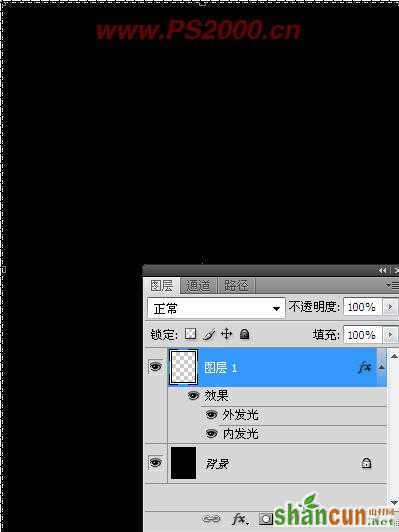
4、按Ctrl+A全选,3lian素材,按Delete删除白色线条,只保留图层样式。
 nmousewheel="return bbimg(this)" onload="javascript:resizepic(this)" border="0"/>
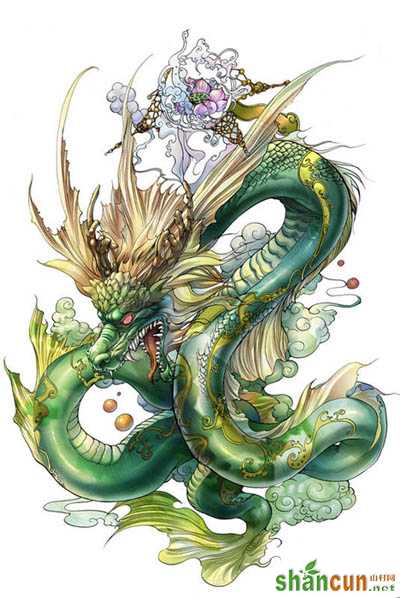
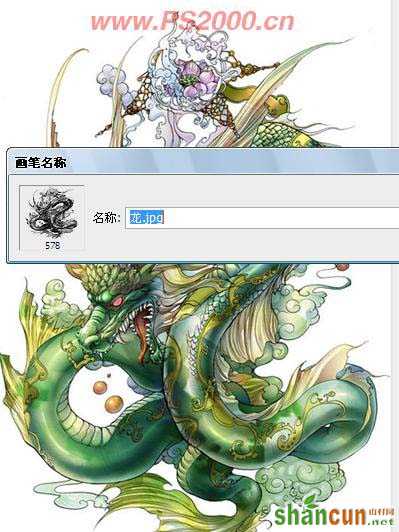
5、打开龙素材图片,编辑—定义为画笔预设。
 nmousewheel="return bbimg(this)" onload="javascript:resizepic(this)" border="0"/>
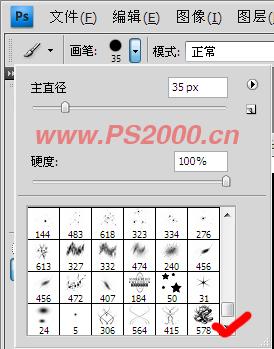
6、回到刚刚的黑色文档,选择画笔工具,选择刚刚定义的龙画笔。
 nmousewheel="return bbimg(this)" onload="javascript:resizepic(this)" border="0"/>
7、将前景色设为白色,按下鼠标后就会看到火龙的效果,是不是很简单呢?
 nmousewheel="return bbimg(this)" onload="javascript:resizepic(this)" border="0"/>
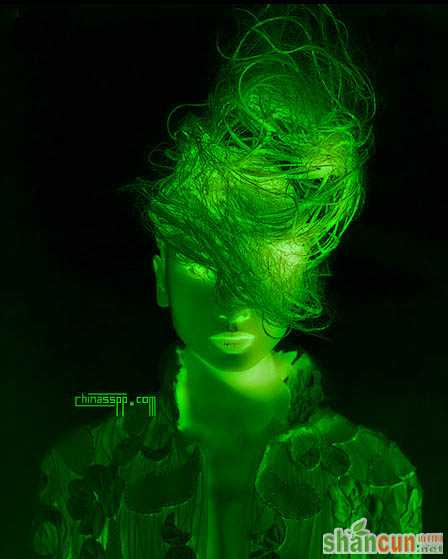
8、使用人物制作的效果。
 nmousewheel="return bbimg(this)" onload="javascript:resizepic(this)" border="0"/>


