
 nmousewheel="return bbimg(this)" onload="javascript:resizepic(this)" border="0"/>
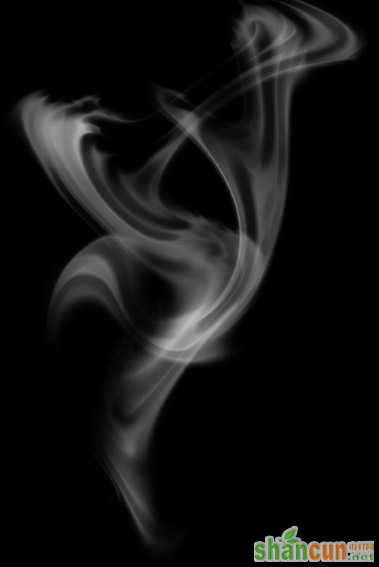
最终效果2
 nmousewheel="return bbimg(this)" onload="javascript:resizepic(this)" border="0"/>
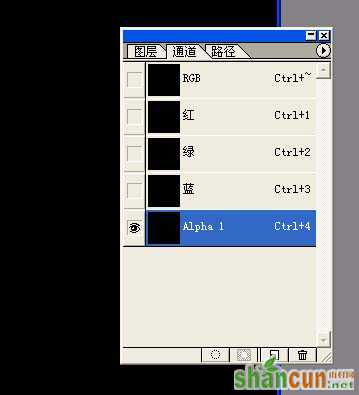
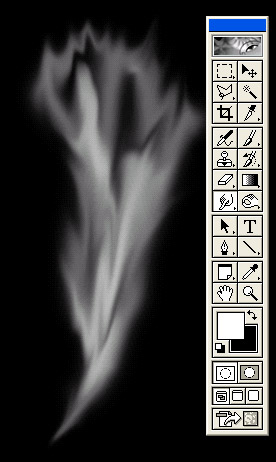
1.建新文件,为方便看烟的效果请将背景设为黑色然后建一个新通道(也可以直接在层上做,不过我喜欢用通道)
 nmousewheel="return bbimg(this)" onload="javascript:resizepic(this)" border="0"/>
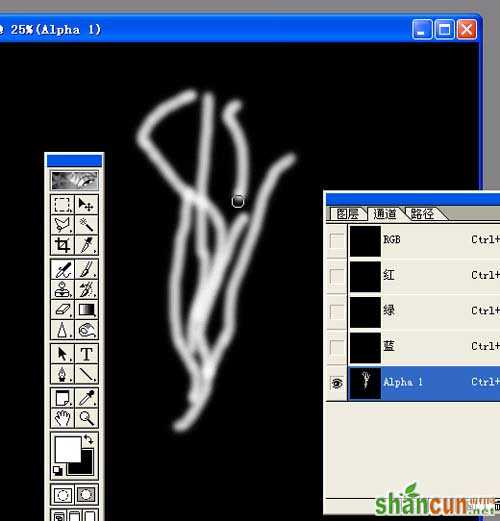
2.用喷枪(画笔)随意画几下。
 nmousewheel="return bbimg(this)" onload="javascript:resizepic(this)" border="0"/>
3.执行菜单:滤镜 > 模糊 > 高斯模糊,数值自定。
4.用手指头(涂抹工具)随意抹一下
 nmousewheel="return bbimg(this)" onload="javascript:resizepic(this)" border="0"/>
5.波浪(滤镜 > 扭曲 > 波浪)一下,可多用几次加强效果
 nmousewheel="return bbimg(this)" onload="javascript:resizepic(this)" border="0"/>
 nmousewheel="return bbimg(this)" onload="javascript:resizepic(this)" border="0"/>
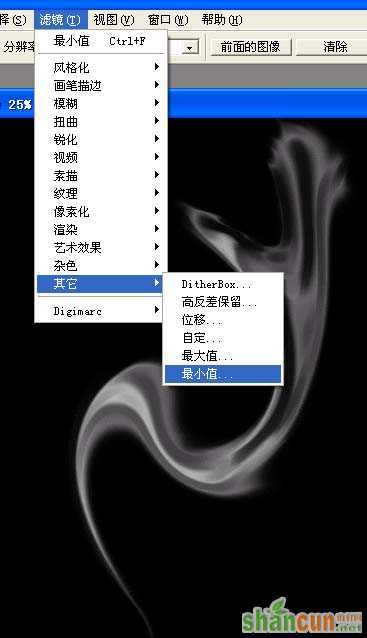
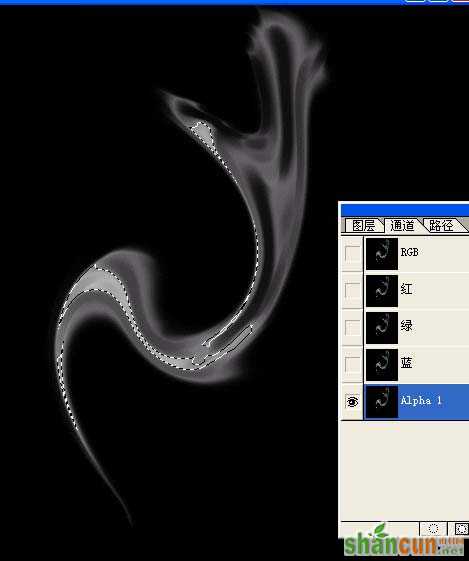
7.将本通道作为选区载入。
 nmousewheel="return bbimg(this)" onload="javascript:resizepic(this)" border="0"/>
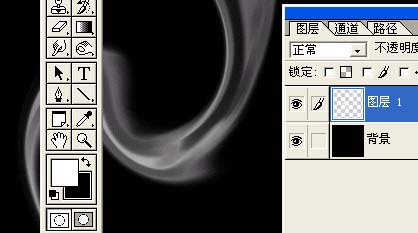
8.建新层,填白色。
 nmousewheel="return bbimg(this)" onload="javascript:resizepic(this)" border="0"/>
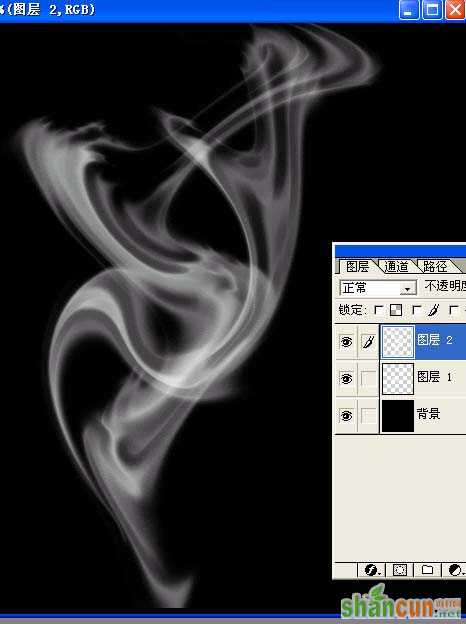
9.如上法多做几个分层置入。
 nmousewheel="return bbimg(this)" onload="javascript:resizepic(this)" border="0"/>
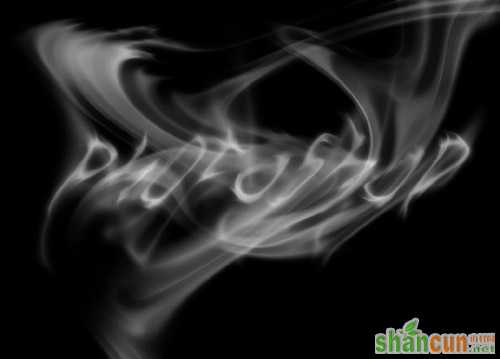
10.作一下细处理,完成最终效果。
nmousewheel="return bbimg(this)" onload="javascript:resizepic(this)" border="0"/>


